Adding Notes to the Control Center provides immediate and easy access to Notes. You can find below the steps to Add Notes to Control Center on iPhone.
Add Notes to iPhone Control Center
The Notes App on iPhone can be used in a variety of ways, ranging from preparing a Shopping List, Things To Do List to storing all kinds of information for easy and quick access on your device.
If you frequently use the Notes App, you can make Notes readily available on your device by adding Notes to the Control Center on your iPhone.
Adding Notes to Control Center provides immediate access to Notes, compared to the usual process of unlocking device, launching Notes App from Home screen and opening the required Note.
1. Add Notes to Control Center on iPhone
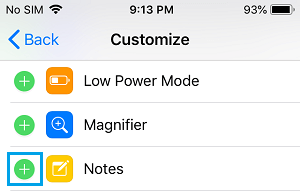
Go to Settings > Control Center > scroll down and tap on the + button next to Notes under “More Controls” section.
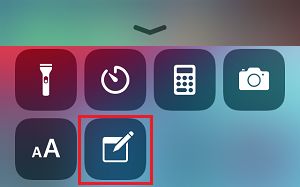
After this, you will be able to access Notes by opening Control Center and tapping on the Notes Icon.
2. Customize Notes on iPhone Control Center
Follow the steps below to customize the behavior of the Notes App on Control Center.
Go to Settings > Notes > On the next screen, scroll down and tap on Access Notes from Lock Screen option.
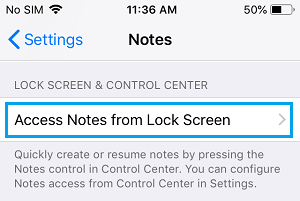
On the next screen, you can select Always Create New Note or Resume Last Note option.
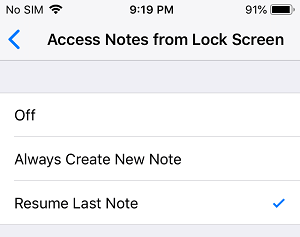
Resume Last Note: Allows you to resume the last Note that you had created or opened on your iPhone.
Always Create New Note: Always opens a New Note, whenever you tap on the Notes Icon in Control Center.
If you selected Resume Last Note option, you can select from “Created On Lock Screen” or “Viewed in Notes App” options.
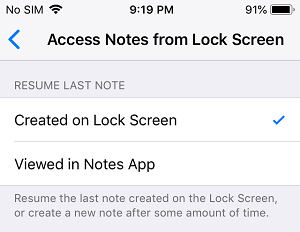
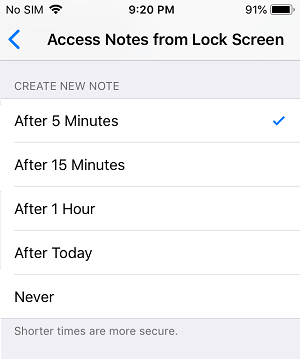
On the same screen, you can set the time after which a new note can be created. Going with the shorter duration is better for security reasons.
Similarly, if you go with “Viewed in Notes App”, you can set the time after which a passcode will be required to access the Note.
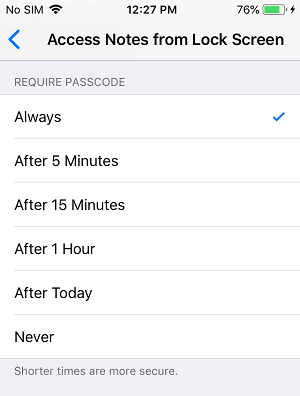
It is better to select a shorter time to prevent the possibility of anyone else being able to view your information, if you happen to leave your device unattended.
3. Remove Notes from Control Center on iPhone
At any time, you can remove access to Notes from Control Center by following the steps below.
Go to Settings > Control Center > scroll down and tap on the – button located to the left of Notes under “Include” section.
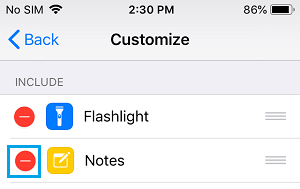
Next, tap on the Remove button to confirm.
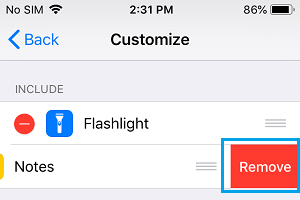
This will remove Access to your Notes from the Control Center.