If you are used to the habit of frequently clearing your browsing history, you can automate this process by setting up the Google Chrome browser on your computer to automatically clear browsing history on exit.
This feature in Google Chrome can be particularly useful in case of multi-user computers, where there is always the risk of previous user’s browsing history being viewed by the next user.
In addition to clearing browsing history upon exit, Google Chrome also provides the option to keep browsing history of your favorite or selected websites intact, while automatically clearing the browsing data of all other websites.
Make Chrome Clear Browsing History Upon Exit
Depending on your preference, you can either get in to the habit of manually clearing your browsing history from time-to-time or set Google Chrome to automatically clear your browsing history upon exit.
As mentioned above, you can also set Google Chrome to preserve the browsing history of your favorite websites, while automatically clearing the browsing history of all other websites.
1. Set Google Chrome to Automatically Clear Browsing History
The steps to set Google Chrome browser to automatically clear your browsing history upon exit are practically the same on both Windows computer and Mac.
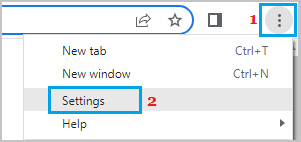
1. Open Google Chrome > click on the 3-dots menu icon and select Settings in the drop-down menu.
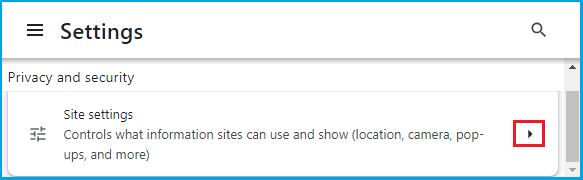
2. On the Settings screen, select Privacy & Security tab in the left-pane. In the right-pane, scroll down and click on Site Settings tab.
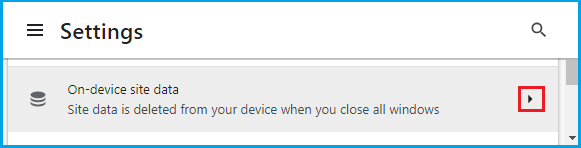
3. From Site Settings screen, navigate to Additional Content Settings and click on On-device site data tab.
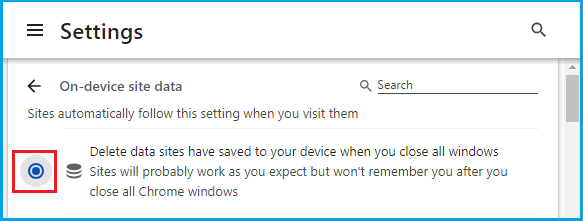
4. On the next screen, select Delete data sites have saved to your device when you close all windows option.
After this, you should find the Google Chrome browser on your computer automatically clearing browsing data, as soon as you finish the browsing session and exit the browser.
2. Keep Browsing History of Favorite Sites & Clear All other Sites
The disadvantage of setting Google Chrome to automatically clear browsing data is that it can prevent you from going back to an interesting article that you had previously browsed on your computer.
Hence, Google Chrome provides the option to add your favorite and frequently visited websites to Allowed Websites, which prevents the browser from deleting the browsing data related to these websites.
1. Open Google Chrome > Click on 3-dots Menu icon and select Settings in the drop-down menu.
2. On the Settings screen, select the Privacy & Security tab in left-pane. In the right-pane, scroll down and click on Site Settings tab.
3. From Site Settings screen, navigate to Additional Content Settings and click on On-device site data tab.
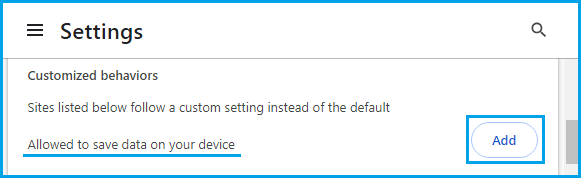
4. On the next screen, scroll down to ‘Customized behaviors‘ section and click on the ADD button, located next to “Allowed to save data on your device entry”.
5. On the pop-up, type the Address of the Website that you want to add and click on the ADD button.
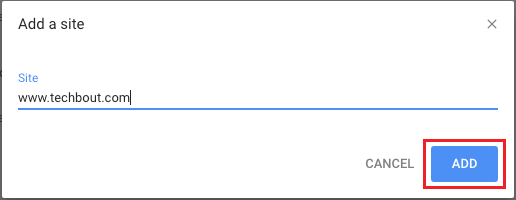
Similarly, you can Add Other Websites that you want to prevent Google Chrome from clearing the browsing history upon exit.