Many users do not find the default options in Send to Contextual menu interesting or useful enough. However, it is possible to customize Send to Menu in Windows 10, in order to make it more useful.
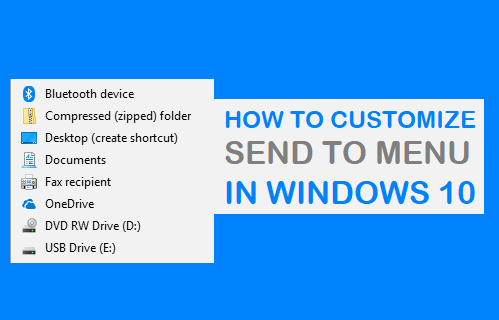
What Makes it Easy to Customize Send to Menu in Windows 10
The default options that appear in Send to menu are basically Shortcuts to Programs and Folders on your computer.
What makes it easy to customize Send to menu in Windows 10 is that all the Shortcuts that appear in Send to menu are stored in a simple Folder known as “SendTo”.
Anything that is added to the “SendTo” Folder becomes an option in the “Send to” contextual menu. Similarly, anything that is removed from the SendTo Folder gets removed from the Send to Contextual Menu.
The SendTo Folder is located at C:\Users\Your Username\AppData\Roaming\Microsoft\Windows\SendTo and it can be easily accessed by using File Explorer or by using “Shell:SendTo” command.
Add Shortcuts to Send to Menu in Windows 10
Follow the steps below to Add a new Shortcut to Send to menu in Windows 10.
1. Right-click on the Start button and click on Run in the menu that appears.
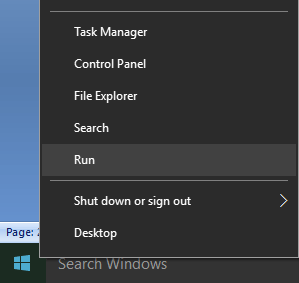
Note: You can also Press Windows + R keys to open the Run Command.
2. In the Run command window, type shell:sendto and click on Ok.
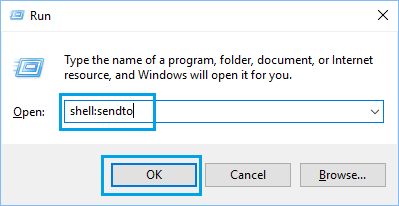
3. Once you are in SendTo Folder, add the Shortcut for items that you want to see in the Send to menu.
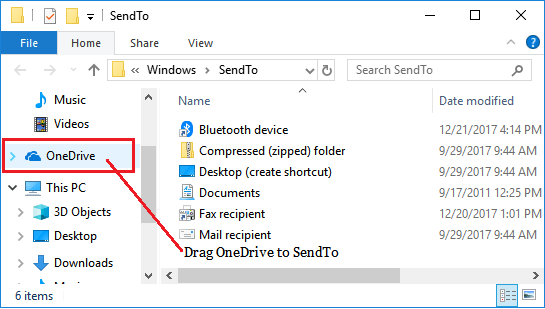
For example, in the above image, dragging OneDrive Shortcut to SendTo Folder will make the OneDrive Shortcut available in Send to menu.
Remove Shortcuts From Send to Menu in Windows 10
In case you find that the Send to menu has unnecessary items, you can remove those items from Send to menu by following the steps below.
1. Press Windows + R keys to open the Run Command.
2. In the Run command window, type shell:sendto and click on Ok.

3. Once you are in SendTo Folder, delete the Shortcut for item that you want to remove from Send To Menu.
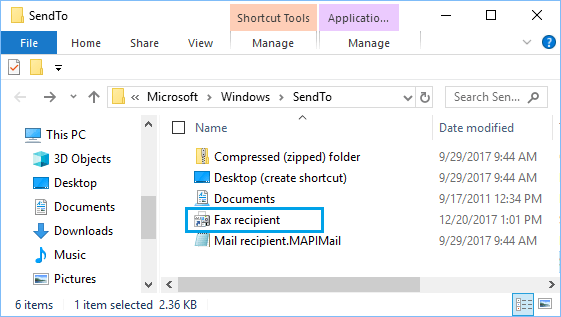
For example, to remove Fax Recipient, right-click on it and choose the Delete option in contextual menu that appears.
How to Access Extended Send to Menu
When you right-click on a File or Folder, you get to access a limited number of items in the Send to menu. In order to see more options in Send To Menu, you can bring up an extended “Send to” menu by following the steps below.
1. Press and hold the Shift key and then right-click on the File/Folder.
2. Move the cursor to Send to option in the menu that appears and you will see the extended Send to List.
This option is useful, in case you like working or organizing things in specific folders on your computer, such as Photos, Video, Music, documents and so on.