While “Windows Security” program allows you to perform Quick, Full and Custom Virus scans, it also provides the option to remove persistent and hard-to-detect malware using Microsoft Defender offline scan.
The Offline Scan feature in Windows security is specifically designed to target hard-to-detect malware like NTRootki, Fame, Machiavelli and others, which have the ability to bypass Windows Shell and avoid being detected during regular malware scans.
When Microsoft Defender is used in offline mode, it scans the computer from outside Windows Kernel, which allows it to target Rootkit and other types of viruses, which might be hiding outside Windows shell environment on your computer.
Related: Fix: Windows Defender Not Working or Turning ON.
Use Microsoft Defender Offline Scan
Except for differences in the screen shots, the steps to scan the computer for virus/malware using Microsoft Defender Offline Scan are practically the same in both Windows 11 and Windows 10.
1. Run Microsoft Defender Offline Scan in Windows 11
If you are using Windows 11, you can follow the steps below to scan your computer for malware using Microsoft Defender in offline mode.
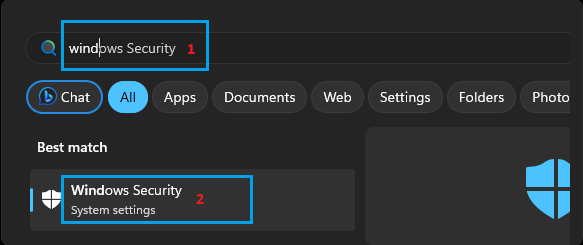
1. Type Windows Security in the search bar and click on Windows Security System settings in the search results.
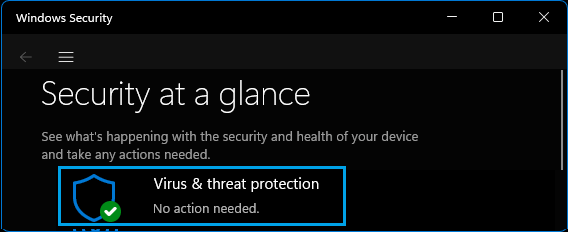
2. On Windows Security screen, click on Virus & Threat Protection.
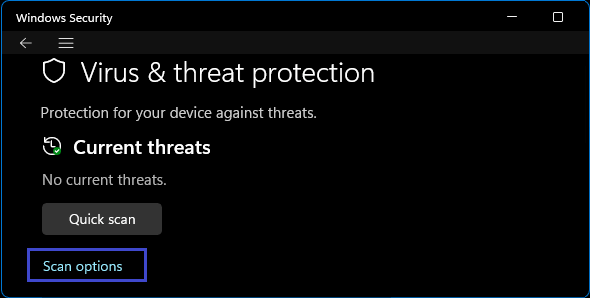
3. On the next screen, click on Scan option located under “Current threats” section.
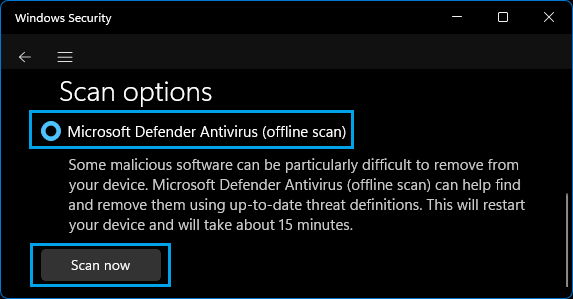
4. On the next screen, select Microsoft Defender Antivirus (offline scan) and click on Scan now button.
5. Wait for the offline scan to be completed, during which you may find the computer restarting multiple times.
2. Run Microsoft Defender Offline Scan in Windows 10
If you are using Windows 10, you can follow the steps below to remove malware from the computer by using Microsoft Defender in offline mode.
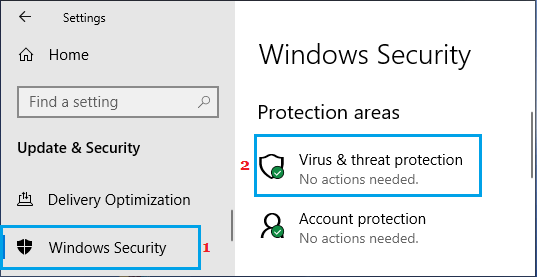
1. Go to Settings > Update & security > select Windows Security in the left-pane and click on Virus & Threat Protection in the right-pane.
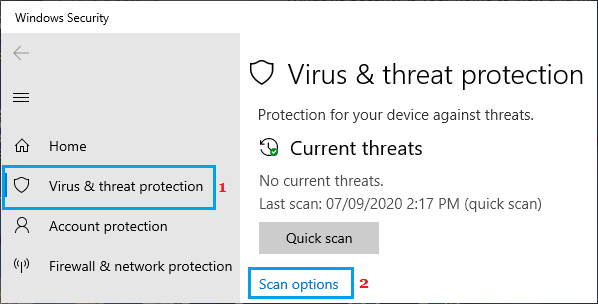
2. On the next screen, click on Scan Options.
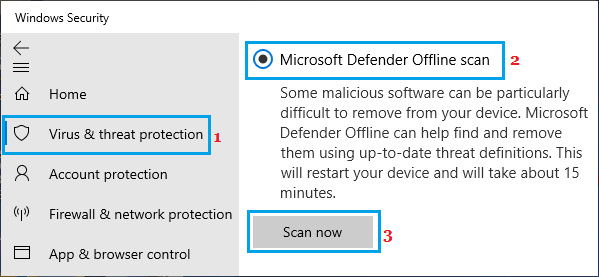
3. On the next screen, select Microsoft Defender Offline scan option and click on Scan now.
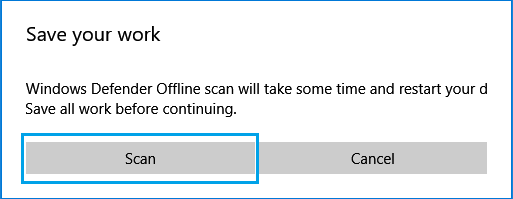
4. On the pop-up, click on the Scan button to start the Offline Scan.
5. Patiently wait for the Offline Scan to be completed.
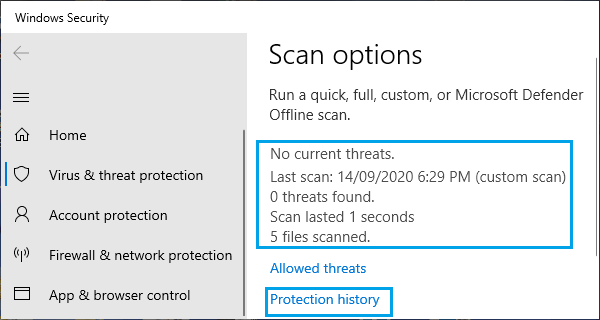
Examine Offline Scan Results
Once the offline scan is completed, you can take a look at what was removed during Microsoft Defender Offline scan by clicking on Protection History link located below the scan summary.
On the next screen, you will see a listing of malware detected or removed during the Offline Malware Scan on your computer.