Windows 10 provides the option to login to your computer using Password, PIN, Image, Finger Print or Face ID. You can find below the steps to Setup PIN Password in Windows 10.

Setup PIN Password in Windows 10
While the default password login system is good enough for most users, you may want to Setup PIN Password in Windows 10 to take advantage of additional security features available in Windows 10.
Security features like Finger Print Scanner, Iris Reader and Windows Hello are only available with a PIN Password and cannot be used with regular Windows login password.
Note: PIN is an additional login option in Windows 10, you will still need an existing Microsoft or Local User Account, in order to setup PIN Password in Windows 10.
How to Setup PIN Password in Windows 10
Follow the steps below to setup Pin Password in Windows 10
1. Click on the Start button and then click on Settings Icon.
![]()
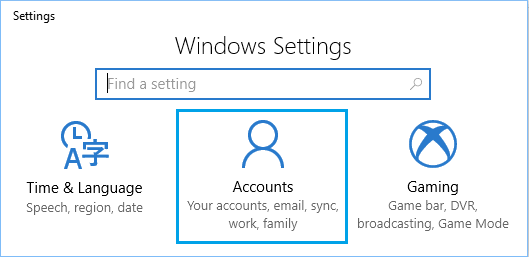
2. On the Settings screen, click on the Accounts icon.
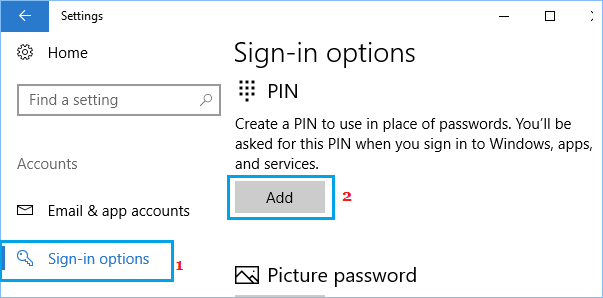
3. On the Accounts screen, Click on Sign-in options in the left pane and click on the Add button located under PIN section in the right pane.
4. When prompted, enter your Current Login Password.
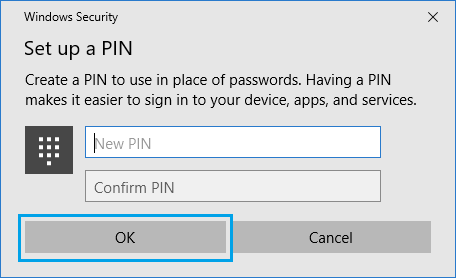
5. On the next screen, enter the PIN that you want to use, Confirm PIN and click on OK to complete the setup of PIN Password.
Now that you have successfully setup a PIN in Windows 10, you will be able to login to your computer using your PIN, instead of using your login password.
Login to Windows 10 Using PIN Password
Follow the steps below to login to your computer using PIN Password for the first time.
1. Logout of your computer
2. You will now see the login screen prompting you to enter PIN.
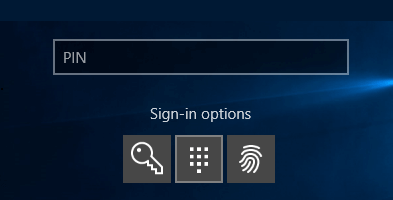
Note: You can still login to your computer using your Login Password by using Sign-in options.
How to Change or Remove PIN Password in Windows 10
At any time you can change your PIN or even remove the PIN, in case you do not like the idea of using a PIN Password to login to your computer.
1. Click on the Start button > Settings > Accounts.
2. On the Accounts screen, click on Sign-in options in left pane and you will find the options to Change or Remove PIN Password in Windows 10.
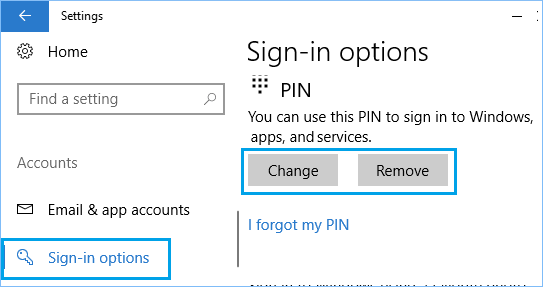
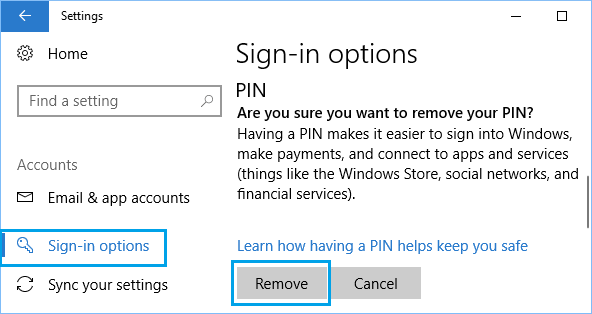
3. In case you click on Remove option, you will be prompted to confirm the removal of PIN. Click on the Remove button to remove the PIN Password login option on your computer.
