iPhone provides the option to add your Email Account to its native Mail App and access all your Emails from within the Mail App, without the need to login to your Email Account.
The iPhone Mail App is already configured to automatically connect to popular email service providers like Gmail, Outlook and Yahoo, which makes it really easy to add Email Accounts from these providers to iPhone.
If your Email Account is from a lesser known service provider, it can still be able to added to iPhone by using the manual method, which is also used for custom configurations.
Add Email Account to Mail App on iPhone
You can find below the steps to Add Email Account from popular service providers like Gmail, Outlook and Yahoo to iPhone and also the steps to manually add Email Account from lesser known Service providers to iPhone.
1. Add Gmail, Outlook & Yahoo Account to iPhone
If your Email Account is from Gmail, Outlook, Hotmail or Yahoo, you can follow the steps below to add your Email Account to the Mail App on iPhone.
1. Go to Settings > Apps > Mail > Mail Accounts.
2. On the Mail Accounts screen, select the Add Account option.

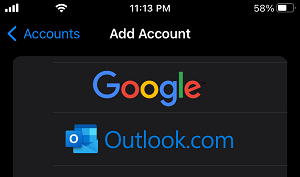
3. On the next screen, tap on Choose from a list link > select your Email Service Provider on the next screen.
4. On the pop-up, enter your Email Address and Password and follow next prompts to provide iPhone with access to your Email Account.
5. Make sure the toggle next to Mail is set to ON position and tap on Save.
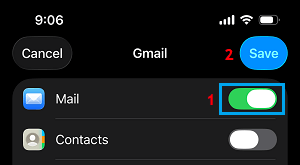
Note: If required, you can Enable Contacts and Calendars.
2. Manually Add Email Account to iPhone
If the Service provider of your Email Account is not listed on iPhone, you can manually add your Email Account to iPhone by using the following steps.
1. Go to Settings > Apps > Mail > Mail Accounts.
2. On the Mail Accounts screen, select the Add Account option.
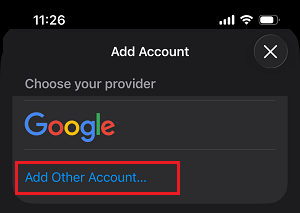
3. On the next screen, tap on Choose from a list link > Select Add Other Account… option on the next screen.
4. On the next screen, select the Mail Account option.

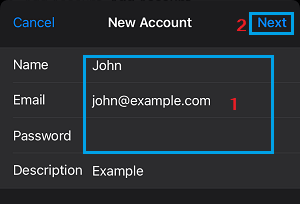
5. On New Account screen, enter your Name, Email Address, Password, Description and tap on Next.
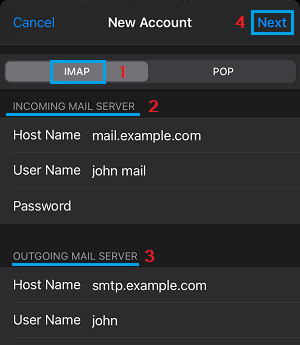
6. On the next screen, select the applicable Data Transfer protocol (POP or IMAP), complete the Incoming and Outgoing Mail Server Details and tap on Next.
7. Wait for the Mail App to verify your Email information and tap on Done to complete the process.
After the linking process is completed, open the Mail App and within a few minutes you should be able to see all your Emails appearing in the Mail App.