When you connect your computer to a New Network for the first time, you will see a pop-up asking whether you would like to make your PC discoverable.
If you select “Yes”, the New Network will be setup as a Private Network and if you select “NO”, the New Network will be setup as a Public Network on your computer.
However, you can change the Network Type on your computer from Public to Private Network or from Private to Public Network at any time.
Change Network Type on Windows Computer
Before going ahead with the steps to change the Network Type on your computer, you need to decide
Public Network: When you set or designate a Network as Public, your computer assumes that you do not have any control over the network.
Hence, Windows makes your computer hidden from other devices on the network, making it unsuitable for sharing files and printers with other devices on the network.
Private Network: When you trust a Network (such as your Home Wi-Fi Network), you can safely set it up as a Private Network.
In this case, Windows makes your computer visible or discoverable by other devices on the network, which allows you to Share Files/Folders and printers with other devices on the network.
Tip: It is a good practice is to use Public Network type, whenever you are out of your home or office.
1. Change Network Type Using Settings
You change the Network Type on your computer by following the below steps.
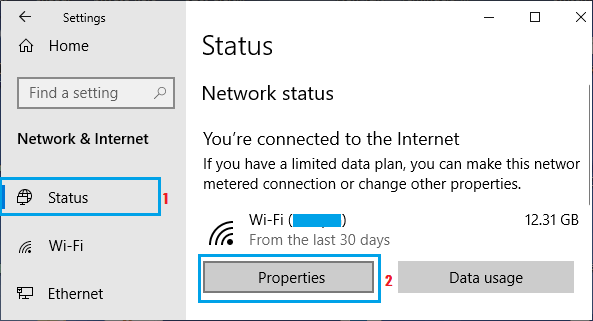
1. Go to Settings > Network & Internet.
2. On the next screen, click on the Properties button for the active network on your computer.
3. On the next screen, you can set the Network Type to Public or Private under “Network Profile” section.
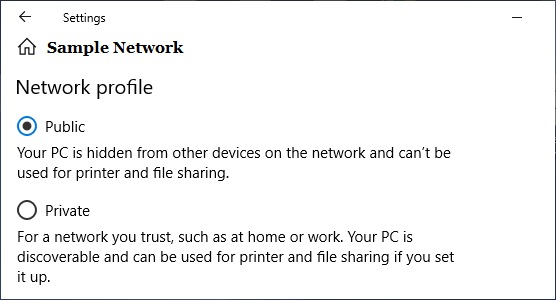
The network will be changed to Private to Public type, depending on your selection.
2. Change Network Type Using Network Reset
Another way to Change Network type on a Windows computer is by using the Network Reset option.
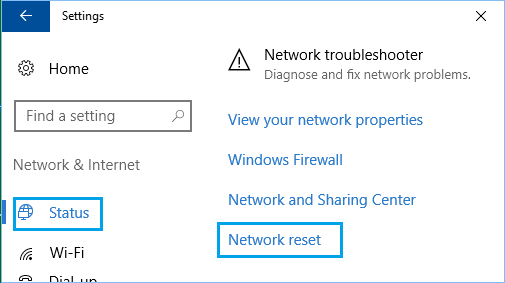
1. Go to Settings > Network & Internet.
2. On the next screen, scroll down in the right-pane and click on Network Reset option.
3. On the Network Reset screen, click on Reset now.
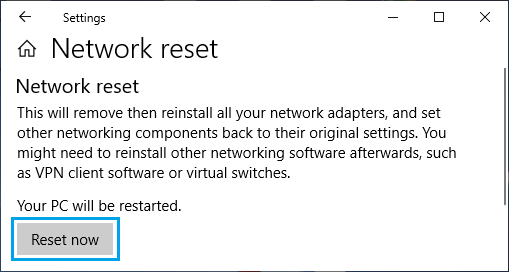
4. On the conformation pop-up, tap on Yes to confirm and wait for your computer to restart.
Once your computer restarts, you will be prompted to select whether to make your PC discoverable. Select Yes or No, depending on the Network type that you want to setup on your computer.
Note: If the computer does not restart, you can restart the computer manually.