The easiest way to share files and folders on your computer with other Users is by using the built-in File Sharing feature as available in Windows 10.
Using the basic Windows File Sharing settings, you can quickly share files and folders located on your computer with other users over a Public or Private Network.
If required, you can setup custom permissions and other options by going to Advanced File Sharing settings on your Windows 10 computer.
Enable File Sharing in Windows 10
While Windows computers come with the built-in ability to share files, this option in not enabled by default on a Windows computer.
Hence, the first step is to switch on Network Discovery and Enable File & Printer Sharing options on your computer.
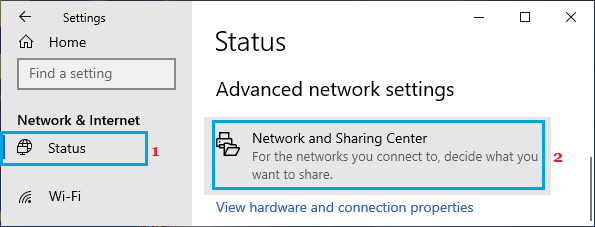
1. Go to Settings > Network & Internet > select Status in the left-pane. In the right-pane, scroll dow and click on Network and Sharing Center.
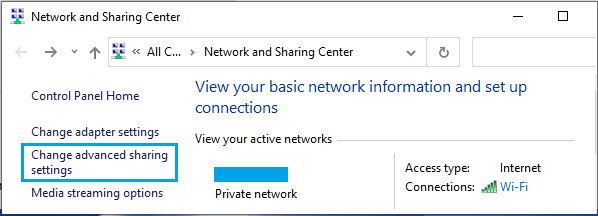
2. On the next screen, click on Change Advanced Sharing Settings link in the left-pane.
3. On the next screen, select the Network (Private or Public) over which you want to Share Files.
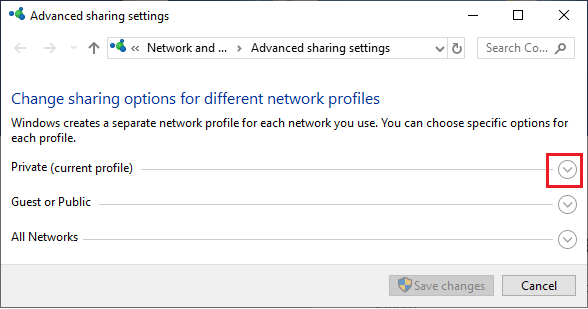
In this case, we have selected Private Network to Share Files with other computers over a Private WiFi Network.
4. Next, select Turn ON Network Discovery, Turn On File and printer sharing options and click on Save changes button.
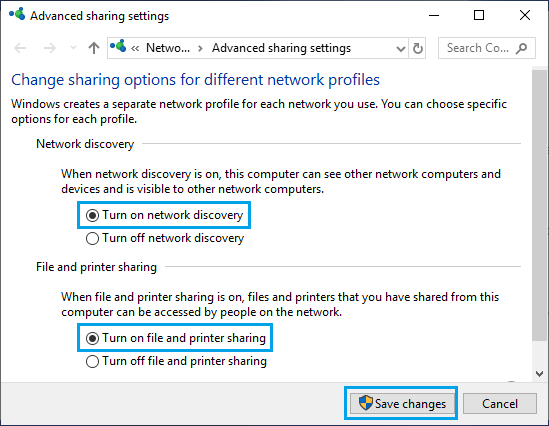
Once Network Discovery is turned ON, your computer will become visible to other computers on the network, which makes it easy for other people to locate your computer on the network.
1. Share Files Using Basic File Sharing
As mentioned above, the easiest way to Share Files and Folders on your computer is by using the basic File Sharing feature as available in Windows 10.
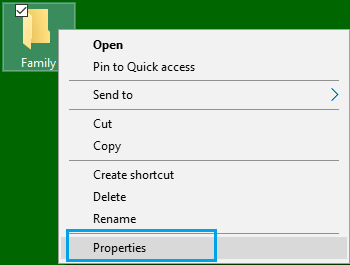
1. Right-click on the Folder containing Files that you want to share with others and click on Properties.
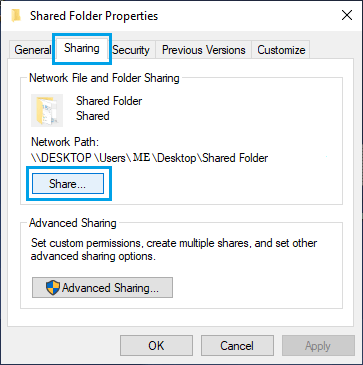
2. On File properties screen, select the Sharing tab and click on the Share button.
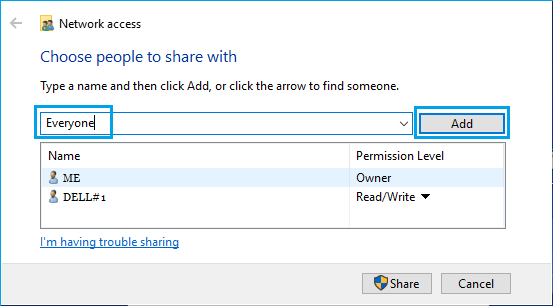
3. On the next screen, select the “User” that you want to share files with. If the User is not available, type User Name and click on the Add button.
4. Under Permission Level, select the type of sharing permissions that you want to grant to this User and click on the Share button.
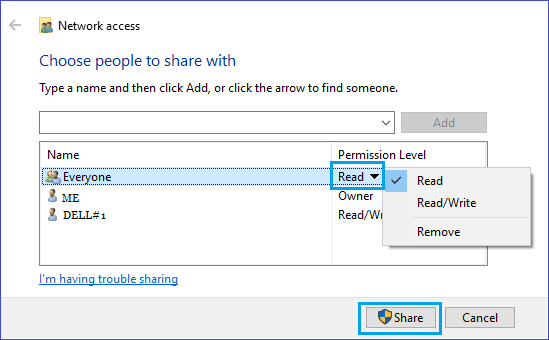
Select Read (default option), in case you want the User to just View and Open Files. If you want the User to be able to Modify and Delete Files, select the Read/Write option.
5. On the next screen, copy or note down the Network Path for the Shared Folder and click on Done.
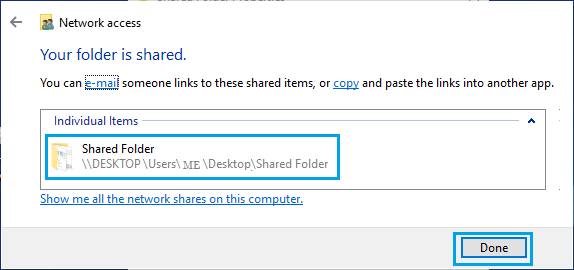
You can Email the Network Path to Users that you want to Share Files with.
2. Share Files Using Advanced Settings
The Advanced Sharing option in Windows 10 allows you to configure sharing options.
1. Right-click on the Folder containing Files that you want to share with others and click on Properties.
2. On the next screen, select the Sharing tab and click on Advanced Sharing button.
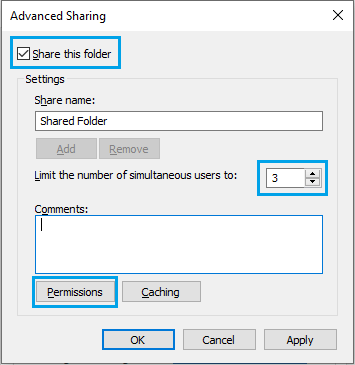
3. On Advanced Sharing screen, check Share this folder option, set the Limit for simultaneous users and click on Permissions.
4. On Permissions screen, you can customize the permissions level for specific users.

If you want the User to be able to open, edit, delete and create files, select both Read and Change boxes under “Allow” section.
5. Click on Apply > OK to close the screen and then click on OK to close the Advanced Sharing screen
Once you have completed the above steps, other Users will be able to access all the Files located in the Shared Folder on your computer.
3. Share Files Without User Name and Password Requirement
By default, anyone trying to access Shared Files located on your computer will be required to enter User Name and Password.
However, it is possible to disable this requirement by turning OFF “Password Protected Sharing” option on Advanced Sharing Settings screen.
1. Go to Settings > Network & Internet > select Status in the left-pane. In the right-pane, scroll down and click on Network and Sharing Center.
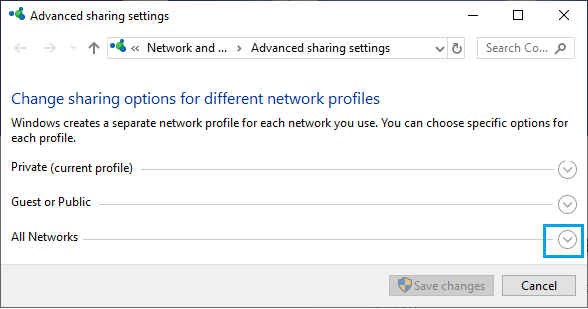
2. On the next screen, click on Change Advanced Sharing Settings link in the left-pane. On the next screen, click on All Networks.
3. Next, select Turn off password protected sharing option and click on Save changes.
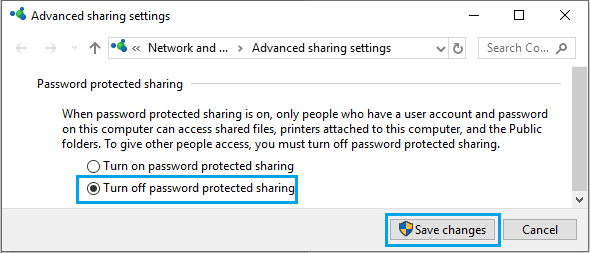
Now, when you Share Files on your computer, other Users will be able to access your files without entering User Name and Password.