If your computer is setup with Microsoft Account, you may want to create a Local Admin Account on your computer. In-fact, this is necessary; if you are using Microsoft Account as the Admin Account on your computer and you do not have a Local Admin account to manage day-to-day Admin tasks on your device.
Since, the Home Edition of Windows does not provide the option to directly create an Admin Account, the only way to create a New Admin Account is by adding a New Local Account to the computer and granting Admin Privileges to the New User Account.
Create Local Admin Accounts In Windows 11/10
In order to create New User Accounts, you need to be logged-in to the computer using an Admin Account, which in your case is likely to be the Microsoft Account (Unless you have another User account with Admin privileges).
After the New Local Account is created, the next step is to grant Admin rights to the New User Account that you just created.
1. Create Local Admin Account Using Settings
Login to your Admin Account and follow the steps below to create a New Admin Account on your computer.
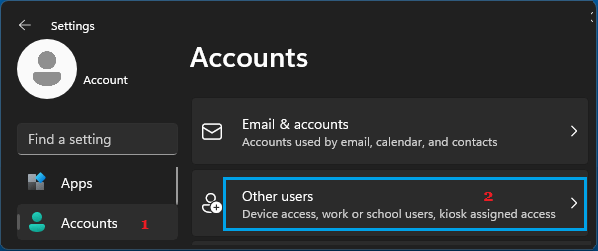
1. Click on Start button > Settings Icon.
2. On the Settings screen, select Accounts in the left-pane and click on Other Users tab in the right-pane.
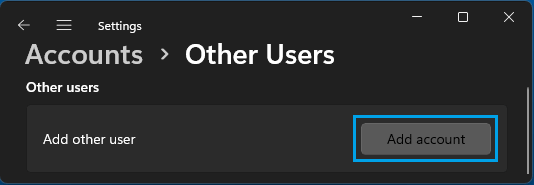
3. On the next screen, click on Add Accounts button, located next to “Add other user” option.
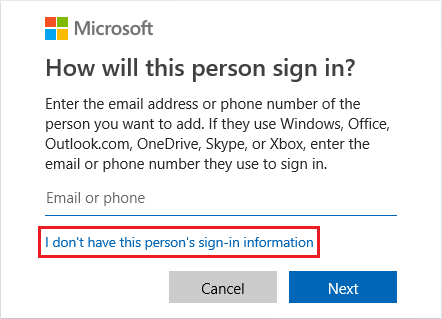
Note: The next two steps appear only if you are connected to internet or signed into Microsoft Account.
4. If prompted > click on I don’t have this person’s sign-in information link.
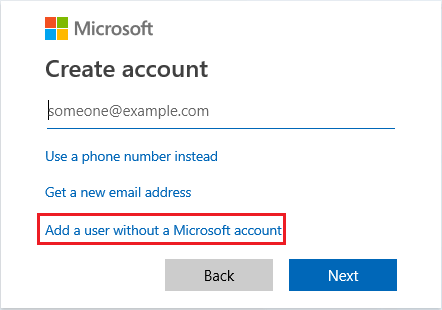
5. On Create Account screen, select Add a user without a Microsoft account option.
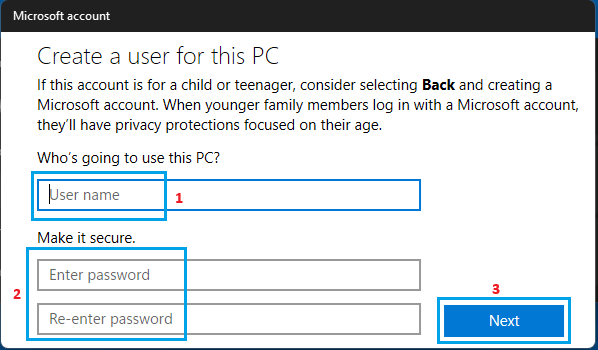
6. On the next screen, enter User Name, Password, security questions for the New Local Account and click on Next to create a New Local Account on your computer.
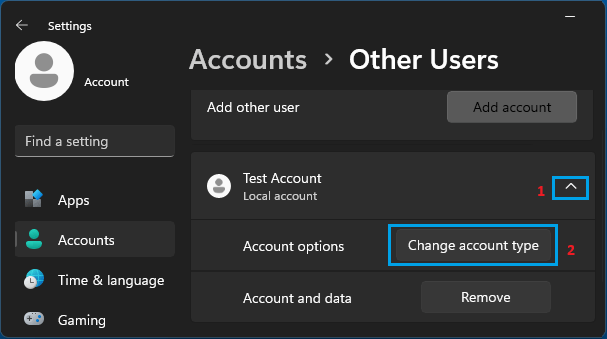
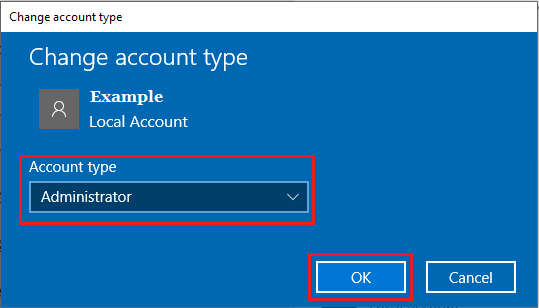
7. On the next screen, select the New Account that you just created and click on Change Account Type option.
8. On Change Account screen, select Administrator as the Account type and click on OK.
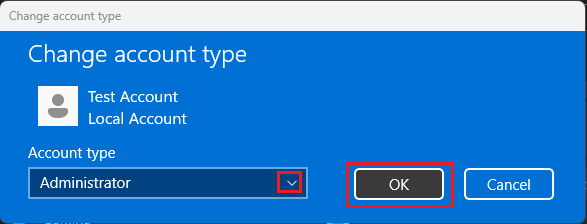
This will grant Admin privileges to the New Local Account and it can be used as an Admin Account on your computer.
2. Create Admin Account Using Command Prompt
The quickest way to create a New User Account and grant Admin rights to the newly created User Account is by using Command prompt.
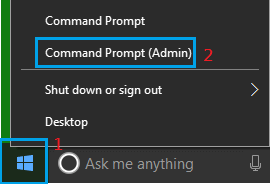
1. Right-click on the Start button and click on Command Prompt (Admin).
2. On the Command prompt screen, type net user Username /add to add a New User Account to your computer.
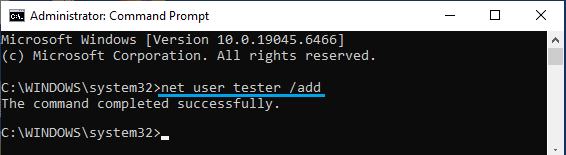
Note: Replace “Username” (tester in this case) with your desired Username.
3. Next, type net localgroup administrators Username /add to grant admin rights to the New User Account.
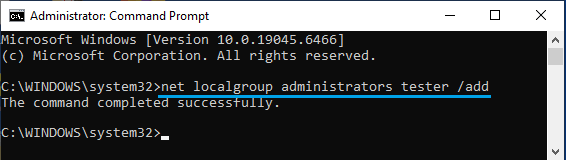
Note: Replace Username (tester in this case) with the Username that you created in step 2 (above). If the Username has spaces, enclose it in quotes (e.g., net localgroup administrators “Jim Apple” /add).
3. Create Admin Account in Windows 10
Except for a slight change in the interface, the steps to create Admin Account in Windows 10 are practically the same as in Windows 11.
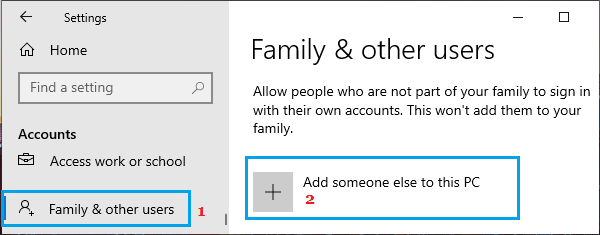
1. Go to Settings > Accounts > Family & other users > click on Add someone else to this PC.
Note: Steps 2 and 3 are required only if your computer is connected to the internet.
2. If prompted, click on I don’t have this person’s sign-in information link.
3. On Create Account screen, select Add a user without a Microsoft account option.
4. On the next screen, enter User Name, Password for your New Local Account and click on Next.
5. Next, select the User Account that you just created (it will be listed on Family & other users screen) and select Change Account Type option.
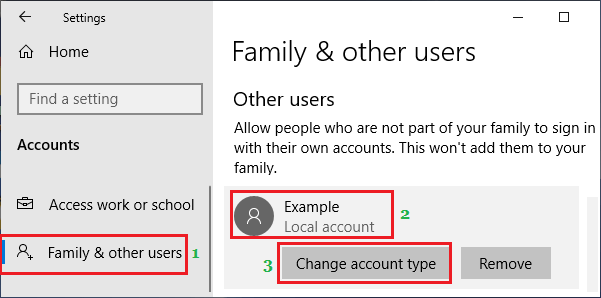
7. On the next screen, select the Account Type as Administrator.
8. Click on OK to save this change on your computer.