When you install a Windows Update on the computer, outdated files from previous Windows updates are moved to windows.old folder by the operating system.
This setup on a Windows computer is designed to prevent older system files from conflicting with the current version of Windows OS being installed on the computer.
Once the update is successfully completed, previous Windows Installation Files are no longer required by the computer and they can be safely deleted.
Delete Previous Windows Installation Files
You can setup your computer to automatically delete previous Windows installation files and also manually delete old Windows installation files at any time on your computer.
1. Automatically Delete Previous Windows Installation Files
You can setup your computer to automatically delete previous Windows installation files by enabling the “Storage Sense” feature as available in Windows.
When “Storage Sense” is enabled, previous Windows Installation files are automatically deleted from the computer, 10 days after installation of the update.
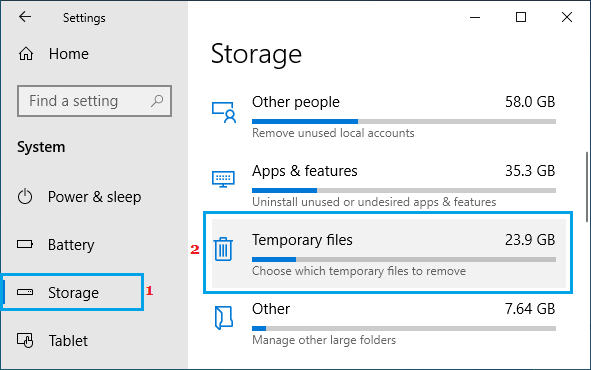
1. Go to Settings > System > Storage (left-pane) > scroll down in the right-pane and click on Temporary files.
2. On the next screen, scroll down the list and select Delete previous versions of Windows option and click on Clean now button.
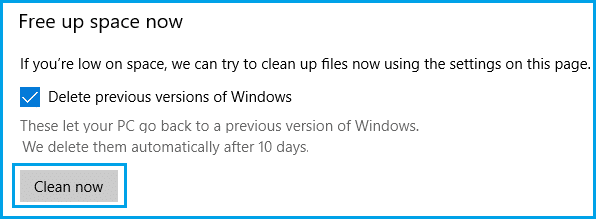
Wait for Storage Sense to remove all the Previous Windows Installation files from your computer.
2. Manually Delete Windows Installation Files Using Disk Cleanup
At any time, you can manually delete previous Windows Installation files from the computer by following the steps below.
1. Click on Start button and type Disk Cleanup in the Search bar.
2. Right-click on Disk Cleanup App in the search results and select Run as Administrator option.

3. When prompted, enter your Admin Password and wait for Windows to calculate the amount of storage space that can be saved on the computer.
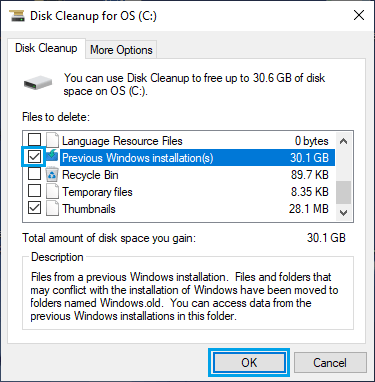
4. On the next screen, select Previous Windows Installation(s) and click on OK.
Important: Make sure you do not delete Windows ESD Installation Files. These files are required to reset your computer to Factory Default Settings.