If you are looking for a way to disable Face ID and Fingerprint login on your computer, it is likely that you prefer the tried/tested password login method or you want to disable it on a common (multi-user) computer.
According to Microsoft, all your Biometrics Data (Face, Fingerprint, Iris) remains stored on the local storage of your device and is not transferred to Microsoft servers or to any other location outside of your device.
Because this data never leaves your PC and is never collected by our servers, these credentials cannot be used by anyone – Microsoft.
Hence, using Face ID or Fingerprint to login to the computer can provide an additional layer of security for files, photos and other data stored on your computer.
Disable Face And Fingerprint Login in Windows 11/10
As mentioned above, the decision to disable Face & Fingerprint Login in the case of most regular users is driven by personal preferences and by practical considerations in the case of multi-user devices.
Hence, Windows operating system provides the option disable Face & Fingerprint Login right in the Settings Menu of the computer.
1. Disable Face & Fingerprint Login Using Settings
The easiest way to disable Face and Fingerprint login on a Windows 11/10 computer is by opening Settings and going to the Sign-in Options screen.
1. Go to Settings > Accounts > click on Sign-in options in the right-pane.

2. On the next screen, expand Facial Recognition (Windows Hallo) tab and select the Remove option.

Next, click on Fingerprint Recognition (Windows Hallo) tab and click on the Remove option.
Windows 10: Go to Settings > Accounts > Sign-in options > Select Face Recognition in the right-pane and click on the Remove button.

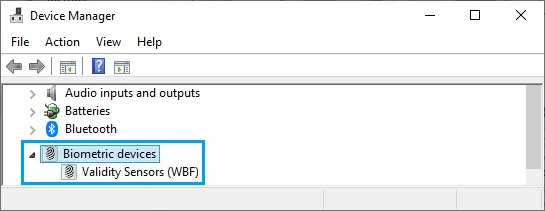
2. Disable Face ID, Fingerprint Login & Biometrics
If required, you can totally disable the use of Face ID, Fingerprint Login & Biometrics on your computer by using Device Manager and Registry Editor.
For the actual steps to disable Face ID, Fingerprint Login & Biometrics using Device Manager and Registry Editor you can refer to this guide: How to Disable Face Detection & Biometrics in Windows.