The most common reason for disabling internal speakers on a Windows computer is to prevent the computer from producing an unexpected sound in a quite environment like a library or hospital.
In case of regular users, disabling of internal speakers can be done to force audio to always play on headphones or on better quality external speakers attached to the computer.
Another reason for disabling internal speakers would be to prevent the audio from automatically switching to internal speakers, when headphones are disconnected.
Disable Internal Speakers in Windows 11/10
You can find below 2 different methods to disable the Internal Speakers on a Windows computer, without having any impact on the computer’s ability to connect to Headphones and External Speakers.
1. Disable Internal Speakers Using Control Panel
You can follow the steps below to disable Internal Speakers and make external speakers as the default speakers on your computer.
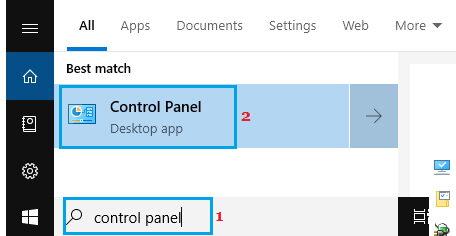
1. Type Control Panel in the Search bar and click on Control Panel Desktop App in the search results.
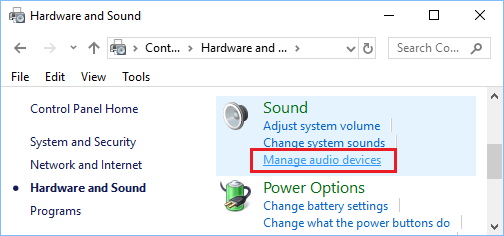
2. From the Control Panel screen, go Hardware and Sound > click on Manage Audio Devices option in the Sound section.
3. On the next screen, right-click on the Internal speaker’s device listing (usually listed as Speakers) and click on Disable.
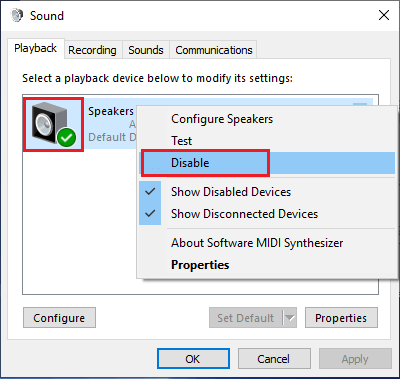
4. Click on Apply and OK to save this setting.
5. After this, plug Headphones or External speakers into the Audio-out port of the computer.
Your computer should automatically recognize the Headphones or External Speakers and set them as the default speakers on your computer.
2. Disable Internal Speakers Using BIOS/UEFI
If you are unable to disable Internal Speakers using Control panel, you can disable them by going to the UEFI Settings screen on your computer.
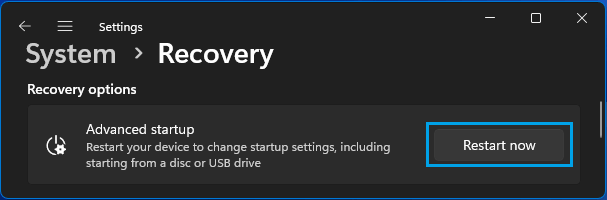
1. Open Settings > select System in the left-pane. In the right-pane, scroll down and click on the Recovery tab.

2. On the next screen, scroll down and click on Restart now button located in “Advanced Startup” section.
Windows 10: Go Settings > Update and Security > Recovery (left-pane) > In the right-pane, scroll down to “Advanced Startup” section and click on Restart Now.
3. On the confirmation pop-up, click on Restart now button.
4. When the computer restarts, navigate to Troubleshoot > Advanced options > click on UEFI Firmware Settings option.
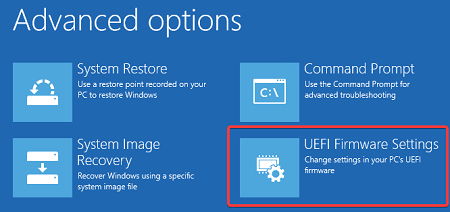
5. On the next screen, click on Restart to enter the UEFI Firmware settings screen on your computer.
6. On the UEFI screen, expand System Configuration > select Audio and uncheck Enable Internal Audio option.
7. Click on Apply > Exit to save this setting on your computer.