If you are looking for a way to download all photos from iCloud to PC, it is likely that you are either trying to free up the storage space in your iCloud Account or want to have a copy of all your photos on the computer as well.
Since, the process of downloading photos from iCloud to PC involves two different eco-systems; you will be dealing with certain issues and limitations.
- Select/Download Photos: There is no “Select All” or “Download All” option in iCloud, which makes it difficult to select and download all photos from iCloud to computer.
- Batch Download: Even if you do manage to select your entire iCloud Photo Library, the download is likely to fail or time out due to the maximum download limit of 1,000 photos at a time.
- iCloud for Windows: iCloud for Photos app is known to run into issues; especially while dealing with a large number of photos.
Related: How to Transfer Photos from iCloud to External Hard Drive.
Download All Photos from iCloud to PC
Although, there is no “Select All” or “Download All” option on iCloud, you can still select and download up to 999 photos from iCloud to computer by making use of a keyboard shortcut as provided below in this guide.
Alternatively, you can completely by-pass the browser limit and avoid problems associated with iCloud for Windows App by requesting a copy of your iCloud data on Apple’s “Data and Privacy” website.
1. Download All Photos From iCloud to PC
As mentioned above, you can select and download up to 999 photos by making use of Shift + Ctrl + Alt keyboard shortcut.
1. Go to icloud.com on your Windows Computer.
2. Login to your iCloud Account by entering your Apple ID and Password.
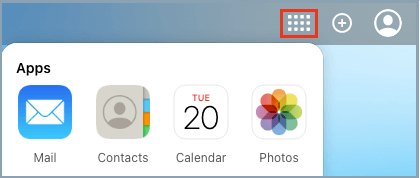
3. Once you are signed-in, select Apps Icon and then click on the Photos icon.
4. Once you are in iCloud Photos, switch to Photos Tab and select the First Photo.
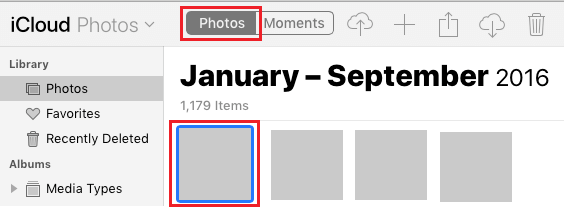
Once the First Photo is selected, press and hold Shift + Ctrl + Alt Keys and then press the Down Arrow Key to select All iCloud Photos.
Note: You can scroll down to bottom of the page and click on the Last Photo.
5. Once All Photos are selected, click on the Download icon to begin the process of downloading all iCloud Photos to your computer.
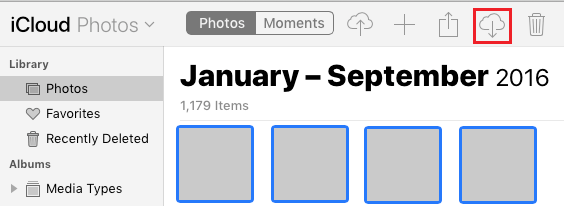
Unless you have changed the default settings, all iCloud Photos will be downloaded to the ‘Downloads’ Folder on your Windows computer.
2. Submit Apple Privacy Download Request
This method allows you to submit a formal request for a copy of all your iCloud photos to Apple. After submitting the request, you can expect Apple to send you (by email) the links to downloadable ZIP files; containing your entire photo Library.
1. Go to Apple’s Data & Privacy website.
2. Sign-in by using your Apple ID and Password.
3. You may be required to answer two Security questions.
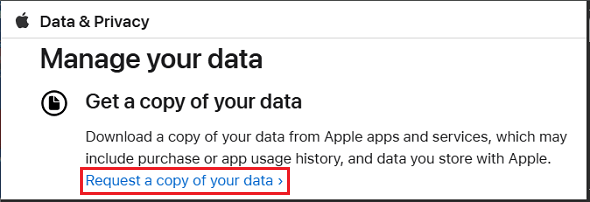
4. On “Manage your data” screen, click on Request a copy of your data link.
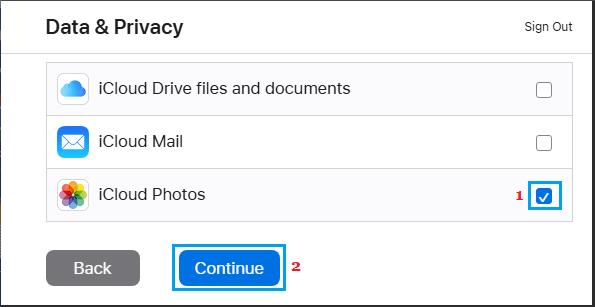
5. On the next screen, select the check box next to iCloud Photos; scroll down to bottom of the page and click on Continue.
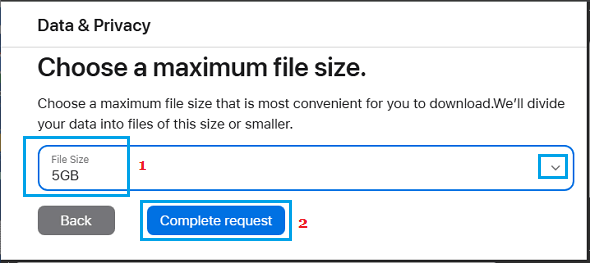
6. On “Choose a maximum file size” screen, select your preferred File Size (from 1 to 25GB) and click on Complete Request.
After the request is sent; Apple can take up to 7 days to verify your identity, prepare a copy of all your iCloud photos and send you the links to downloadable ZIP files.
Note: When the files are ready, you will be receiving an email alert from Apple and will be required to download the ZIP files within 2 weeks of this email alert.
3. Download All Photos Using “iCloud For Windows” App
The default setting in “iCloud for Windows” App is to show only the thumbnails of your iCloud photos and not the actual images. While you can select “Always keep on this device” option; the resulting sync process can choke up and get stalled on large photo libraries.
Also, this App is also known to randomly generate duplicate images, crash while trying to convert Apple’s HEIC format images, run into issues and corrupt the local database; if the internet connection drops.
Hence, this method is recommended; only if you are dealing with a small number of photos.
1. Download iCloud For Windows application on your Computer.
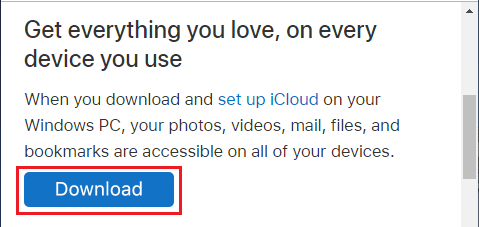
2. Once the download is complete, click on the downloaded iCloud Setup file and follow the onscreen instructions to Install iCloud For Windows on your computer.

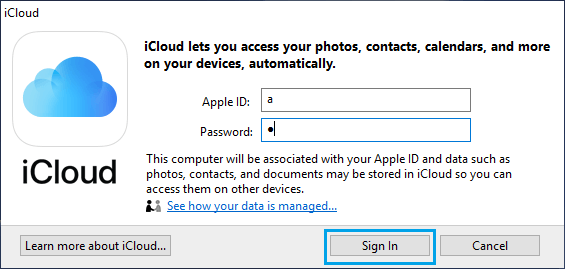
3. When prompted, Sign-in to your iCloud Account by entering your Apple ID and Password.
4. On the next screen, select Photos option by clicking in the little box next to Photos.
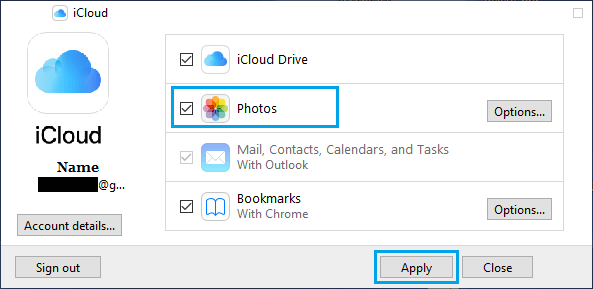
Note: If you are dealing with a small number of photos, you can click on the Options button next to Photos and select “Always keep on this device” box.
5. On the pop-up, select iCloud Photo Library option and click on Done.
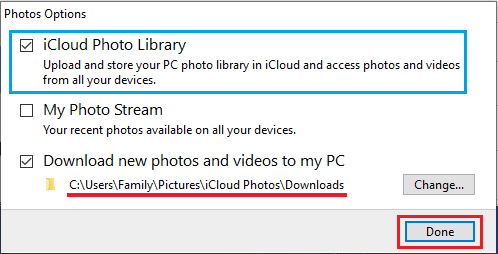
Note: You can change the iCloud download location by clicking on the Change button.
6. Click on Apply to begin the process of syncing all iCloud Photos to the Downloads Folder on your computer.
7. Once all iCloud photos are downloaded, open the File Explorer on your computer.

8. On the File Explorer screen, select iCloud Photos in the left-pane and click on the Downloads Icon in the right-pane.
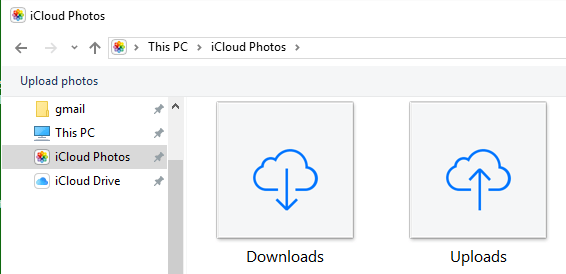
9. On the next screen, click on the Downloads Folder to see all your iCloud Photos arranged in different sub-folders.
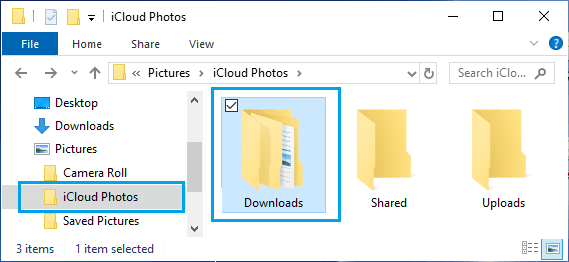
Note: The photos that you see in the downloads folder are likely to be thumbnails of your actual photos on iCloud, unless “Always keep on device” option was selected.
As mentioned above, selecting “Always keep on device” option can lead to problems; if there are a large number of photos in your iCloud Photo Library.