The new MacBook Pro comes with a Touch ID power button, which allows you to unlock your device using Touch ID. You can find below the steps to Enable Touch ID on MacBook Pro.
Enable Touch ID on MacBook Pro
You can now unlock MacBook Pro using Touch ID, instead of typing a password every time your computer goes to sleep.
Once Touch ID is enabled on the MacBook, it allows you to make purchases on the App Store, iTunes and Apple Pay purchases using Touch ID.
1. Add Fingerprint to MacBook
You can can add a maximum of 5 fingerprints per Mac. In case of multiple Accounts, you can add a Maximum of 3 fingerprints per user account.
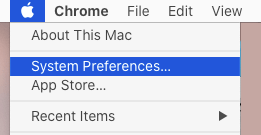
1. Click on Apple icon located in the top menu-bar and select System Preferences in the drop-down menu.
2. On System Preferences screen, click on Touch ID. On the next screen, click on Add a Fingerprint option.
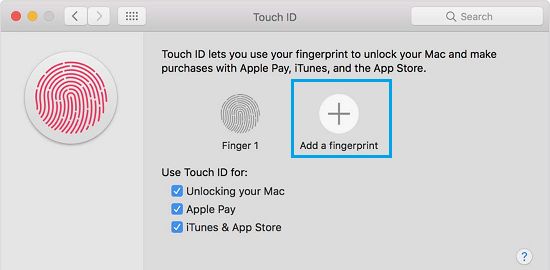
3. When prompted, enter your Admin Password and click on OK and follow the on-screen instructions to finish setting up your Touch ID.
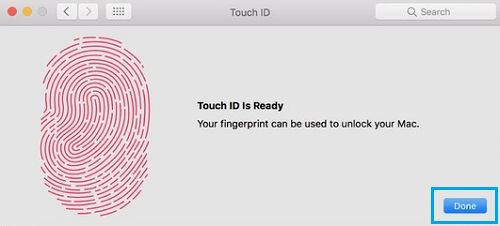
4. Once Touch ID has been added, click on the Done button to save your fingerprint to Mac.
2. Unlock MacBook Using Touch ID
The first time you restart the computer after setting up Touch ID, you will be required to enter your User Account Password.
After this, you will be able to use Touch ID to unlock Mac, make App Store purchases and use Touch ID to authorize purchases using Apple Pay.
All that is required to Unlock MacBook using Touch ID is to wake up your MacBook by lifting the lid, tapping on the touch-pad or pressing any key on the keyboard.
Once the MacBook wakes up, place your finger on the power button and you will be logged in to your device.
3. Remove Fingerprints from MacBook Pro
If you decide not to use Touch ID anymore, you can remove your fingerprints from MacBook Pro.
1. Click on Apple icon located in the top menu-bar and select System Preferences in the drop-down menu.

2. On System Preferences screen, click on Touch ID. On the next screen, hover mouse over the Fingerprint that you want to delete and click on the x icon that appears at the top-left corner of the fingerprint.
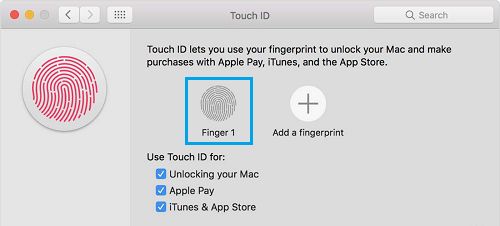
3. When prompted, enter your Admin Password and click on OK. On the pop-up, tap on the Delete button to remove your Fingerprint from MacBook.

Once the Fingerprints are removed, you won’t be able to unlock your computer using Touch ID.