If your computer is coming up with “Windows has stopped this device Code 43” error message, the problem is most likely related to improper functioning of the Graphics Device on the computer.
This error message usually occurs due to the built-in safety feature in Windows operating system, which automatically stops faulty devices from running and causing software or hardware related damage on the computer.
Fix Graphics Device Related Code 43 Error (NVIDIA & Intel)
While Code 43 error is usually associated with NVIDIA & Intel graphics cards, it can also occur if any graphics Card (AMD, Samsung or others) fails to load or crashes after loading on the computer.
In most cases, the occurrence of “Code 43” error on a Windows computer can be fixed by updating the Driver software and Uninstalling and Reinstalling the Drivers.
1. Shut Down the Computer & Restart
The simplest reason for this problem could be due to drivers for the graphics card not being properly loaded by the operating system and this can be fixed by restarting the computer.
Shut down the computer > Wait for 60 seconds > Press the Power button to restart the computer.
As the computer restarts, it should load up the right driver software required for proper functioning of all the hardware devices on your computer.
2. Update Graphics Card Driver
1. Right-click on Start button > click on Device Manager.
2. On Device Manager screen, open Display Adapters entry > right-click on the listed Graphics Driver and select Update driver option.
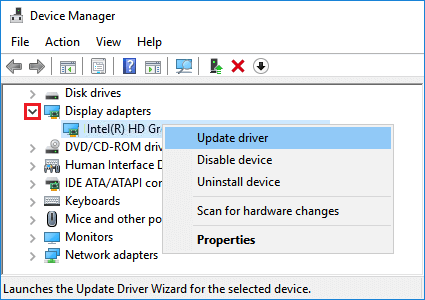
3. On the next screen, click on Search automatically for updated driver.. option and follow the instructions to update the Driver.
After updating the Graphics Card Driver, Restart the computer and see if the problem is now fixed.
3. Download Updated Driver from Manufacturers Website
If Windows is unable to find the driver, visit the manufacturers website (NVIDIA, Intel, etc.) and see if an update for the driver is available.
If an update is available, download the driver software file on your computer > double click on the File and follow instructions to install the updated driver on your computer.
4. Uninstall and Reinstall Graphics Driver
In certain cases, the problem is due to the Graphics Card Driver being corrupted and this can be fixed by uninstalling the device driver and reinstalling it back again.
1. Open Device Manager > Expand Display Adapters entry, right-click on Graphics Driver and select the Uninstall Device option.
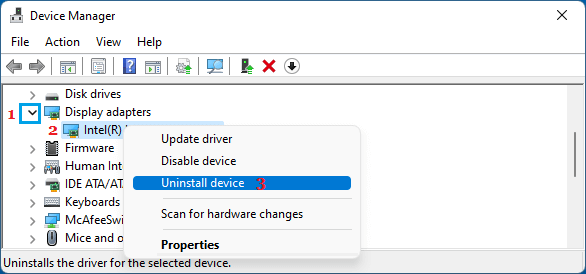
2. On the pop-up that appears, select Attempt to Remove the driver for this device option and click on the Uninstall button.
After removing the driver, restart the computer and Windows should automatically install the required driver.
5. Install Updates
It is possible that Microsoft has released an update to fix the incompatibility or other problem with the driver software.
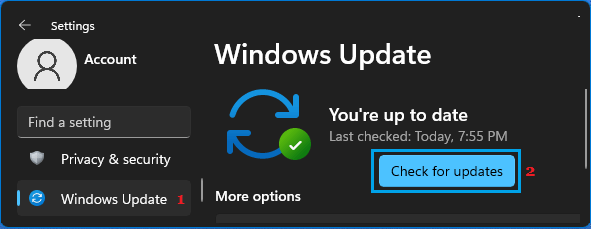
Windows 11: Go to Settings > Windows Update (left-pane) > click on Check for Updates button in the right-pane.
Windows 10: Go to Settings > Updates & Security > Windows Update and click on Check for Updates button in the right-pane.
Wait for Windows to check for updates and follow the on-screen instructions to download and Install the Update (If available).