In general, internet connectivity error message reading “Unable to Connect to Proxy Server” is usually noticed on computers using a proxy server or VPN service to connect to internet.
However, the same error message can also appear on computers that are not using proxy settings due to incorrect network settings, outdated browser cache, malware and other reasons.
Can’t Connect to Proxy Server Error in Windows 11/10
If you are unable to connect to internet due to Proxy Server error, you can start by clearing the browser cache to rule out the possibility of the problem being caused due to corrupted cache files.
If clearing the cache does not help, you can move to other troubleshooting steps as provided below in this guide.
1. Clear Browser Cache
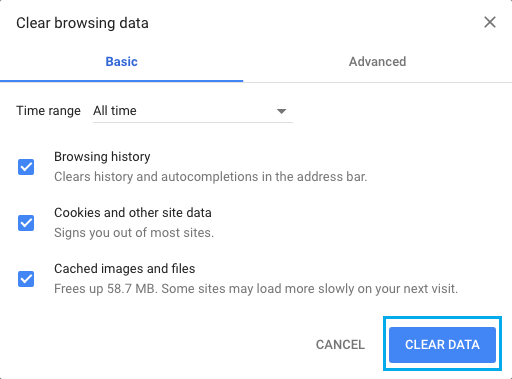
1. Open Google Chrome browser > click on 3-dots menu icon > More Tools > Clear Browsing Data.

2. On the next screen, set All Time as the ‘Time Range’ > check Browsing History, Cookies and other site site data, Cached images and files options and click on Clear Data button.
After Clearing Browsing Cache, see if you are able to connect to internet.
2. Flush DNS and Reset IP
1. Type CMD or Command in the Search bar > right-click on Command Prompt in the search results and select Run as Administrator option.

2. On the Command Prompt screen, type the following Commands one-by-one and hit the enter key after each command.
- ipconfig /flushdns
- netsh int ip reset
- netsh winsock reset
After executing above Commands, Restart the computer.
3. Check Proxy Server Settings
If you are using a Proxy Server or VPN, check the VPN Settings on your computer and make corrections as required.
1. Go to Settings > Network and Internet > VPN > click on VPN Name > Advanced Options.
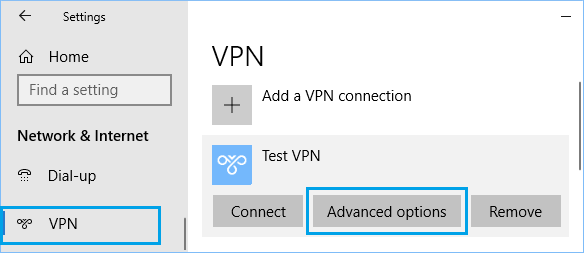
2. On the next screen, make sure VPN Name, Address and other details are correct. If not, click on the Edit button.
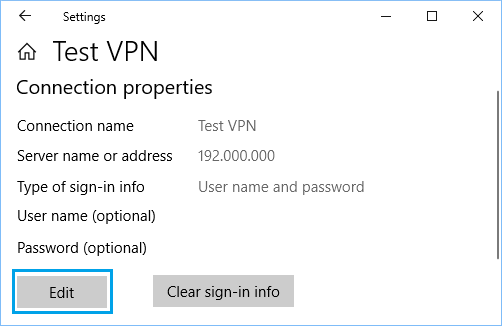
3. On the next screen, Enter Correct VPN Name and Address.
After correcting Proxy Settings, you should be able connect to internet.
4. Disable Proxy Settings
Disable Proxy settings on your computer to rule out the possibility of the problem being caused due to VPN.
1. Go to Settings > Network and Internet > select Proxy in the left-pane. In the right-pane, scroll down and uncheck Use a Proxy server option.
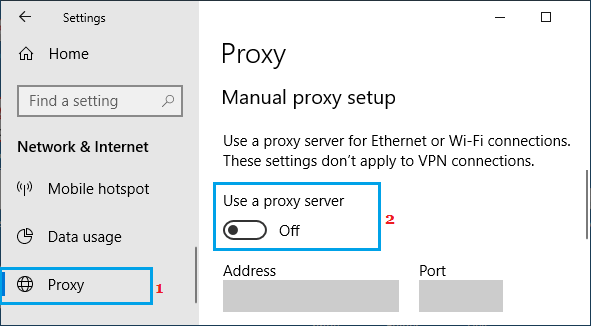
Make sure that ‘Address’ and ‘Port’ Fields under ‘Manual Proxy Setup’ section are empty.
After disabling Proxy server, open the web browser on your computer and see if you are able to connect to internet.
5. Reset Internet Options
Unable to connect to Proxy Server error can be caused due to change in network settings.
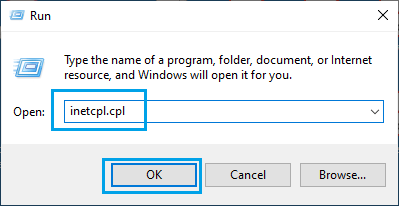
1. Right-click on the Start button and click on Run. In the Run Command window, type inetcpl.cpl and click on OK.
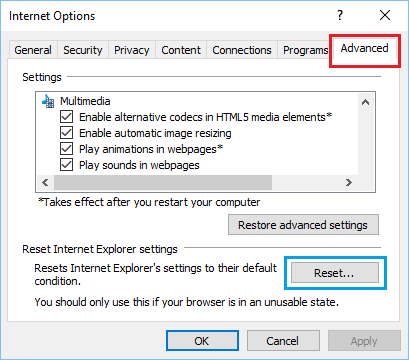
2. On internet properties screen, select Advanced tab and click on the Reset button.
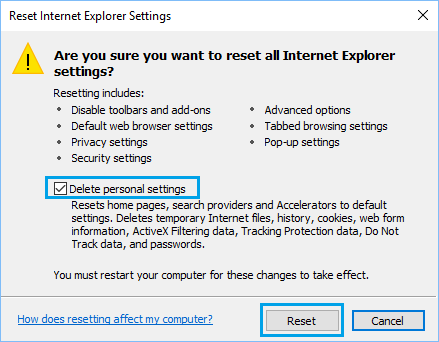
3. On the next screen, check Delete Personal Settings option and click on Reset.
Restart the Computer and see if you can connect to internet without seeing any error message.
6. Reset Chrome Browser to Default Settings
Reset Chrome Browser to its default settings and see if this helps in fixing the problem.
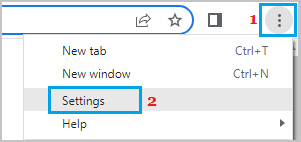
1. Click on 3-dots icon and select Settings option in the drop-down menu.
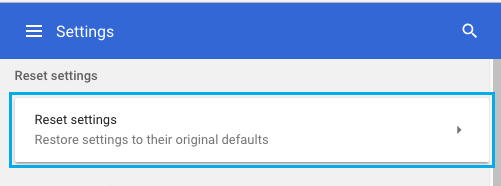
2. On Chrome Settings screen, select Reset Settings in the left-pane. In the right-pane, click on Restore Settings to their original defaults option.
3. On the confirmation pop-up, click on Reset Settings to confirm.
After Chrome Browser is Reset, try to access any webpage and see if you are still getting Google Chrome has stopped working error.
7. Scan For Malware
In certain cases, the problem could be due to presence of viruses or malware on the computer. Hence, scan the computer for presence of malware by using the third-party antivirus program installed on your computer.
It is also recommeded that you use Windows Defender offline scan to throughly check the computer for malware and harmful programs.