Although, Microsoft has officially deprecated its legacy “Backup & Restore (Windows 7)” tool (years ago), it is still available in Windows 11 and continues to be sought by users; due to its ability to create a System Image Backup of the entire operating system and Backup Files located on the local hard disk of the computer to an external storage drive.
Since, the steps to create a System Image Backup; using the Backup & Restore Tool have been already covered in our previous article, this guide is focussed on using the Backup & Restore to Backup Files located on your computer to an external storage drive.
Note: According to Microsoft, the Backup & Restore tool can still be used to create System Image Backups. However, when it comes to backing up files; it recommends cloud-based solutions & Backup using File History.
Backup Files Using “Backup & Restore” Tool
Before going ahead with the steps to Backup files using the “Backup & Restore” tool, make sure that the USB Drive or External storage drive attached to the computer has sufficient storage capacity and it is formatted to the recommended NTFS Format.
The reason for NTFS being the recommended file format is due to FAT32 having a maximum file size limitation of 4 GB; which makes it incapable of handling large files.
1. Backup Files Using “Backup & Restore” Tool
You can follow the steps below to Backup Files located on the local hard disk of the computer to an external storage drive attached to the computer.
1. Connect USB Drive or External Storage Device to USB Port of the computer.
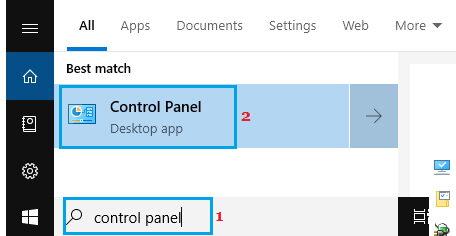
2. Type Control Panel in the Search bar > click on Control Panel Desktop App in the search results.
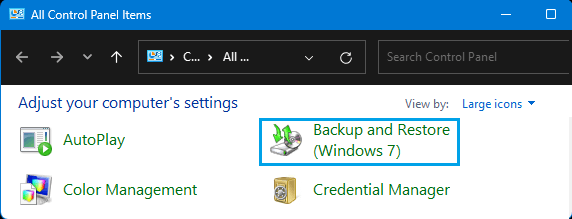
3. On the Control Panel screen, switch to Large Icons view and click on Backup & Restore (Windows 7).
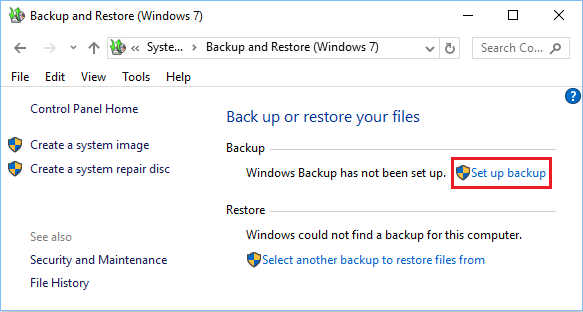
4. On the next screen, click on Setup Backup option, located under “Backup” section.
5. On Set up backup screen, select your attached Backup Drive and click on Next.
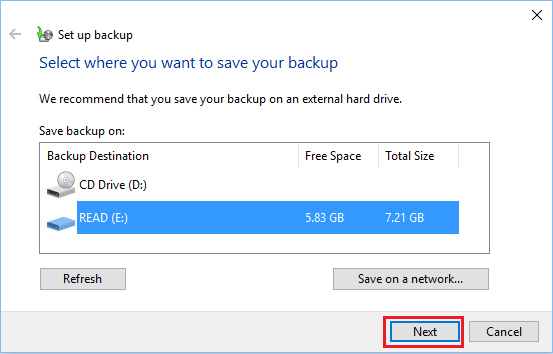
Note: You can also Backup Files to OneDrive, Google Drive or Drop Box by clicking on Save on Network… button.
6. On the next screen, select Let Windows Choose or “Let me Choose” option and click on the Next button.
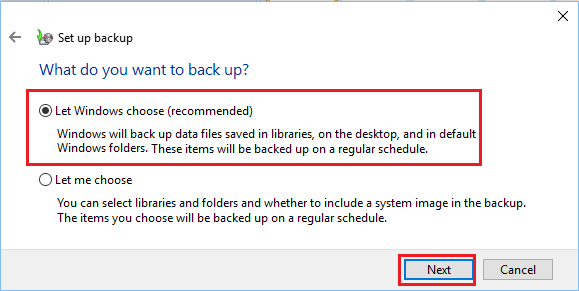
Note: If the Backup Drive has limited storage space, select Let Me Choose option and manually select the Files and Folders to be included in the Backup.
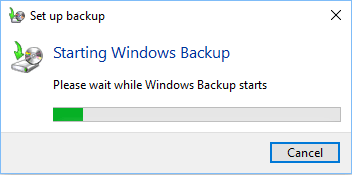
7. Wait for Windows to start the Backup process.
8. On the next screen, make sure that you are happy with the Backup Settings and click on Save settings and run backup button to make the first Backup of files to an external storage device.
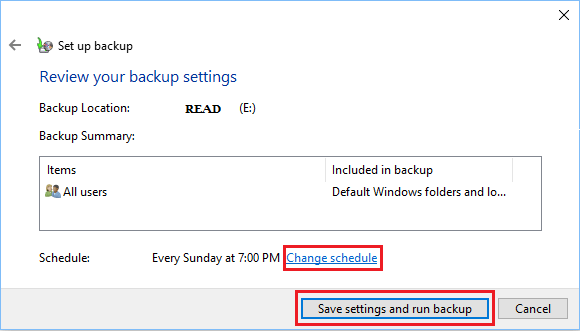
Note: You can Change the Backup time or Disable Scheduled Backups by clicking on Change Schedule and unchecking Run backup on a schedule option on the next screen.
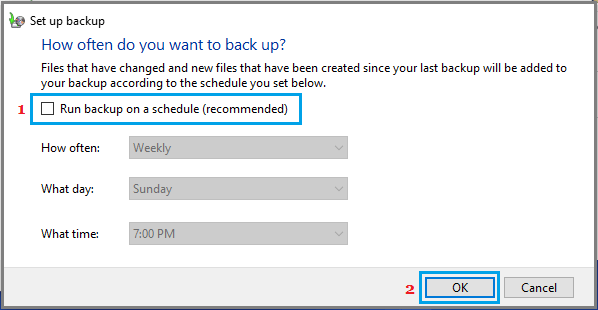
After disabling “Run backup on schedule” option, click on Save settings and run backup button to Backup the selected files to an External storage drive attached to the computer.
2. Restore Files Using “Backup & Restore” Tool
If you end up deleting files or losing files due to a problem, you can follow the steps below to Restore Back the lost Files on your computer.
1. Open the Control Panel on your computer.
2. On the Control Panel screen, click on Backup & Restore (Windows 7).
3. On Backup and Restore screen, click on Restore My Files button located under “Restore” section.
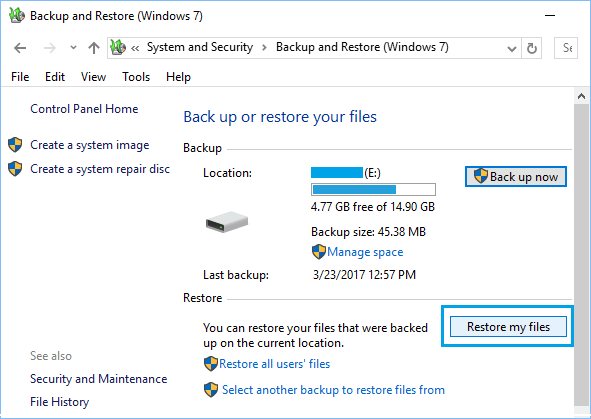
4. On the next screen, click on Browse for Folders button to select the Folders from the Backup that you want to Restore.
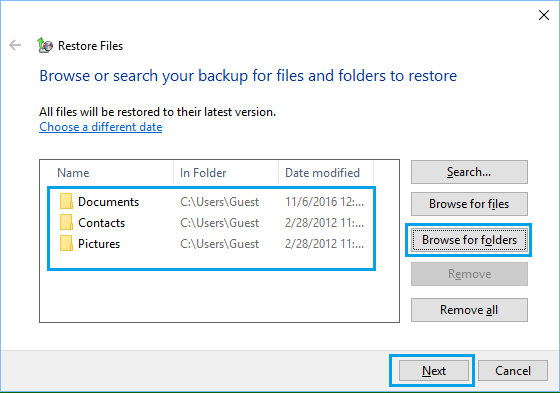
5. After selecting Folders, click on Next to start the process of restoring Folders from the Backup to your computer.