If your computer is coming up with “Your Webcam is currently being used by another application” message, you should be able to view and close the app that is using the camera by going to Task Manager.
However, this error message is also known to occur even when the camera is not being used or occupied by any App or Desktop program on the computer.
In such cases, the problem could be due to camera related services like “Windows Camera Frame Server” being disabled, the video calling app that you are trying to use being corrupted/damaged or camera access to the App not being enabled.
Webcam is Being Used by Another Application
Depending on the reason, you should be able to fix “Webcam is being used by another application” error on your computer using any of the following methods.
1. Close App/Apps That Are Using the Camera
As mentioned above, the app that is using the camera should show up in the Task Manager and it can be easily closed or terminated.
1. Press Ctrl + Shift + Esc keys to open the Task Manager on your computer.
2. On the Task Manager screen, select the App or Desktop program that is using the camera and click on End Task button.
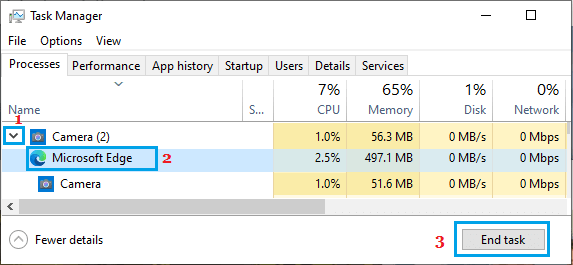
3. Similarly, close other unecessary Apps that are using the camera.
2. Enable Camera Access
Make sure that the App that you are trying to use has the permission to access the camera on your computer.
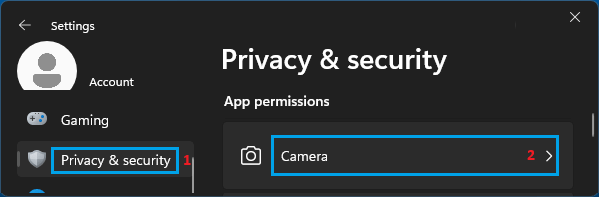
1. Go to Settings > Privacy & Security > Scroll down to “App permissions” section and click on Camera.
2. On the next screen, expand Let Apps access your camera and Let desktop apps access your camera tabs.
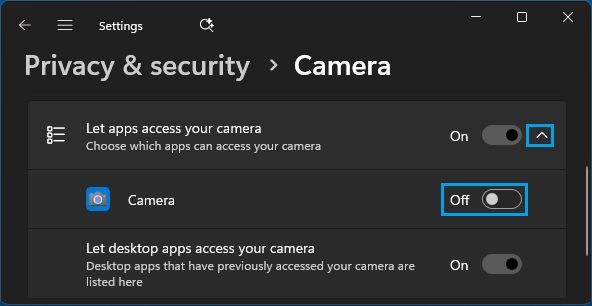
As you can see in above image, the Camera App has been switched OFF and needs to be switched ON by moving the toggle to ON position.
3. Update Camera Drivers
Make sure that the Camera App is using the latest device drivers.
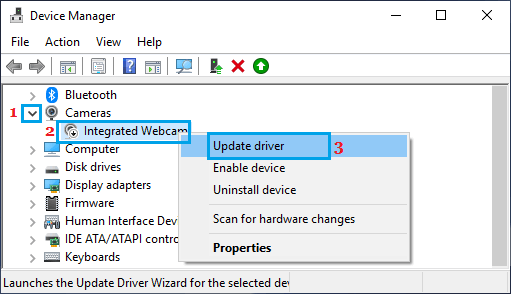
1. Right-click on Taskbar and click Device Manager.
2. On the Device Manager screen, expand Cameras or Imaging Devices > right-click on your webcam and click on Update Driver.
3. On the next screen, click on Search Automatically for updated driver software option.
4. Allow Windows to search for the updated driver and follow the prompts to install the updated driver (if available).
4. Start Windows Camera Frame Server
As mentioned above, the problem could be due to Windows Camera Frame Server being stopped.
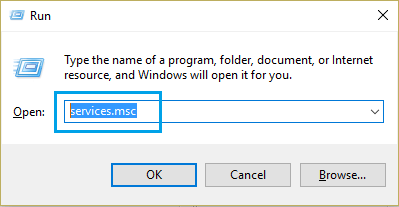
1. Press Win + R keys > type services.msc and press the Enter key
2. On the Services screen, double-click on Windows Camera Frame Server.
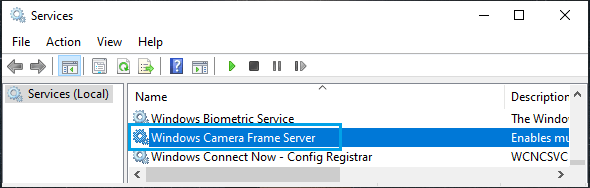
3. On the next screen, make sure the Startup type is set to Manual and click on the Start button.

As you can see in above image, the problem was due to this camera related service being stopped.
5. Repair/Reset the Camera App
It is possible that the error message is being caused by a software glitch or a bug in the Camera App.
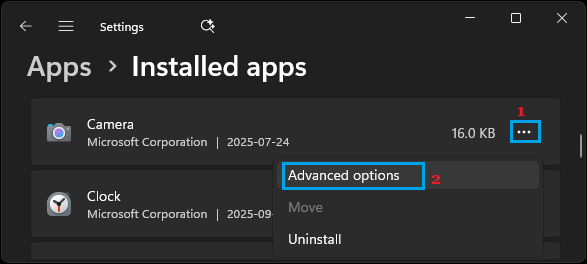
1. Go to Start > Settings > Apps > Installed Apps.
2. On the next screen, click on 3-dots icon located next to the Camera App and select Advanced options.
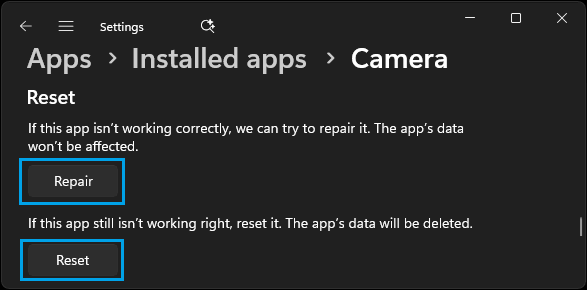
3. On the next screen, click on the Repair option first, followed by Reset.
Windows 10: Go to Settings > Apps > Apps & Features > Camera > Advanced options > click on the Reset button.
Restart the computer and you should now be able to use the Camera App, without encountering any error message.
6. Temporarily Disable Antivirus Protection
In certain cases, the problem is due to Microsoft Teams or the video calling that you are trying to use being blocked by the Antivirus program installed on the computer.
To confirm, you can temporarily disable the third-party antivirus program installed on the computer and see if this allows you to use the Camera.
If it does, go to Privacy Protection tab of the Antivirus program > click on Video & Audio Protection > disable Webcam Protection.