Earlier it was possible to switch between App Stores by simply selecting a different Country on Apple ID Settings screen. Currently, this option is no longer available and you will be prompted to enter your payment Information, when you try to switch to a different App Store.
However, even if you enter your current credit card information, you are likely to get an error message saying that your Credit Card is not valid for this region.
Hence, the only way to change Country or Region in App Store without using a Credit Card is to switch to a New Apple ID and this process involves the following three steps.
- Sign Out Of Current Apple ID
- Create New Apple ID
- Sign in to New Apple ID
1. Sign Out of Current Apple ID
Follow the steps below to sign-out of your current Apple ID on iPhone.
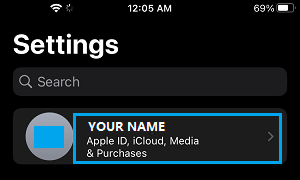
1. Open Settings > tap on your Apple ID.
2. On Apple ID screen, scroll down and tap on the Sign Out option.
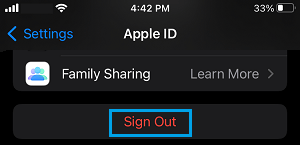
3. On the confirmation pop-up, select the Sign Out option to Confirm.
After signing out of Apple ID, the next step is to create a New Apple ID
2. Create New Apple ID
In order to create a New Apple ID you need to have another Email Address that is not associated in any way with Apple (Current or past Apple ID’s).
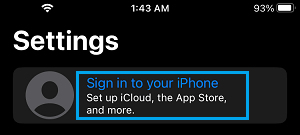
1. Go to Settings > tap on Sign in to your iPhone link.
2. On the next screen, tap on Forgot password or don’t have an Apple ID? link.
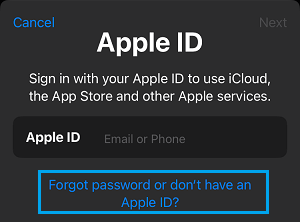
3. On the pop-up, select Create Apple ID option.
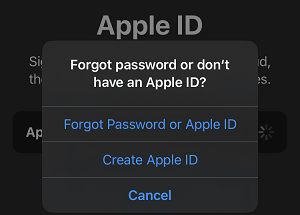
4. On the next screen, enter your First Name, Last Name, Date of birth and tap on Continue.
5. On the next screen, type your Email Address and tap on Continue.
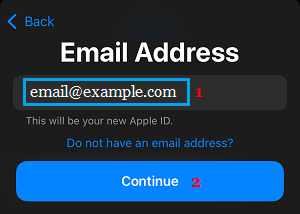
6. Follow the next set of onscreen instructions to create password, select Country and complete the process of creating your New Apple ID.
Once the process is completed, you will receive a confirmation Email from Apple.
7. Login to your Email Account and confirm your Apple ID Email Address.
3. Sign in to New Apple ID
Once a New Apple ID is ready, you can follow the steps below to Sign-in to your device.
1. Go to Settings > tap on Sign in to your iPhone link.

2. On the next screen, enter your New Apple ID and Password in order to sign-in to your device.
3. Once you are signed-in, follow the onscreen instructions to review your Apple ID, until you reach the option to select your payment method.
4. Since you do not have a credit card, select your Payment method as None, enter your Shipping address, Phone Number and tap on Next.
Note: You can enter your current Phone Number, but the Shipping Address needs to be an address from the country that you have selected.
5. You will be taken to a Congratulations page, tap on Done to save the changes.
From now on, you can switch between the two App Stores by just signing out of your current Apple ID and then signing into your new Apple ID associated with the App Store of your chosen country.