If you are experiencing network connectivity issues and slow browsing speeds, you may want to change the DNS Server on your Router to Google DNS, Open DNS or Cloudflare and see if this helps.
In order to change Router DNS, you need to know its IP Address and also the User Name and Password that is required to login to the Router.
The advantage of changing Router DNS is that it automatically makes all the devices on your Wi-Fi Network to use the New DNS.
How to Find Router IP Address, User Name, Password?
User Name: The User Name for your Router is likely to be Admin, cusadmin or just left blank. If these User Names do not work, you should be able to find the User Name from manufacturers website.
Password: The Login Password for your Router is likely to be password, 12345 or just left blank. If you had changed the login password, you should be able to use your Wi-Fi Network Password to login to your Router.
IP Address: Unless you had changed it, the IP Address of your Router is likely to be 192.168.0.1, 192.168.1.1 or 192.168.2.1.
You should also be able to find the IP Address of your Router in the User Manual, on Manufacturers website or on a sticker attached to the back of your Router.
If you had changed the IP Address and cannot find it, you can find the IP Address of your Router by using steps provided in this guide: How to Find Router IP Address.
Steps to Change Router DNS Server
Once you have all the information that is required to login to the Router, you can follow the steps below to change the DNS Server on your Router to Google DNS, OpenDNS or any other DNS service providers.
1. Open Google Chrome or any other web browser on your computer
2. Type the Router IP Address in the address bar of the browser and press the Enter key.
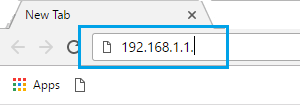
Note: There is no http:// before the IP address.
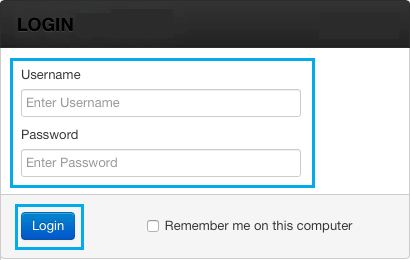
3. On the Router Login screen, enter the Username and Password to login to your Router.
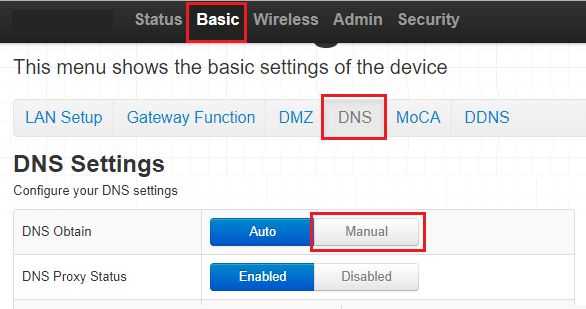
4. Once you are logged-in to the Router, the exact location of DNS Settings page will depend on the manufacturer of your Router.
- Cisco: Setup > Lan Setup
- D-Link: Internet > Setup
- Linksys: Setup > Basic Setup
- Netgear: Basic > Internet
- TP-LINK: DHCP > DHCP Settings
- Belkin: WAN > DNS
5. Once you find the DNS settings option, you may have to switch to Manual Setup
6. After switching to Manual, you will be able to enter your new DNS entries. In our case, we switched to Google DNS by entering 8.8.8.8 in DNS1 and 8.8.4.4 in DNS2.
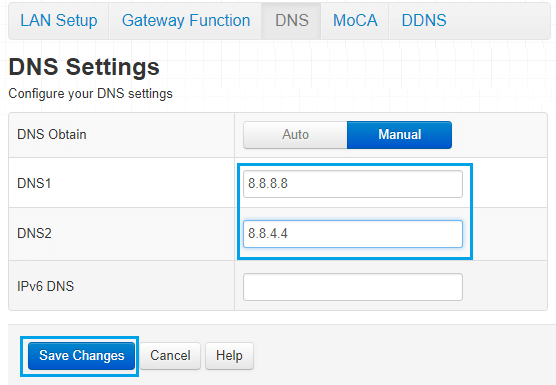
To switch to Cloudflare, enter 1.1.1.1 and 1.0.0.1 as your primary and secondary DNS severs. For Open DNS, type 208.67.222.222 and 208.67.220.220.
7. Click on Save Changes and wait for the changes to take effect.
After changing Router DNS Server, internet connectivity on your devices might be interrupted for about 5 minutes.
Also, make sure that you clear the browser cache on your computer, before trying to connect to the internet.
If You Are Unable to Login to Router
If you are unable to login to the Router using default passwords (admin, cusadmin or blank), try to login using the Wi-Fi Password.
If this does not work, you will have to Reset the Router to Factory Default settings by pressing the Reset Button or Rest Hole located at the back of the Router.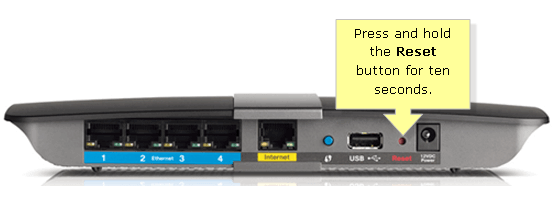
Once the Router is Factory Reset, you will be able to login to Router using its default User Name and Password.