In general, users come across “Your Computer is Low in Memory” error message, while running resource intensive programs like Microsoft Excel, Word and Outlook on the computer.
The same or similar type of error message is also reported by users playing Call of Duty and other high resource demanding online games on the computer.
While this error message is more common on computers with Low RAM capacity, it can also occur on mid-range and high-end computers with high RAM capacity.
Fix “Your Computer is Low in Memory” Error in Windows 11/10
If the computer is coming up with “Your Computer is Low in Memory” error message, you should be able to bring down the resource usage on your computer by closing browser tabs, apps and programs that are not currently being used.
After this, you can follow the steps below to prevent the re-occurring of this problem on your computer.
1. Close Processes Using High Memory
On the Task Manager screen, you can take a look at the amount of RAM being used by background running apps/processes and close them.
1. Right click on the Start button > click on Task Manager.
2. On the next screen, right-click on the App, Program or process that is using High Memory and click on End Task.
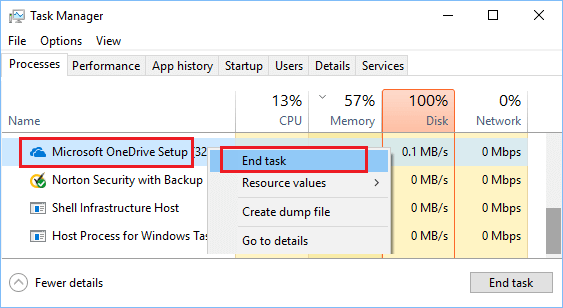
3. Repeat the above step to close other applications and services that are using a high amount of memory on your computer.
2. Scan the Computer for Malware
You can rule out the chances of high RAM usage on your computer being caused by viruses or malware by scanning the computer for malware using the antivirus program installed on your computer.
If you are not using any third-party antivirus program, you can scan the computer for malware using Microsoft Defender Offline Scan.
3. Increase Virtual Memory
If your computer is equipped with Low RAM capacity, you can consider the option of increasing the amount of allocated virtual memory on your computer.
This allows Windows to use virtual memory in addition to RAM, while running apps and programs on the computer.
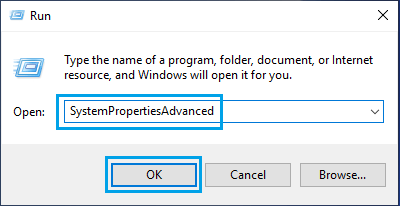
1. Press Windows + R keys > Type SystemPropertiesAdvanced and click on OK.
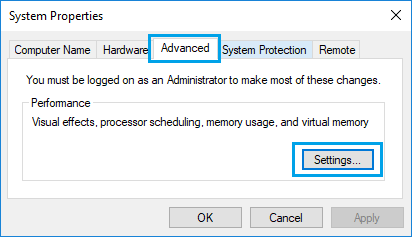
2. On System Properties screen, click on Advanced tab, scroll down to “Performance” section and click on the Settings button.
3. On Performance Options screen, click on Advanced tab > scroll down to “Virtual Memory” section and click on the Change button.
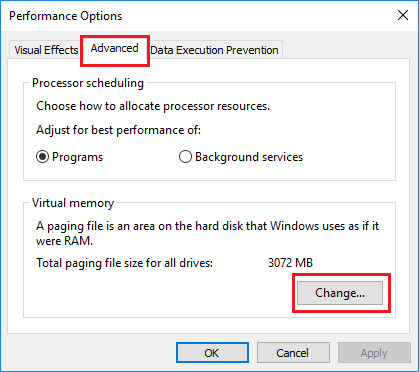
4. On the Virtual Memory screen, Deselect Automatically manage option, select the Drive and select System Managed size option.
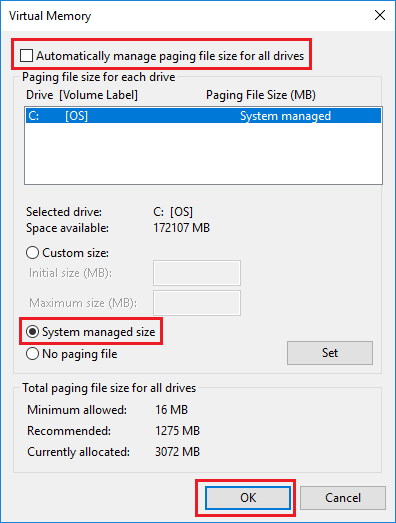
5. Click on OK and Restart the computer to apply the changes made.
4. Run Disk Cleanup
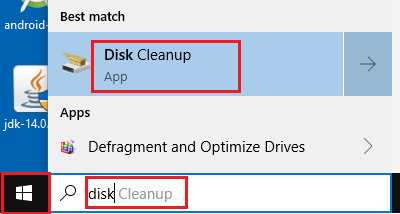
1. Type Disk Cleanup in the Search bar and click on Disk Cleanup App.
2. On the next screen, click on Clean up System files button.
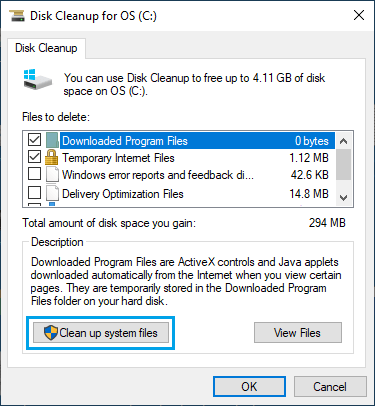
Note: You may be prompted to enter Admin Password.
5. Run System File Checker
High RAM usage can also be caused due to broken or corrupted system files.
1. Type Command Prompt in the search bar > right-click on Command Prompt App in the search results and select Run As Administrator option.

2. On Command prompt screen, type sfc /scannow and hit the Enter key.
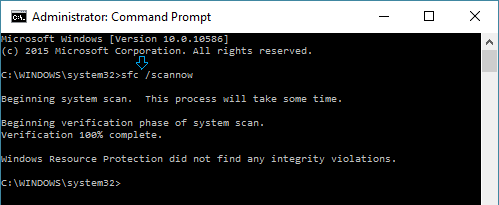
3. Wait for the Scan to be completed and Restart the computer.
6. Check Hard Drive for Errors
It can take a very long time to check Hard Drive for errors. Hence, use this step only if you suspect the Hard Drive and do not interrupt this process.
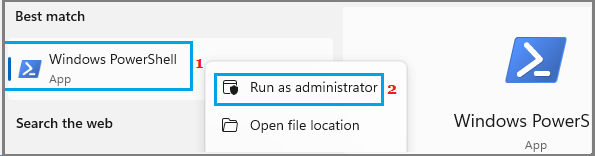
1. Type PowerShell in the Search bar > Right-click on Windows PowerShell App and click on Run as Administrator option.
2. On the PowerShell window, type chkdsk.exe /f /r and press the Enter key on the keyboard of your computer.
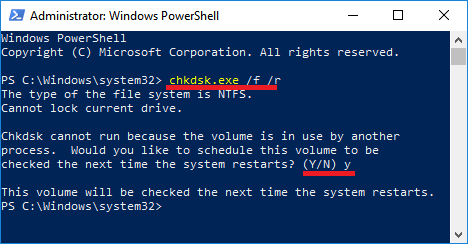
If prompted to Schedule volume to be checked on next restart, type Y.
3. Close PowerShell Window, Restart your computer.
Patiently wait for Windows to scan the Hard drive for errors and repair bad sectors (if any), as this process can take a long time (5 to 12 hours or more).