It is really easy to create a Bootable Windows Installation Drive and keep it handy to deal with the possibility of your computer not starting up, getting corrupted or running into serious problems.
All that is required to create a Bootable Windows Installation Drive is to download “Media Creation Tool” as made available by Microsoft on its Download site and run the tool on your computer.
Create Bootable Windows 11/10 Installation Drive
In order to create a Bootable Windows Installation Drive, you need to get hold of a FAT32 USB Drive, which is totally empty so that it does not conflict with anything.
The USB Drive needs to be a minimum of 4 GB capacity for 32-bit version download and 8 GB capacity for 64-bit version download.
While any USB 2.0 Drive with 8 GB capacity is sufficient for Windows 11 download, it is better to get hold of a faster USB 3.0 Drive with 16 GB storage capacity.
1. Steps to Create Bootable Windows 11 Installation Drive
If you are using Windows 11 computer, you can follow the steps below to Create Bootable USB Drive using the Media Creation Tool.
1. Open the Web browser on your computer and visit Microsoft’s ISO download site.
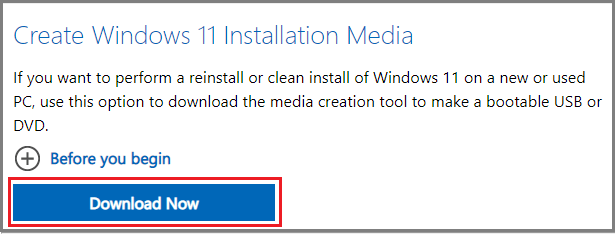
2. Once you are on the download site, scroll down and click on Download Now button, located under Create Windows 11 Installation media section.
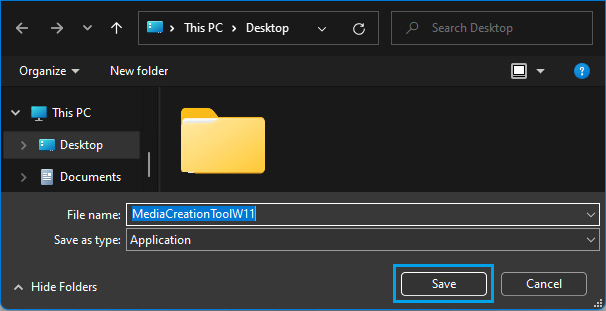
3. On the next screen, click on the Save button to download the Media Creation tool on your computer.
4. Double-click on the downloaded MediaCreationTool.exe File > on the next screens, click on Run and Accept to Agree to Microsoft’s Terms and conditions.
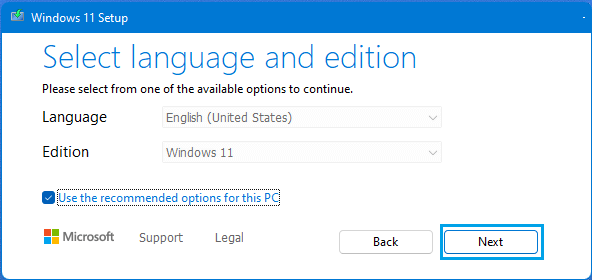
5. On the next screen, select Language, Edition and click on the Next button.
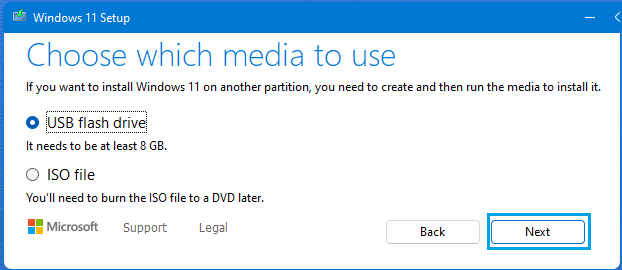
6. On the next screen, select USB Flash Drive option and click on Next.
7. On the next screen, select your USB Drive and click on the Next button.

Note: Click on Refresh Drive List link, in case the USB Drive is not showing up on this screen.
8. Patiently wait for Windows Media Creation tool to transfer the required files to the attached USB Drive.
Once the Media Creation Tool has finished its job, you will have a Bootable Windows 11 Installation Drive ready for your use.
2. Create Bootable Windows 10 Installation Drive
If you are using Windows 10, you can follow the steps below to create a Bootable Windows 10 Installation Drive for your computer.
1. Open the web browser on your computer and visit Microsoft’s ISO download site.
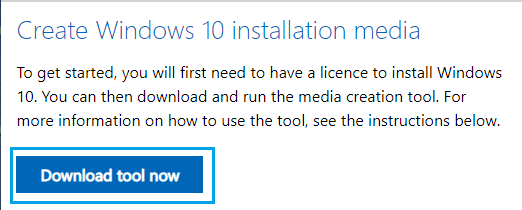
2. Once you are on the Download site, scroll down and click on Download tool now button under Create Windows 10 Installation media section.
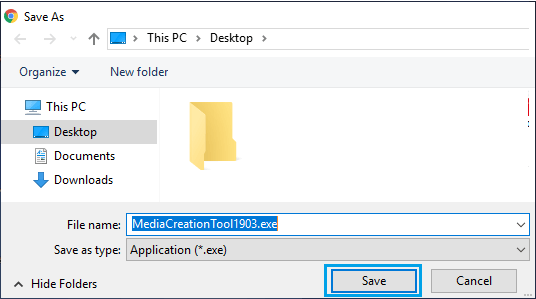
3. On the next screen, click on Save to download the Media Creation tool on your computer.
4. Double-click on the downloaded MediaCreationTool.exe File to Run the Media Creation Tool on your computer.

5. On the next screen, click on Accept to Agree to Microsoft’s Terms and conditions.
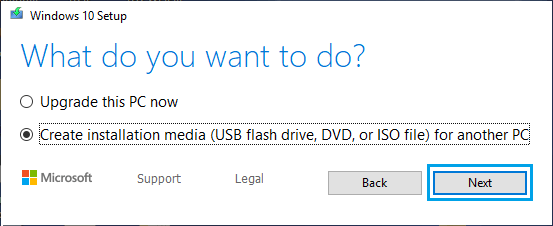
6. Select Create installation media for another PC option and click on Next.
7. On the next screen, Windows will automatically select the Language, Edition and Architecture as applicable for your computer. Click on Next to move to the next screen.
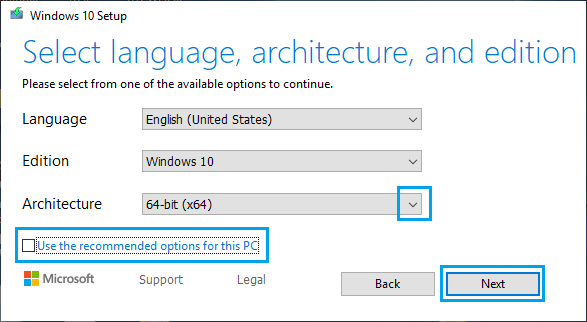
Note: If you want to make your own selection, uncheck Use the recommended options for this PC and you will be able to select 32-bit version, 64-bit version or both versions.
8. Select USB Flash Drive option and click on Next.
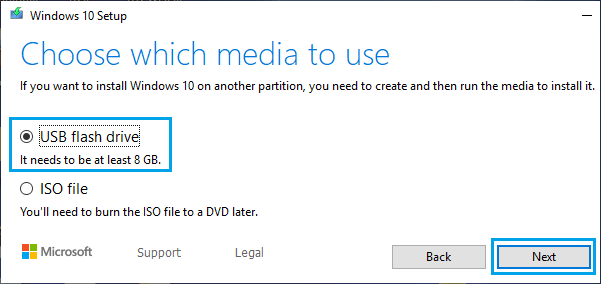
Note: The ISO File option allows you to download Windows ISO File on your computer, which you can burn to a DVD later on.
9. On the next screen, select your USB Drive and click on the Next button.
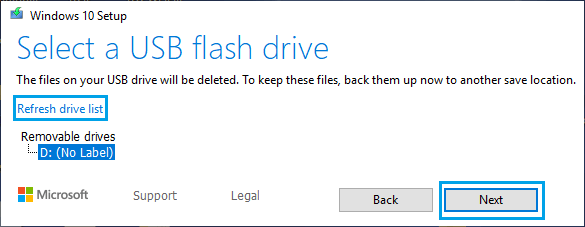
Note: Click on Refresh Drive List link, in case the USB Drive is not showing up on this screen.
10. Patiently wait for Windows Media Creation tool to install the required Windows files to the USB Drive.
Once Windows 10 Media Creation Tool has finished doing its job, you will have a Bootable Windows 10 Installation Drive ready for your use.