With most employers allowing work from home, the Remote Desktop Protocol (RDP) feature is increasingly being used and supported by Microsoft Teams, AnyDesk and other productivity apps.
However, the increasing use of remote desktop has made this useful feature a common target for attacks by hackers trying to gain access to vulnerable computers.
While you can always protect your computer by using strong passwords and taking other security measures, it is a wise security practice to disable remote desktop, when it is not actively being used.
Disable Remote Desktop (RDP) in Windows 11/10
As mentioned above, keeping the Remote Desktop (RDP) feature always enabled or switche-on can be a potential security risk.
Hence, we are providing below 4 different methods to disable the Remote Desktop (RDP) feature on a Windows 11/10 computer.
1. Disable Remote Desktop Using Settings
Perhaps the easiest way to disable remote desktop on a Windows computer is by using the Settings app.
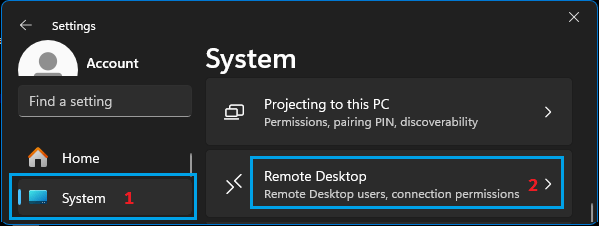
1. Go to Settings > System > scroll down in the rightpane and click on Remote Desktop tab.
2. On the next screen, move the toggle next to Remote Desktop to OFF position.
3. On the confirmation pop-up, click on the Disable option to confirm.
2. Disable Remote Desktop Using System Properties
An easy way to disable remote desktop is by going to System Properties screen on your computer.
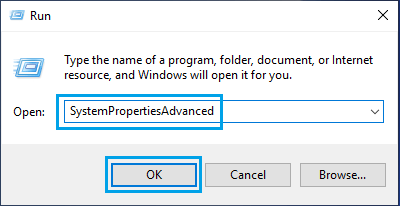
1. Right-click on the Start button and click on Run.
2. In Run Command window, type SystemPropertiesAdvanced and click on OK.
3. On System Properties screen, switch to Remote tab and select Don’t Allow Remote connections to this computer option.
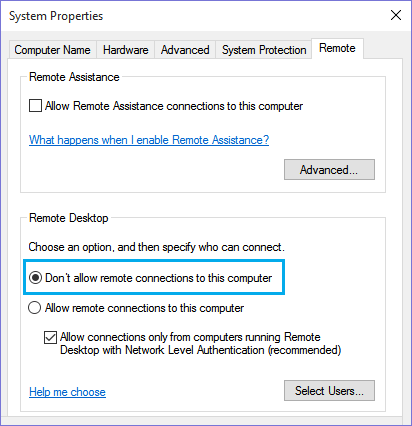
4. Click on Apply and OK to save this setting on your computer.
At any time, you can enable this feature by selecting Allow Remote Connections to this computer option on System Properties screen.
3. Disable Remote Desktop Using Windows Firewall
Another way to disable Remote Desktop is by removing Remote Desktop app from the list of allowed apps in Windows Firewall.
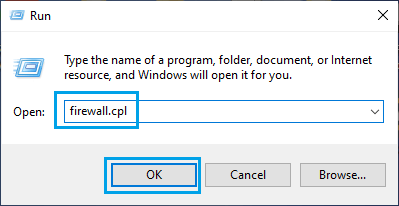
1. Right-click on the Start button and click on Run.
2. On the Run Command window, type firewall.cpl and click on OK.
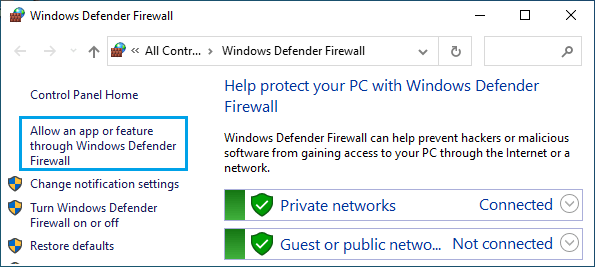
3. On Windows Defender Firewall page, click on Allow an app or feature through Windows Defender Firewall option.
4. On the next screen, click on Change Settings button > scroll down and uncheck Remote Desktop and Remote Desktop (WebSocket) options.
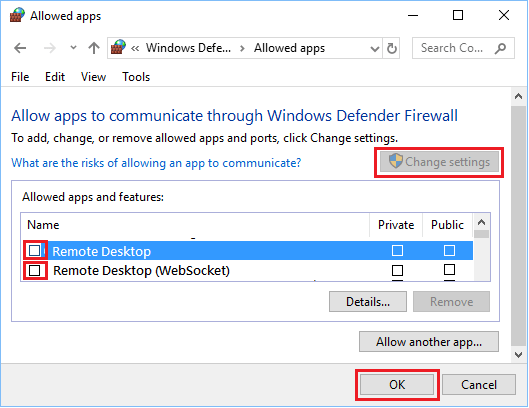
5. Click on OK button to save this change on your computer.
4. Disable Remote Desktop Using Command Prompt
If you like using Command Prompt, you can follow the steps below to disable RDP by using Command Prompt.
1. Click on the Start button and type CMD in the Search bar > right-click on Command Prompt in the search results and select Run as Administrator option.

2. On the Command prompt screen, type net stop termsservice and press the enter key.
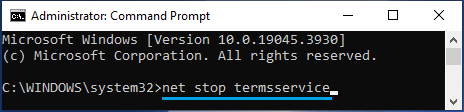
3. On the confirmation prompt, type Y and press the enter key to stop or disable Remote Desktop on your computer.
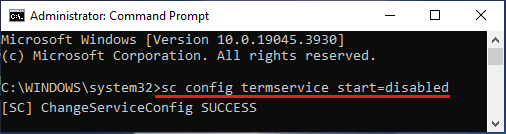
4. Next, type sc config termservice start=disabled and press the enter key on the keyboard of your computer.
5. Once above commands are executed, you can type exit and press the enter key to close the Command Prompt screen.