Most connected devices, including Windows Desktop and Laptop computers make it really easy to Enable Wi-Fi and connect to your preferred Wi-Fi Network.
However, it is not uncommon to come across situations where you may find the need to manually Enable or Disable the Wi-Fi network on your computer.
Enable/ Disable Wi-Fi on Windows 11/10 Computer
You can find below different methods to Enable and Disable the Wi-Fi network on your Windows computer for troubleshooting purposes or because you prefer using Ethernet.
1. Enable/Disable Wi-Fi Using Keyboard
An easy way to Enable or Disable Wi-Fi on a Windows computer is by pressing the Wi-Fi key that should be available on the built-in keyboard of your laptop computer or on external keyboards attached to your desktop computer.
Simply, press the Wi-Fi Key on the keyboard of your computer and this button works like a toggle, switching Wi-Fi ON when pressed and switching OFF Wi-Fi when pressed again.
2. Enable/Disable Wi-Fi Using Settings
An easy way to enable Wi-Fi on a Windows computer is by going to Settings.
1. Open Settings on your computer.
2. On the Settings screen, select Network & Internet in the left-pane. In the right-pane, Enable Wi-Fi by moving the toggle to ON position.
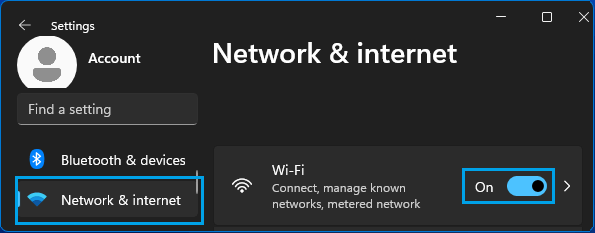
At any time, you can disable Wi-Fi by moving the toggle to OFF position.
3. Enable/Disable Wi-Fi From The Taskbar
Perhaps the easiest way to Enable Wi-Fi on a Windows computer is by clicking on the Action Buttons in the taskbar.
1. Click on Action Buttons located at bottom-right corner in the taskbar and click on Wi-Fi.
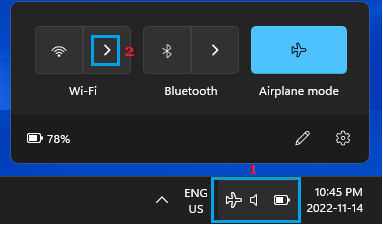
2. On the next screen, move the Wi-Fi toggle to ON Position and select the Wi-Fi Network that you want to join.

3. If prompted, enter the Password for your Wi-Fi Network.
5. Enable Wi-Fi When There is No Wi-Fi Icon in the Taskbar
If you are unable to find the Wi-Fi icon on the taskbar, it is likely that you have an Ethernet cable plugged into the computer or the Wi-Fi Adapter has been switched off on your computer.
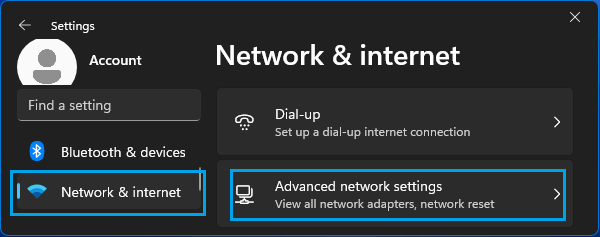
1. Open Settings > click on Network & Internet in the left-pane. In the right-pane, scroll down and click on Advanced Network Settings.
2. On the next screen, scroll down and click on More Network Adapter Options.
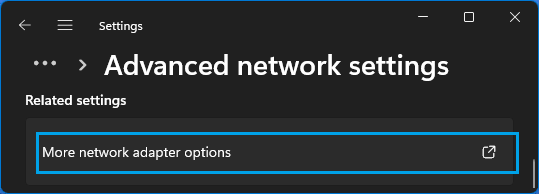
3. On Network Connections screen, right-click on Wi-Fi Icon and select the Enable option in the menu that appears.
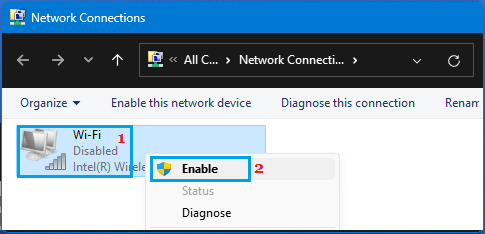
This should enable the Wi-Fi network on your computer.