The purpose of ERR_SSL_PROTOCOL_ERROR in Google Chrome, Microsoft Edge and other web browsers on a Windows computer is to prevent users from accessing potentially dangerous or unsafe websites.
Hence, if your computer is coming up with ERR_SSL_PROTOCOL_ERROR, it usually means that the web browser is unable to establishing a secure connection between your computer and the website that you are trying to access.
However, this error message can also appear due to Network related issues, Corrupted browser cache and also due to presence of malware on the computer.
Fix: ERR_SSL_PROTOCOL_ERROR in Windows 11/10
If you are unable access websites on your website due to ERR_SSL_PROTOCOL_ERROR, you should be able to fix the problem using the following steps.
1. Clear Browser Cache
Start by clearing the browser cache on your computer to rule out the possibility of ERR_SSL_PROTOCOL_ERROR being caused due to cached error page.
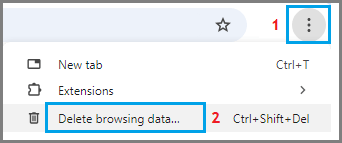
1. Open Google Chrome > click on 3-dots menu icon > select Delete Browsing Data option in the drop-down menu.
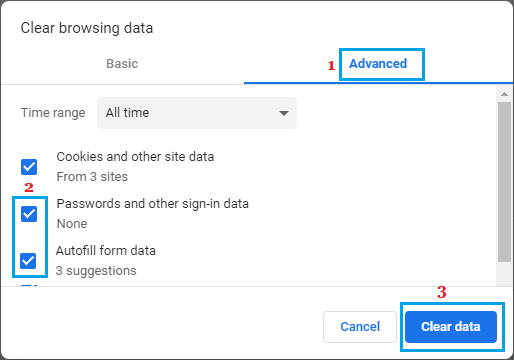
2. On the next screen, switch to Advanced tab > select All Time as the Time Range > make sure Passwords and other sign-in data and Autofill form data entries are selected and click on Clear Data button.
After this, try to access the website that producing the error message.
2. Try Network Troubleshooter
If clearing the Browser Cache did not help, the built-in Network Troubleshooter might help in fixing this problem.
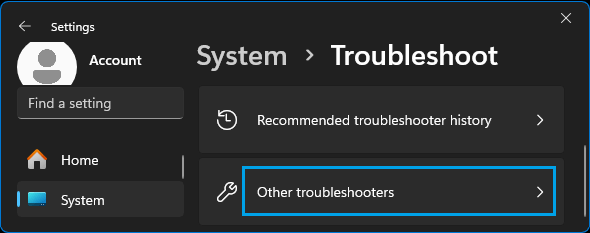
1. Go to Settings > System > scroll down in the right-pane and click on Troubleshoot.
2. On the next screen, scroll down and click on Other troubleshooters.
3. On the next screen, click on the Run button located in “Network & Internet” tab.
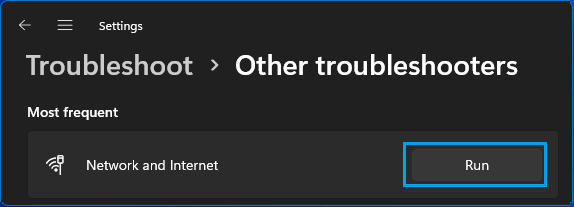
4. Follow onscreen instructions as the troubleshooter tries to find and fix internet connectivity problems on your computer.
Windows 10: Go to Settings > Update & Security > Troubleshoot > Internet Connections > click on Run the Troubleshooter.
3. Clear SSL Certificate Cache
Follow the steps below to clear the SSL Certificate cache stored on your computer.
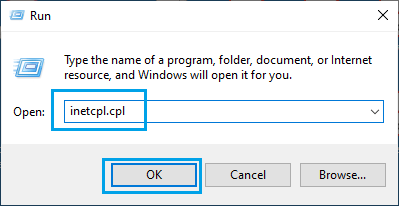
1. Right-click on the Start button and click on Run.
2. In the Run Command window, type inetcpl.cpl and click on OK.
3. On Internet Properties screen, select the Content tab and click on Clear SSL state button.
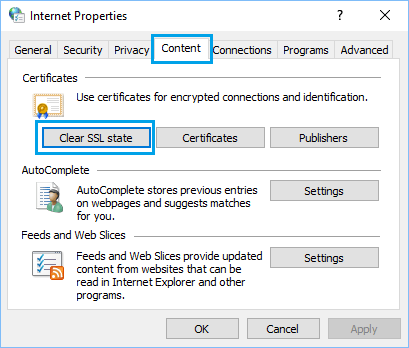
4. Click on OK to close Internet Properties window.
Make sure you Restart the computer to apply the changes.
4. Check If Hosts File Has Been Modified
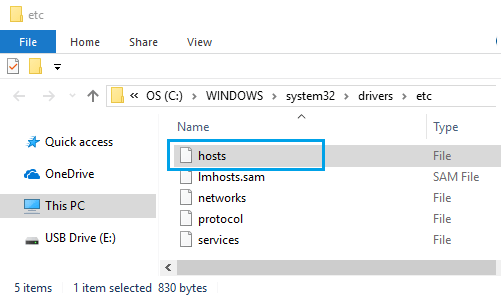
Sometimes, the Hosts File located at C:\windows\system32\drivers\etc can get modified by malware and block access to certain websites.
1. Right-click on the Start button and click on Run.
2. In Run Command window, type C:\WINDOWS\system32\drivers\etc and click on OK.

3. On the next screen, double-click on the Hosts File and select to open the File using Notepad.
4. In the Hosts File, delete all entries containing names of websites that you are trying to access and Save the file.

Basically delete all the entries without the # sign and you will be fine.
5. Disable Proxy Servers
Using Proxy Server settings is known to cause network connectivity problems, while accessing certain websites.
1. Right-click on the Start button and click on Run.
2. In the Run Command window, type inetcpl.cpl and click on OK.
3. On internet Properties screen, switch to Connections tab and click on LAN Settings button.
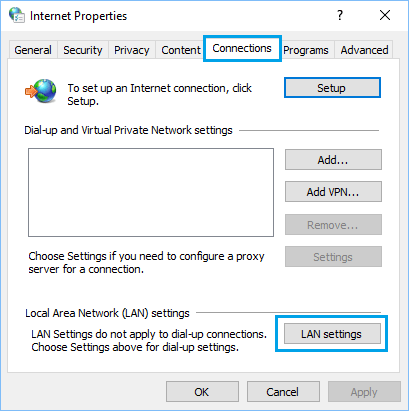
4. On the next screen, uncheck Use a Proxy server for your LAN option and make sure Automatically detect settings option is selected.
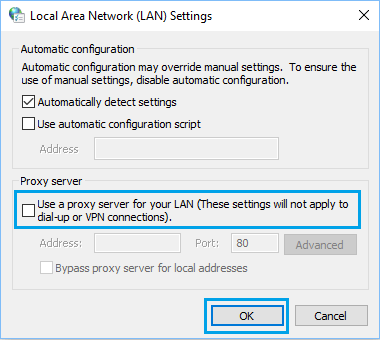
5. Click on OK to save this setting on your computer.