If your iPhone is not updating during a major or well publicized update, the problem is usually due to Apple servers being busy and overloaded due to millions of users trying to download the updates.
Hence, try updating your device on the second day of a major iOS update. If you are still unable to install updates on your iPhone, the problem could be due to other reasons.
iPhone is Not Updating
In general, iPhone should automatically download and install updates. If this is not happening, you should be able to fix the problem using the following steps.
1. Reboot iPhone
Rebooting helps in terminating stuck programs and processes, which might be preventing your iPhone from installing Updates.
1. Go to Settings > General > Shut Down > Use the Slider to power-off iPhone.
2. Wait for 30 seconds > press the Power button to Restart iPhone.
3. After iPhone restarts, go to Settings > General > Software Update.
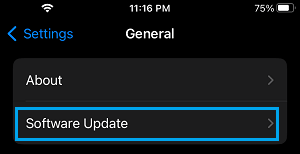
Allow iPhone to search for Updates. If an Update is available, tap on Download & Install to install the update on your iPhone.
2. Check Storage Space
iOS updates can range anywhere from 0.5 to 1.5 GB or more in size. Hence, make sure there is enough storage space available on your iPhone.
1. Go to Settings > General > iPhone Storage.
2. On the next screen, you will be able to view the status of local storage on your iPhone.

If your iPhone has less than 2 GB available storage, you will have to make efforts to Free up storage space on your iPhone.
3. Update iPhone Using Computer
If you are unable to Update iPhone using Settings, you can try to update the iPhone by connecting it to your MacBook or Windows PC that has iTunes installed on it.
1. Plug iPhone into the Computer and open iTunes (if you are using Windows PC).
2. Click on the Phone icon as it appears in iTunes (Windows).
![]()
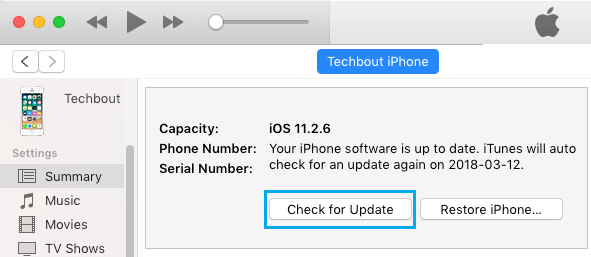
Note: If you are using a MacBook, select your iPhone in the side-menu.
3. Next, click on the Summary tab in left-pane. In the right-pane, click on Check For Update button.
4. On the pop-up, tap on Download and Update.
4. Restore iPhone
If your iPhone is still not updating, the problem could be due to corruption of system files on your iPhone.
The solution in this case is to wipe out all the data from your device (including corrupted files), reinstall the operating system and Restore iPhone using a previously made stable backup of your device.
You can find the steps to Restore iPhone from backup in this guide: Restore iPhone from backup.
5. DFU Mode Restore
If the regular Restore process did not help, you can try a deeper restore process known as DFU Mode Restore.
DFU Mode Restore will erase all the data on your iPhone and reinstall both iOS Operating System and also the Firmware on your device.
If DFU Mode Restore does not help, you need to get your iPhone checked by a qualified technician for Hardware problems.