While “Last Line No Longer Available” error message is mostly noticed on iPhones using eSIM, it can also occur if the physical SIM on an iPhone gets displaced, becomes faulty or gets damaged.
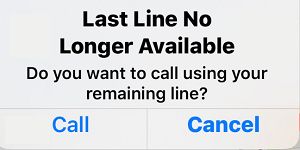
In general, this error message appears in the form of pop-up on iPhone and reads “Last Line no longer available. Do you want to call using your remaining line?”.
Another form of this error message which reads as “Last Used: (Unavailable)” is known to appear under the name of Contact, while trying to make a call from Recent Call List in the Phone App or from the Contacts App.
Last Line No Longer Available on iPhone
If your iPhone is coming up with “Last Line No Longer Available” or “Last Used (Unavailable)” error message, you should be able to fix the problem using the following troubleshooting steps.
1. Enable/Disable Airplane Mode
Start by Enabling and Disabling Airplane Mode on your device. This helps in refreshing Cellular network and resets the wireless antennas on your iPhone.
1. Open Settings > Enable Airplane Mode by moving the slider to ON position.
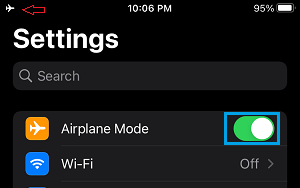
2. Afer 30 seconds, Disable Airplane Mode by moving the slider to OFF position.
2. Restart iPhone
The problem could be due to a software glitch, stuck program or process interfering with proper functioning of the Phone App.
1. Go to Settings > General > Shut Down.
2. On the next screen, use the Slider to Power OFF iPhone.
Allow iPhone to completely Shut Down > After 30 seconds, restart your device and see if its is still coming up with the error message.
3. Disable Auto Network Selection
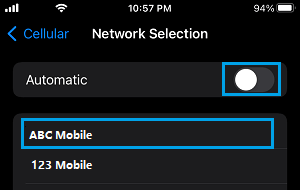
Some users have reported fixing the problem by Disabling Auto Network Selection. It can be re-enabled after the problem is fixed.
1. Go to Settings > Cellular > Network Selection.
2. Move the slider next to Automatic to OFF position.
4. Remove and Reinsert SIM Card
As mentioned above, iPhone can come up with “Last Line No Longer Available” error message if the SIM Card gets displaced, becomes faulty or gets damaged.
To confirm, remove the SIM Card from iPhone and inspect the SIM Card for visible signs of damage. If you do not find signs of damage, reinsert the SIM Card back into your iPhone and see if the problem is now fixed.
5. Install Updates
1. Go to Settings > General > Software Update.
2. Wait for iPhone to check for updates > Tap on Download & Install (if an update is available).
6. Clear Call History from iPhone
Follow the steps below to clear the Call History on your iPhone.
1. Open the Phone App on your iPhone > tap on Recents tab located in bottom-menu.

2. On the next screen, tap on the Edit option located at top-right corner.
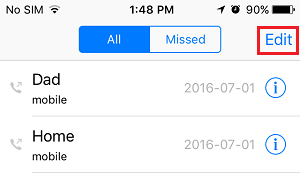
3. Next, tap on Clear to delete your Call History from iPhone.
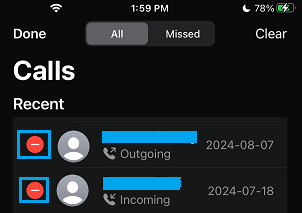
4. On the confirmation pop-up, tap on Clear All Recents to confirm.
7. Reset Network Settings
If above steps did not help, the problem could be due to corrupted network settings on your device.
1. Go to Settings > General > Transfer or Reset iPhone > Reset.
2. On the pop-up, select Reset Network Settings option.
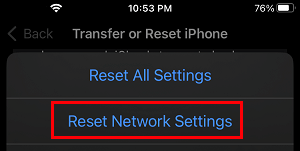
3. On the confirmation pop-up, tap on Reset Network Settings again confirm.
After iPhone restarts, connect iPhone to Wi-Fi and see if it is still coming up with the same error message.