In a typical case, MacBook appears to be clearly connected to Wi-Fi Network, but actually there is no internet connectivity and the Mac fails to open the browser or connect to any website on the internet.
There could be various reasons for this issue, ranging from minor software glitches, corrupted network settings, Mac being stuck on an inactive previously connected network and other reasons.
Mac Connected to Wi-Fi but Internet Not Working
You can find below the troubleshooting steps to fix the strange issue of the Mac being connected to Wi-Fi Network with practically no internet connectivity.
1. Restart Mac
The problem could simply be due to a stuck program or process preventing the Mac from connecting to the internet.
1. Click on Apple Icon in top-menu bar and select Shut Down option in the drop-down menu.

2. Wait for your computer to completely Shut down.
3. After 30 seconds restart your Mac and see if you can now connect to the internet.
2. Renew DHCP Lease
While the DHCP lease should be automatically renewed, it may not always happen. Hence, follow the steps below to manually renew the DHCP lease on your MacBook.
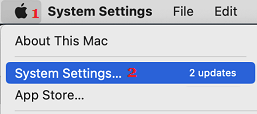
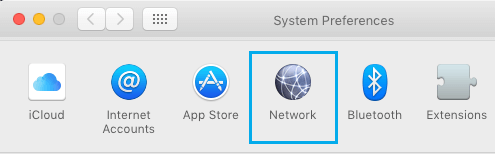
1. Click on Apple Logo in top-menu bar and select System Settings or System Preferences in the drop-down menu.
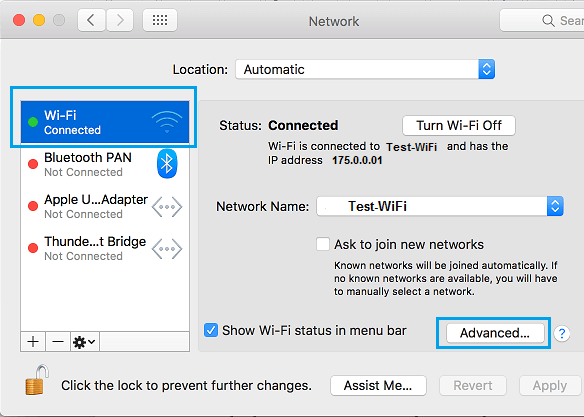
2. On the System Settings screen, click on the Network Icon.
3. On the next screen, select your Wi-Fi Network in the left-pane. In the right-pane, scroll down and click on Advanced button.
4. On the next screen, switch to TCP/IP tab and click on Renew DHCP Lease button.
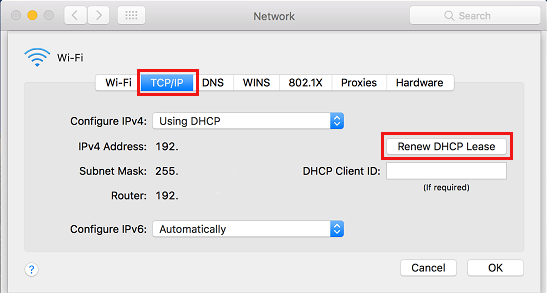
5. Click on OK to save the revised DHCP Settings on your computer and close Network Settings screen.
3. Power Cycle Modem/Router
The problem could be due to a glitch in the Modem/Router, which is responsible for bringing Network connectivity to your MacBook. This issue can be easily fixed by Restarting the Modem/Router.
1. Disconnect the Modem/Router from its power supply source.
2. Wait for 60 seconds and connect the Modem/Router back to its power supply.
Patiently wait for all the lights on the Modem to light up and then try to access the internet.
4. Setup Network Priority
In certain cases, the problem is due to the Mac being stuck on a saved Wi-Fi Network, which is currently not active.
1. Click on Apple Logo in top-menu bar > select System Preferences in the drop-down menu.
2. On the next screen, click on the Network Icon.
3. On the next screen, select your Wi-Fi Network in the left-pane. In the right-pane, scroll down and click on Advanced button.
4. On the next screen, drag your Preferred Wi-Fi Network to the top in Preferred Networks window.
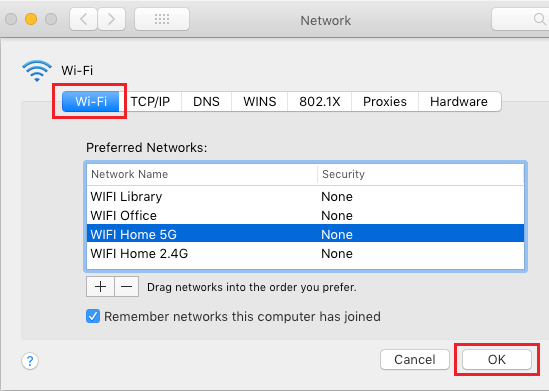
5. Click on OK to save your preferred Wi-Fi Network Settings.
Note: You can remove unwanted Wi-Fi Networks from your MacBook by selecting the Network and clicking on the (-) Minus Icon.
5. Create New Wi-Fi Network
Note down the password for your W-Fi Network and follow the steps below to create a New Wi-Fi Network on your MacBook.
1. Click on Wi-Fi Icon located in top-menu bar (top-right corner) and Switch OFF Wi-Fi Network on your Mac.

2. Open System Preferences or System Settings > On the next screen, click on the Network icon.
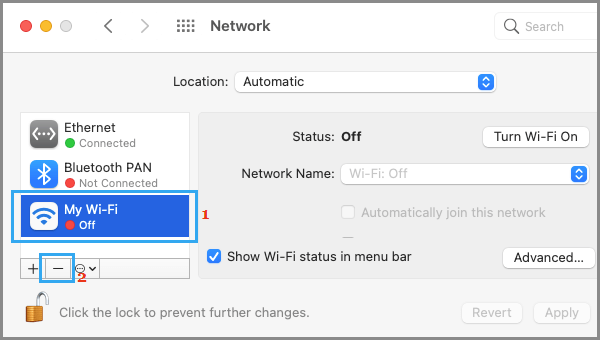
3. On the Network screen, select your Wi-Fi Network in left-pane, click on the (-) Minus icon and click on Apply to remove the current Wi-Fi Network from your Mac.
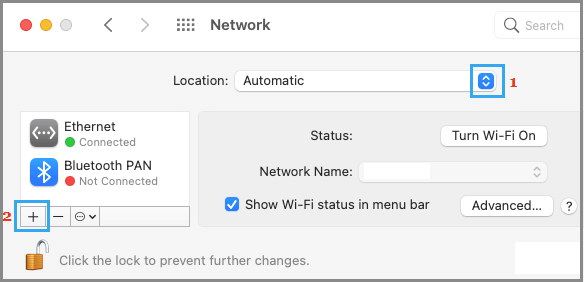
4. On the same screen, make sure Automatic Location is selected and click on the (+) Icon.
5. On the pop-up, select Wi-Fi as the Interface, type a Name for the Wi-Fi Network (Optional) and click on Create.
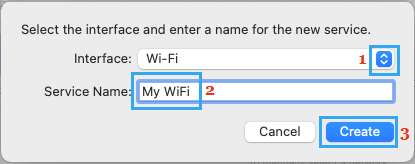
6. Click on Apply to save the New Wi-Fi Network on your Mac.
After this, switch ON the Wi-Fi Network on your Mac and see if you are able to connect to Internet.
6. Try Wireless Diagnostic Tool
If above methods did not help, you can try the built-in Wireless Diagnostics tool as available on your MacBook and see if it comes up with any suggestions.
1. Press Command + Space keys to open the spotlight search on your MacBook.
2. Type Wireless Diagnostics in Spotlight search window and click on Wireless Diagnostics.App.
3. On the next screen, click on the Continue button and wait for the Wireless Diagnostic Tool to find the reason for Wi-Fi connectivity problems on your device.
Note: The Wireless Diagnostics tool may temporarily change certain network settings on your computer.