If the built-in Microphone on your MacBook is not working, the problem could be due to various reasons, ranging from a temporary software glitch to Microphone not being properly setup and other reasons.
If you are using an External Microphone on your Mac Mini, the problem is usually due to the Microphone not being recognized by your computer.
Microphone Not Working on Mac
If the built-in Microphone or the External Microphone attached to your Mac is not working, you should be able fix the problem using the following troubleshooting steps.
1. Configure Microphone Settings
A common reason for Microphone not working on MacBook, Mac Mini or iMac is due to the Microphone not being properly setup or the input volume being kept at a low level.
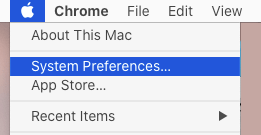
1. Click on Apple Logo in top-menu bar and select System Preferences in the drop-down menu.
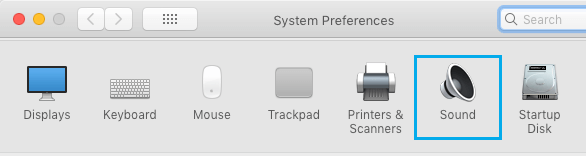
2. On System Preferences screen, click on the Sound tab.
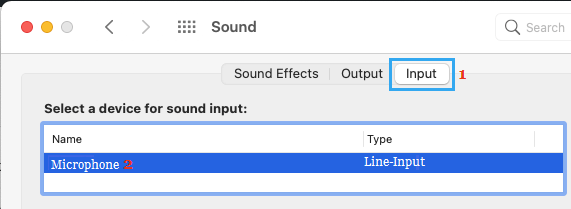
3. On the next screen, switch to Input tab > select your Microphone from the list and make sure the Input volume is set to maximum level.

4. After this, speak into the Microphone and you should be able to see the level bars filling up the entire selection.
2. Make Sure External Microphone is Listed As Sound Input Device
If you are using an External Microphone for Skype, Zoom or Microsoft Teams calls, make sure that the external Microphone is being recognized by your Mac.
1. Click on Apple Logo in top-menu bar and select System Preferences in the drop-down menu.
2. On System Preferences screen, click on the Sound tab.
3. On the Sound screen, switch to Input tab and make sure that your External Microphone is listed under “Select a Device for Sound input” section.
Note: If the external Microphone is not being recognized, you may need a TRS to TRRS Adapter to make the external Microphone work on your Mac.
3. Restart Mac
Sometimes, the problem is due to a stuck program or process interfering with proper functioning of the Microphone.
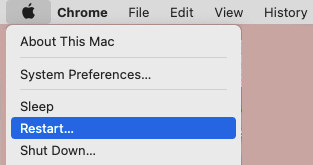
1. Click on Apple Logo in top-menu bar and select the Restart option.
2. After Mac restarts, check to see if the Microphone is now working properly on your device.
4. Allow Apps to Access Microphone
If the Microphone on your Mac is not working while using third-party Apps like Skype, Microsoft Teams or Zoom, the problem is usually due to the App not being allowed to access the Microphone.
1. Click on Apple Logo in top-menu bar and select System Preferences in the drop-down menu.
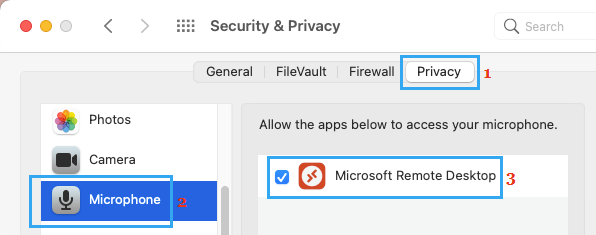
2. On System Preferences screen, click on Security & Privacy tab.
3. On Security & Privacy screen, select Microphone in the left-pane. In the right-pane, make sure the Third-Party App is Allowed to access the Microphone.
After this, you should find Microphone working properly, while using third-part apps on your Mac.
5. Switch on Dictation
Switching on the Dictation mode on Mac (even if you are not using it) should initiate the required launch agents to activate the Microphone.
1. Click on Apple Logo in top-menu bar and select System Preferences in the drop-down menu.
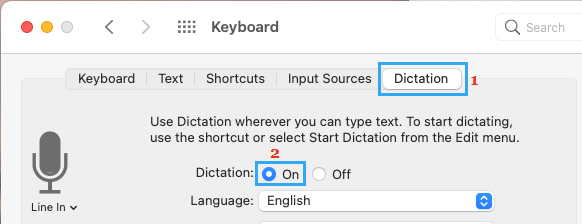
2. On System Preferences screen, click on the Keyboard Icon.
3. On the Keyboard screen, switch to Dictation tab and select the ON option, located next to Dictation.
This should download the relevant files required for proper functioning of the Microphone on your Mac.
6. Make Sure the Microphone is Working
If the Microphone is still not working, make sure that the built-in Microphone on your MacBook or the external Microphone attached to your iMac or Mac Mini is working.
1. Open the built-in QuickTime Player on your Mac.
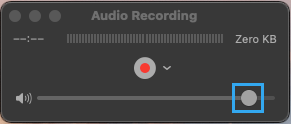
2. Click on the File tab in top-menu bar and select New Audio Recording option in the drop-down menu.

3. Turn up the volume in QuickTime Player and try to record something in your voice.
If you cannot record your Voice, the Microphone is obviously not working and it might be due to both software and hardware related issues.
7. Reset PRAM
Since, the Microphone is not working, you can reset the PRAM on your MacBook and this might help in fixing the problem with the Microphone on your Mac.
For the steps to Reset PRAM, you can refer to this guide: How to Reset NVRAM or PRAM on Mac.