Startup Repair is a built-in Windows Recovery tool, which can be used to diagnose and fix startup related problems on a Windows computer. Some of the most commonly reported issues; in which the Startup Repair tool is known to be particularly useful are the following.
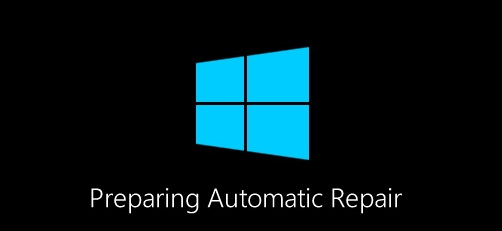
- Preparing Automatic Repair screen
- Boot Loops
- Blue Screen of Death (BSOD)
- Failed Updates
- Corrupted Bootloader & System Files
The Startup Repair tool has the potential to repair and fix damaged master boot record (MBR), corrupted boot configuration data (BCD), missing or damaged system files and incompatible drivers.
Note: Startup Repair tool saves a repair log file at: C:\Windows\System32\Logfiles\Srt\SrtTrail.txt; which provides a detailed report of the issues found.
Run Startup Repair in Windows 10/11
When a Windows computer detects a startup related problem, it should automatically start in Recovery Mode and provide access to Startup Repair and other advanced troubleshooting tools.
However, you can also manually access and run the Startup Repair tool on your computer by using various methods as provided below in this guide.
1. Run Startup Repair Using Settings
If you are able to login to the computer, you can run the Startup Repair tool by going to “Recovery” section of the Settings menu.
1. Go to Settings > System > Recovery > click on Restart Now button located next to Advanced Startup.
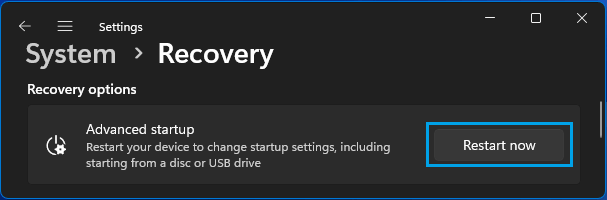
Windows 10: Go to Settings > Update & Security > Recovery > click on Restart now button located under “Advanced Startup” section.
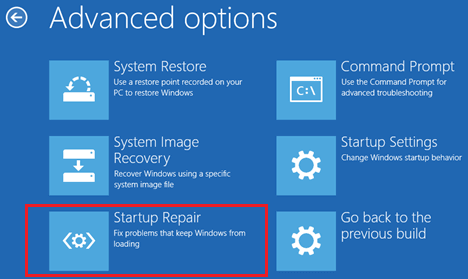
2. After the computer restarts, navigate to Troubleshoot > Advanced options and click on Startup Repair.
3. Wait for the Startup Repair tool to diagnose and fix problems on your computer.
2. Run Startup Repair from Lock Screen
If you are not logged-in to the computer, you can access and run Startup Repair from the Lock Screen of your computer.
1. Open the computer (if it is not already open).
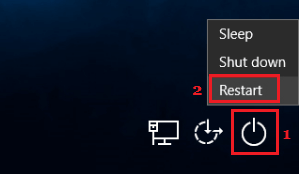
2. Click on the Power icon (1) located at bottom-right corner of the screen, press & hold down the Shift Key and click on the Restart (2) option.
3. After the computer restarts, go to Troubleshoot > Advanced options > click on Startup Repair.
3. Run Startup Repair Using Keyboard Shortcut
This method can be helpful, if the the Power or Start button is not working and also if the computer is stuck.
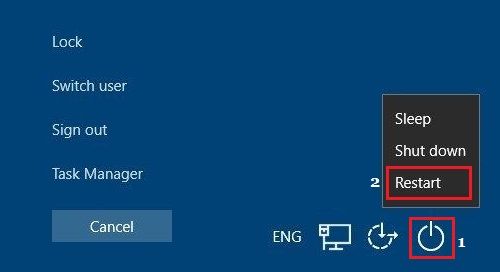
1. Press Ctrl + Alt + Delete keys on the keyboard of your computer.
2. On the next screen, click on the Power button (1) located at bottom-right corner of the screen, press and hold the Shift key and click on the Restart (2) option
3. After the computer restarts, go to Troubleshoot > Advanced options > click on Startup Repair.
4. Access Startup Repair Using PowerShell
You can also access the Startup repair tool on your computer by using PowerShell.
1. Right-click on the Start button and click PowerShell (Admin).
2. On the Command Prompt screen, type shutdown /r /o /f /t 00 and press the Enter key on the keyboard of your computer.
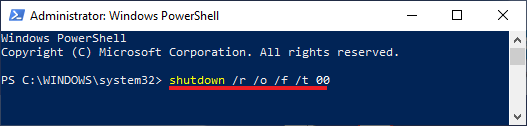
3. Once the above command is executed, you will find the computer starting up on the Advanced Startup screen; which provides access to Startup Repair and other advanced troubleshooting tools.
5. Access Startup Repair Using Recovery Mode
If your computer is going through startup problems, it should automatically go into Recovery Mode. If it does not, you can force the computer to go into Recovery Mode by using the following steps.
1. Press the Power button to start the computer.
2. Since your computer is unable to load Windows OS, it should start a Self-Diagnostic Power-On Self-Test (POST).
3. After the Power-On Self-Test (POST) are completed, press the Power button to shut down the computer
4. Repeat steps 1 to 3 two more times.
5. During the third restart, your computer should enter Windows Recovery Environment, where you will find the computer performing a number of diagnostic tests to fix booting issues.
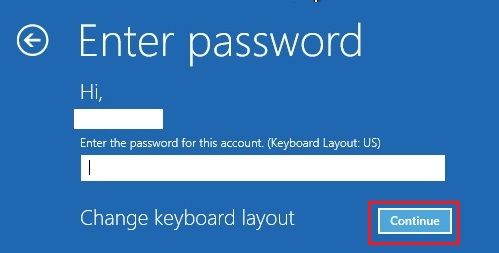
6. When prompted, select your User Account, enter the Password for your User Account and click on Continue.
7. After the diagnostic tests are completed, click on Advanced options.
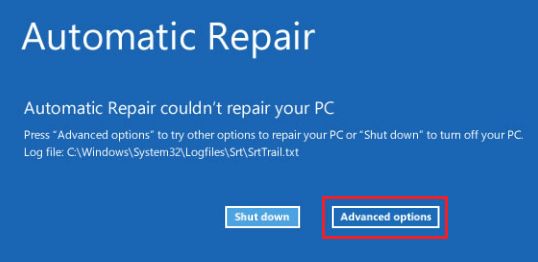
8. On Advanced options screen, you will find the Startup Repair option.
Note: If Startup Repair does not fix the problem, you can try other options as listed on the Advanced Options screen.
6. Run Startup Repair Using Bootable USB Drive
If you are unable to start the computer or unable to force the computer into Recovery Mode, you can make use of a Windows Recovery Drive or Bootable USB Drive to boot the computer.
If you do not have a Recovery Drive, you can create a Bootable USB Windows USB Drive by going to any other Windows computer.
1. Shut down the computer by pressing the Power button.
2. Insert Bootable USB Drive into USB port of the computer and start the computer by pressing the Power button.
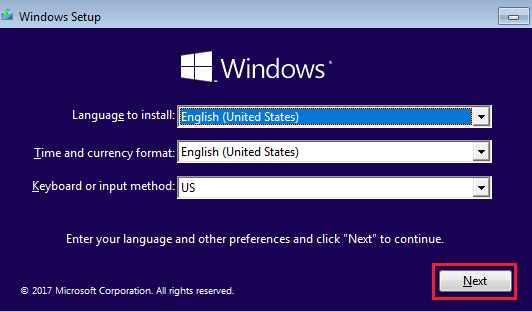
3. On Windows Setup screen, click on the Next button.
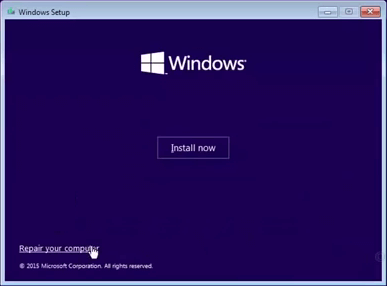
4. On the next screen, click on Repair your computer option located at the bottom-left corner of the screen.
5. Once you click on Repair option, you will be taken to Advanced Options screen.
6. Click on Startup Repair to start the process of the Startup Repair on your computer.