If the brightness of the screen of your iPhone keeps dimming randomly, you can find below the steps to fix the problem of iPhone screen automatically changing.
iPhone Screen Dims Automatically
The most common reason for iPhone screen dimming on its own is due to the Auto-Brightness and True Tone feature being enabled on the device.
Apart from this, the screen dimming issue could be due your iPhone being in Low Power Mode, Night Shift Mode or certain other display changing features being enabled on your device.
Also, if you are in a place with high temperature, iPhone tends to automatically reduce its screen brightness to prevent your device from becoming hot.
1. Disable Low Power Mode
When iPhone is in Low Power Mode, it reduces screen brightness to save battery life. While you can manually disable Low Power Mode, the recommended solution is to charge your device.
Go to Settings > Battery > move the slider next to Low Power Mode to OFF position.
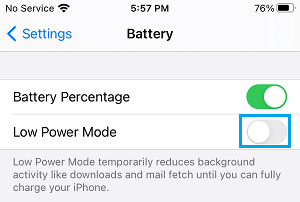
Note: If your Battery is low in Power, it can quickly run out of Power when Low Power Mode is manually disabled.
2. Switch OFF Auto-Brightness
As mentioned above, the most common reason for iPhone screen constantly dimming is due to the Auto-Brightness feature being enabled on your device.
Go to Settings > Display & Brightness > move the toggle next to Automatic to OFF position.
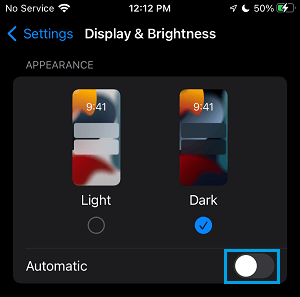
Note: Turning OFF Auto-Brightness can have an adverse impact on battery life. Hence, make sure that you do not keep your device at high brightness level.
3. Disable True Tone
The True Tone feature on iPhone is designed to automatically adjust the color and intensity of the display, based on the surrounding lighting conditions.
While this default feature is designed to make the images more natural, it make the screen of your iPhone appear Dim in certain lighting conditions.
Go to Settings > Display & Brightness > Move the toggle next to True Tone to OFF position.
4. Disable Night Shift Mode
Another common reason for the screen dimming problem on iPhone is due to night shift mode being enabled.
Go to Settings > Display & Brightness > Night Shift > move the toggle next to Scheduled and Manually Enabled Until Tomorrow to OFF position.
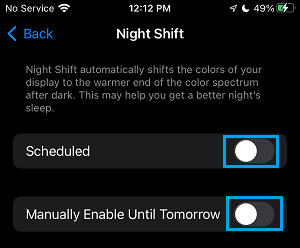
Note: According to Apple, Night Shift Mode may help you get better sleep.
5. Turn OFF Reduce White Point
Since, this feature is designed to reduce the intensity of bright colors on iPhone screen, it might be dimming the screen
Go to Settings > Accessibility > Display & Text Size > move the toggle next to Reduce White Point to OFF position.
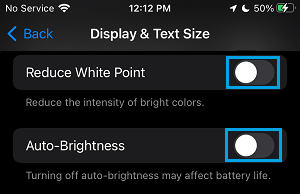
Note: If your iPhone is set to high brightness level, switching OFF Auto-Brightness can have an impact on Battery Life.
6. Disable Attention Aware Feature
Go to Settings > Face ID & Passcode > move the toggle next to Attention Aware Features to OFF position.
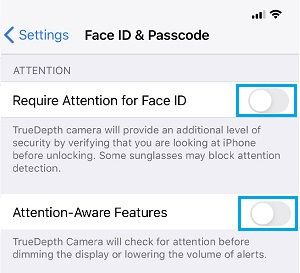
Once Attention Aware Feature is disabled, you won’t find the screen of your iPhone dimming automatically.
7. Restart iPhone
Sometimes, the problem is due to stuck Apps and processes interfering with proper functioning of your device.
Go to Settings > General > Shut Down > use the Slider to Power OFF iPhone.
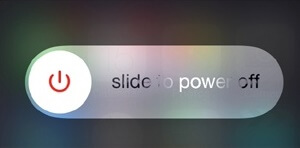
Allow iPhone to completely Shut Down > Wait for 30 seconds > Restart iPhone and see if the Camera is now working properly.
8. Reset All Settings
Note down your Wi-Fi Network Password and follow the steps below to Reset All Settings on your device.
Go to Settings > General > Transfer or Reset iPhone > Reset and select Reset All Settings option.
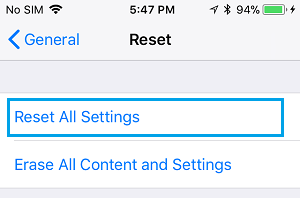
After iPhone restarts, join Wi-Fi Network by entering your Wi-Fi Network Password. Hopefully, this should help in fixing the Camera on your iPhone.