If required, you can switch off the Login password on your computer and login to your device without the need to remember and enter any password.
This can be useful, if you want to make it easy for your children and guests to access a common or family computer, without the need to remember and type a login password.
Similarly, you may want to temporarily disable the Login password on the computer, if you are taking it out for repairs or to provide access to someone that is trying to help you fix problems on your device.
Turn OFF Login Password in Windows 11/10
The steps to disable or remove the login password on a Windows computer vary, depending on whether it is a Local User Account or Microsoft Account.
If you are using a Microsoft Account, you will have to switch from Microsoft to Local Account and skip the password setup process or disable password using the first method as provided below.
1. Disable Local User Account Password
If you are using a Local User Account, you can follow the steps below to disable the login password on your computer.
1. Go to Settings > Accounts > click on Sign-in Options in the right pane.
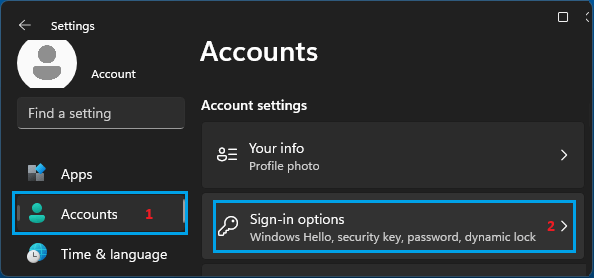
2. On the next screen, scroll down to open the Password tab and click on the Change button.

Windows 10: Go to Settings > Accounts > Sign-in options (left-pane) > click on Change button in the right-pane.
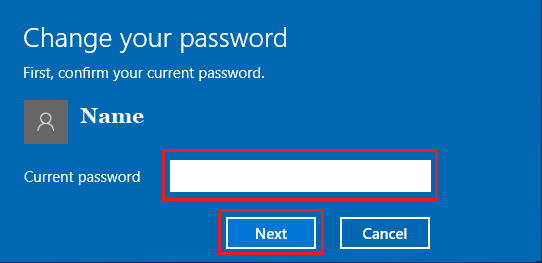
3. On the next screen, type your current User Account Password and click on Next.
4. On the next screen, do not enter anything and click on Next to totally skip the Password setup process.
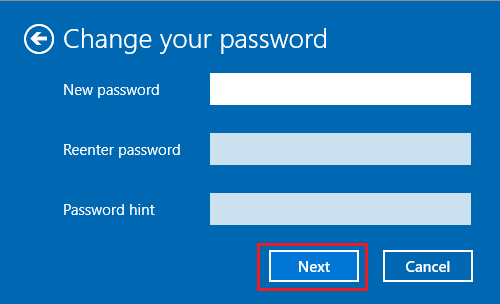
5. Finally, click on the Finish button.

Once you complete the above steps, you will no longer require a password to login to this particular Local User Account on your computer.
2. Disable Microsoft User Account Password
If you are using Microsoft User Account, you won’t be able to disable the Login Password as your login credentials are also linked to your online Microsoft Account.
In this case, you will have to switch to a Local User Account and skip the password setup process on the Local User Account screen.
For more information, you can refer to this guide: How to Switch Microsoft Account to Local User Account.