If you are unable to delete TCP/IP Printer Port from the computer, the problem is due to the Printer still being in use, which should be clear from “The requested resource is in use” error message.
However, Windows is also known to come up with “The requested resource is in use” error message, when there is actually no such Printer attached to the Port.
In such cases, the problem could be due to a reference to a previously used Printer still being available in the registry, which is making Windows behave as if the Printer is attached to the computer.
Unable to Delete TCP/IP Printer Port
If you are unable to delete an unused Printer Port from the computer due to “The requested resource is in use” error message, you should be able to fix the problem using the following methods.
1. Restart Print Spooler
In a majority of cases, Stopping and Restarting the Print Spooler service should fix the Error Message and allow you to delete TCP/IP Printer port on your computer.
1. Press Win + R keys to open Run Command.
2. In the Run Command window, type services.msc and click on OK.

3. On the next screen, right-click on Print Spooler service and click on Stop.
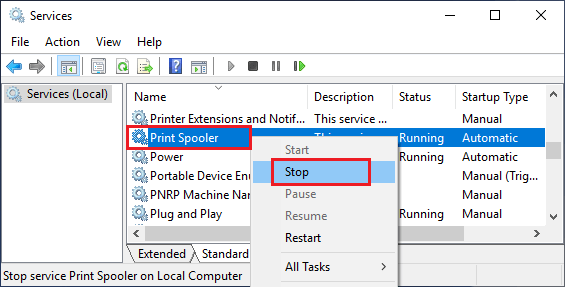
Next, right-click on Print Spooler again and click on Restart.
After this, you should be able to remove the printer port from your computer.
2. Remove Printer Port from Registry
If restarting the Print Spooler Service did not help, you will have to delete the printer in registry.
1. 1. Press Win + R keys to open Run Command.
2. Type regedit in the Run Command window and click on OK.

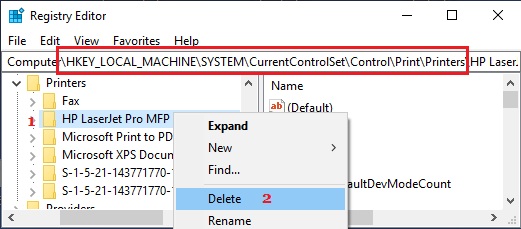
3. Navigate to HKEY_LOCAL_MACHINE\SYSTEM\CurrentControlSet\Control\Print\Printers\PrinterName > Right-click on the Printer Name and click on Delete.
After deleting the Printer from registry, make sure that you Restart the computer.