It is a good practice to create Windows Recovery Drive and keep it in a secure place, as this can help you restore your device; if it is unable to access the operating system, suffers a major hardware failure, the hard drive gets accidentally erased or becomes damaged/corrupted.
In such cases, the “Recovery Drive” can be used to boot the computer in to Recovery Mode; which provides access to Startup Repair, System Restore, System Image Recovery and other repair/diagnostic tools that are available in Windows operating system.
While Windows Recovery Drive is not strictly tied to a specific computer and it is capable of booting and repair other computers with the same version of Windows (32 or 64-bit), it is generally recommended to use it on the computer that was used to create the Recover Drive. The reason for this is due to possibility of the Recovery Drive containing OEM-specific drivers and Factory Reset options; which may not be suitable for computers from other manufacturers.
Create Recovery Drive in Windows 11/10
In order to create a Recovery Drive, you need to get hold of an empty USB flash drive that can hold 16 to 32 GB of data. While the minimum space requirement is 16 GB, users have reported failures; which could be due to the actual space in the USB drive being lesser than 16 GB or Windows 11 requiring more space.
Also, it is recommended that you create a Windows Recovery Drive on a yearly basis, in order to keep up with the latest security, performance & driver updates.
1. Create Windows Recovery Drive
All that is required to create Windows Recovery Drive for your computer is to launch the “Recovery Drive App” and follow the on-screen prompts.
1. Type Recovery Drive in the Search box and click on Recovery Drive App or Recovery Drive System in the search results.

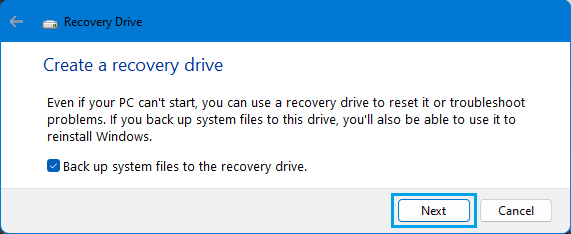
2. When prompted, enter your Admin Password. On the next screen, click on Next to start the process of creating Windows Recovery Drive.
3. The program will run for a few minutes and you will be prompted to connect a USB Drive of at-least 4 GB, if you are not backing up system files and 16 GB or more, if you are backing up system files.
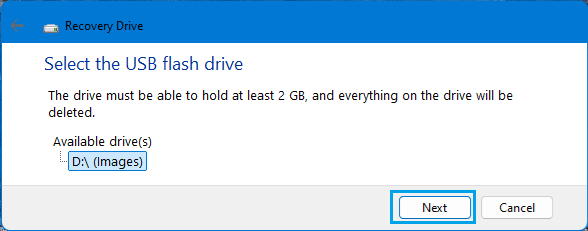
4. On the Recovery Drive screen, select the USB Drive and click on Next.
5. On the confirmation warning pop-up, click on Create to start the process of creating the Recovery Drive.
The time to Create Recovery Drive will be short, if you did not select the option to Backup System Files. If you are Backing up System Files, it can take 40 minutes or more to complete the process.
6. Once the process is completed, you will see a pop-up reading “The Recovery Drive is ready”. Click on Finish > Eject and remove the USB drive from your computer.
Note: Make sure that you clearly Label the USB Device as Windows Recovery Drive and keep it in a safe place.
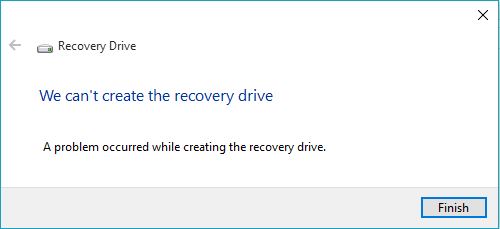
Problem Occurred While Creating Windows Recovery Drive
Sometimes, you may find the Recovery Drive creation process running for a few minutes and coming up with “A problem occurred while creating the recovery drive” error message.
If this happens, close all the files, folders, browser tabs on the computer and try again. If you still get this error, uncheck Back up System Files to Recovery Drive option and try again.
This will create a plain Windows Repair Disk, which can be used to boot the computer from USB Drive and troubleshoot problems; but it cannot be used to reinstall Windows operating system.
How to Use Windows Recovery Drive
If your computer is going through problems and not booting up, plug USB Recovery Drive into the computer and press the Power button to start the computer.
This will take your computer into advanced recovery environment, which provides access to Startup Repair, System Restore and other built-in Recovery and Troubleshooting tools.
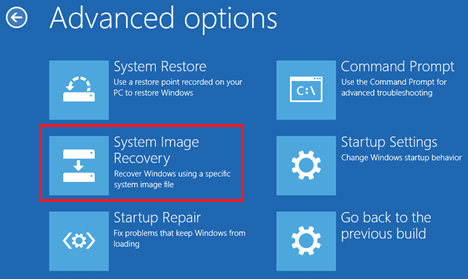
You can use any of the available tools as required to fix the problem on your computer.