While the problem of a computer clock being slow or incorrect is more common on older computers, it can also occur on new computers.
In the case of older computers, the problem is more likely to be due to failing CMOS battery, which powers the CMOS chip, located on the motherboard of the computer.
Other reasons for the computer clock being slow on both Old and New computers could be due to issues with Windows Time Service, Incorrect Time Zone being selected or presence of malware on the computer.
Fix Slow/Incorrect Computer Clock in Windows 11/10
Considering the reasons for the computer clock being slow, the first step would be to make sure that the right Time Zone is selected and then manually synchronize the computer clock.
If the problem remains unresolved, you can try other troubleshooting steps as provided below in this guide, including replacement of the CMOS Battery with a new one.
1. Check Time Zone
A common reason for computer showing incorrect time is due to Time Zone on the computer not matching with the Time Zone in which the computer is actually located.
1. Click on the Start button > click on Settings Icon.
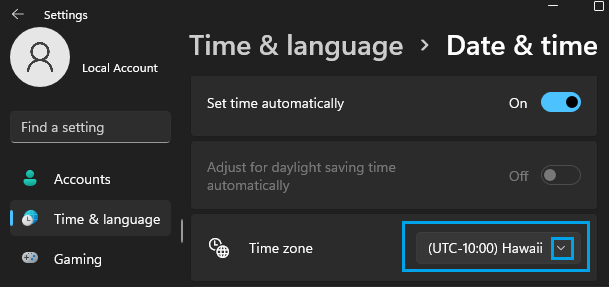
2. On the Settings screen, select Time & Language tab in the left-pane. In the right-pane, select the right Time Zone as applicable in your case.
3. On the same screen, scroll down to “Additional Settings” section and click on Sync Now button.
Windows 10: Go to Settings > Time & Language > Date & Time > select the right Time Zone as applicable in your case and also click on the Sync now button.
2. Manually Synchronize the Computer Clock
After selecting the right time zone, the next step would be to manually synchronize the computer clock.
1. Go to Start button > Settings Icon.
2. Select Time & Language in the left-pane > scroll down to “Additional Settings” section in the right-pane and click on Sync now button.
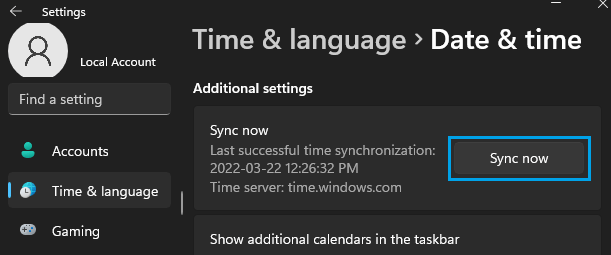
It should take only a few seconds to Synchronize the time on your computer with Windows Time Service.
Windows 10: Go to Settings > Time & Language > Date & Time > click on Sync Now button in the right-pane.
3. Switch to Another Time Server
While the default setting in Windows is to automatically obtain time from Windows Time Server, it also provides the option to use other Time Servers.
Since the computer is showing incorrect time, we can switch to another Time Server and see if this helps in fixing the problem.
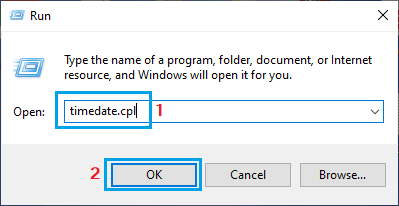
1. Open Run Command (press Windows + R keys) > type timedate.cpl and click on OK.
2. On Date and Time screen, switch to Internet Time tab and click on Change Settings button.
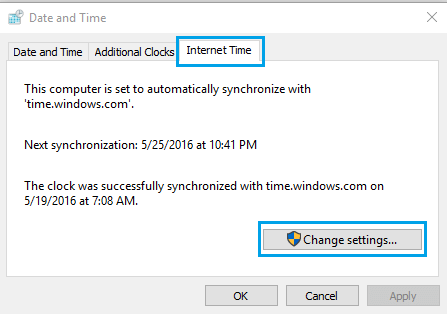
3. On the next screen, select Synchronize with an Internet time server box, select time.nist.gov or any other Time service and click on Update Now button.
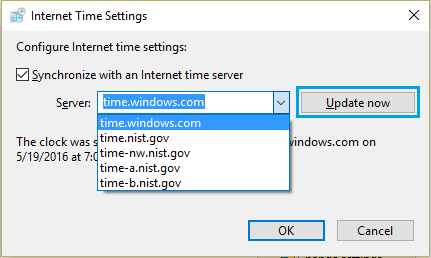
Note: You can stick to the default Microsoft Time Server (time.windows.com) or choose another server.
4. Once the Synchronization process is completed, you will see “The clock was successfully synchronized” message.
4. Set Windows Time Service to Automatic
Set ‘Windows Time Service’ to automatically start on the computer and see if this helps in fixing the problem.
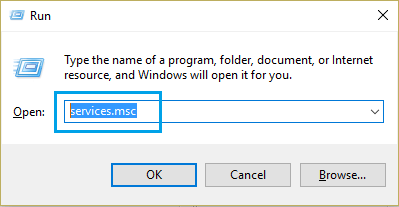
1. Press Windows + R keys > type Services.msc and press the Enter button.
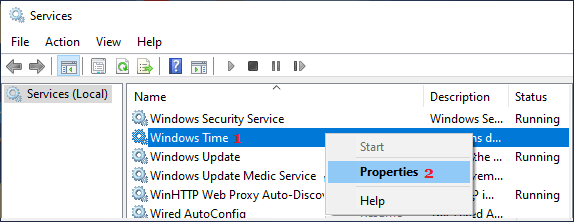
2. On the Services screen, right-click on Windows Time and click on Properties.
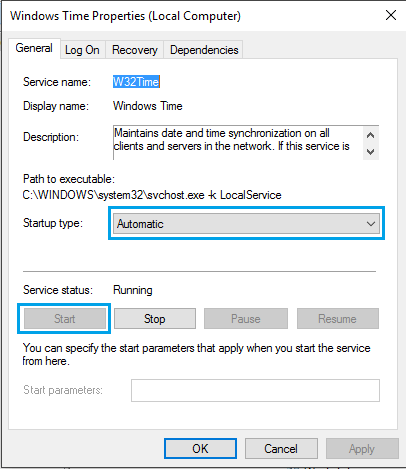
3. On the next screen, change the Startup type to Automatic and click on the Start button.
After this, start monitoring the time on your computer for a few days.
If the computer clock starts losing time again, the problem might be due to presence of malware or the CMOS battery on the computer nearing the end of its life.
5. Scan the Computer for Malware
As mentioned above, the problem of slow or incorrect computer clock could also be due to presence of Malware or Viruses on the computer.
Hence, make sure that the Antivirus program installed on the computer is up to date with the latest virus definitions. This can be done by selecting the Live Update option as available on most third-party antivirus programs.
In addition to this, you can scan the computer for malware using Microsoft Defender Offline Scan.
6. Replace CMOS Battery
CMOS which stands for ‘Complementary Metal-Oxide Semiconductor’ is a static Random Access Memory device that stores the BIOS values on the computer, including date and time information.
The CMOS chip is powered by a Lithium Ion battery so as to keep the BIOS data active even when the computer is switched.
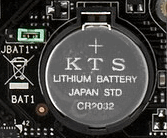
Image source: biosflash.com
When the CMOS battery goes bad or comes to end of its design life, CMOS chip starts losing information and this is indicated by slowing down of the computer clock.
The solution in this case is to replace the CMOS battery with a new one. In general, any CR2032 should work on most computers and it can be easily replaced in the case of desktop computers.
When it comes to Laptop computers, replacing a CMOS battery is not easy, especially on newer computers which are not designed to be repair friendly.