If you are selling, trading or giving away your computer, it is important that you remember to deauthorize or remove the computer from your iTunes Account.
The most common reason for users looking for a way to deauthorize the computer on iTunes is to free up a slot for another computer in their iTunes Account.
As you must be aware, you can authorize up to 5 computers per Apple ID Account on iTunes, which provides access to Music, Movies and other content on iTunes on any of these computers.
Once a computer is deauthorized or removed from iTunes, it won’t be possible for anyone use the computer to access or downoad paid digital content from iTunes.
Remove or Deauthorize Computer on iTunes
You can find below the steps to deauthorize the computer on iTunes, when you have access to the computer and also the steps to remove a computer from iTunes, when you do not have access to the computer.
1. Deauthorize Computer from iTunes
If iTunes is already downloaded and installed on your device, deauthorizing Windows computer on iTunes is a fairly straight forward process.
1. Open the iTunes App on your computer.
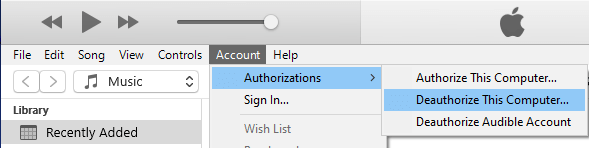
2. Select the Account tab in top-menu bar > hoover mouse over Authorizations and select Deauthorize This Computer option in the side-menu.
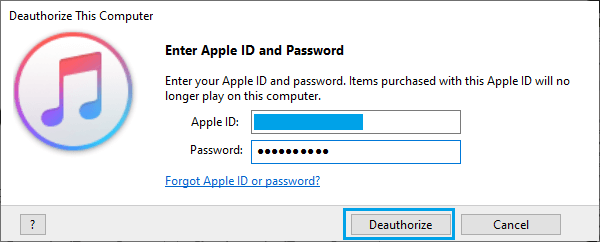
3. On the pop-up, enter your Apple ID, Password and click on the Deauthorize button.
Note: If the top-menu bar in iTunes is not available, press and hold Ctrl + B keys at the same time and it will become available on your computer.
2. Remove Computer from iTunes Without Access to Your Device
If a computer is lost, stolen or given away, you can still deauthorize or remove the computer on iTunes by using another device.
1. Open the iTunes App on your computer.
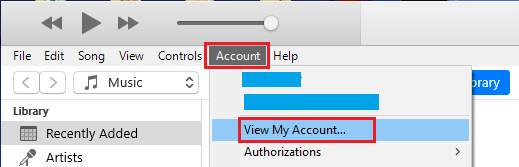
2. Select the Account tab in top-menu bar and click on View My Account option in the drop-down menu.
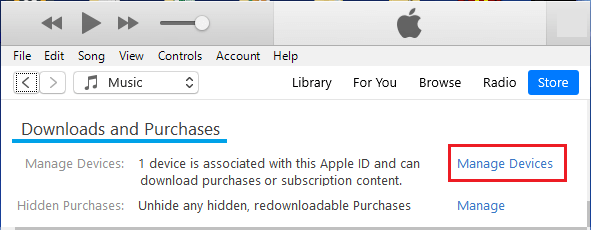
3. On the next screen, scroll down to Downloads and Purchases section and click on Manage Devices option.
4. On the next screen, click on the Remove button, located next to the computer that you want to remove.
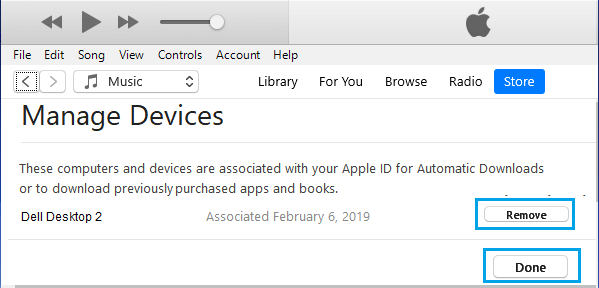
5. Click on Done to Save this setting in your iTunes Account.
Note: If you have more than one computer, you will find Remove All Devices option, which can only be used once in 12 months.