You can create a System Image Backup of all the files located on your computer by using “Backup and Restore Tool (Windows 7)”, which is still available on Windows 11/10 computers.
The “System Image Backup” as created by “Backup & Recovery Tool” can be described as a complete snapshot of the computer at a given point of time. It includes all files, photos, apps, desktop programs, settings, operating system files and almost everything located on the computer.
Hence, it is always a good idea to create System Image Backup of the computer, before installing third-party apps or carrying out major changes and troubleshooting steps on the computer.
Create System Image Backup in Windows 11/10
Depending on your preference, you can create and store the “System Image Backup” of your computer on a USB/External storage drive or save it to a storage location on a network.
If you are using USB Drive to store the System Image Backup, make sure that USB Drive is formatted to NTFS Format and it has sufficient storage capacity to store the System Image Backup of your computer.
Steps to Create System Image Backup
The steps to create System Image Backup of Windows computer to USB Flash Drive and External Hard Drive attached to the computer are practically the same.
1. Plug the USB/External Drive to the computer.
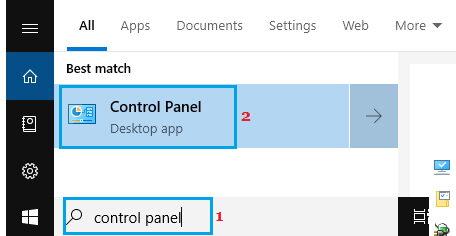
2. Type Control Panel in the Search bar and click on Control Panel in the Search results.
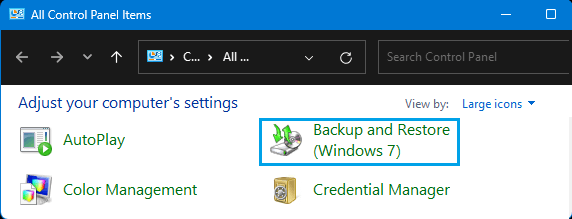
3. On the Control Panel screen, switch to Large Icons view and click on Backup & Restore (Windows 7).
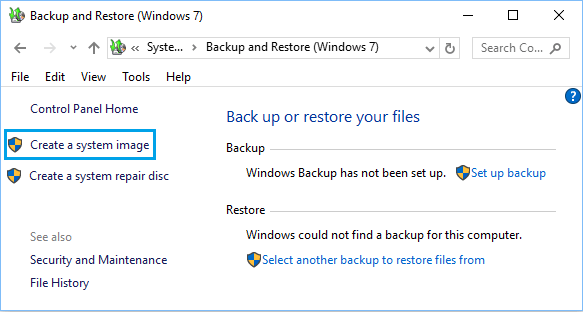
4. On the next screen, click on Create a System Image option.
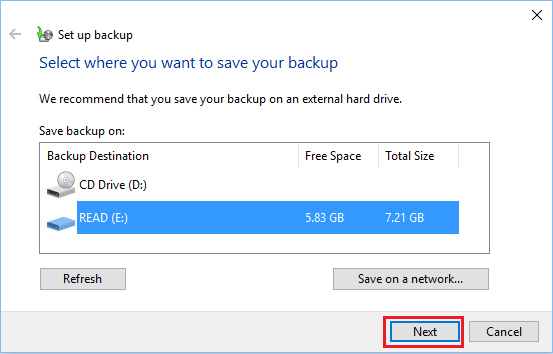
5. On the next screen, select the External Drive where you want to store the System Image Backup and click on Next.
6. Wait for the computer to complete the process of creating the System Image Backup. The time to create System Image Backup depends on the amount of data available on your computer.
When the System Image backup is completed, you will be asked if you want to create a System Repair Disk.
The System Repair Disk can be used to gain access to computer, if you get locked out of the computer due to a crash or other reasons.