If you are unable to delete a File or Folder on your computer, you can find below different methods to Delete Locked Files on a Windows computer.
In most cases, if you are unable to delete a File on your computer, the File is either being used by another program/process or it is a Shared File that is currently being used or left open by another user.
Another common reason for Windows preventing a File or Folder from being deleted or modified is due to your User Account lacking the permission to Edit or Delete that particular File.
Delete Locked Files in Windows 11/10
Depending on the reason provided by the error message, you can use the following methods (as applicable) to delete the locked file.
1. Shut Down the Computer
When you Shut Down the computer, the App, Program or the Service that was using the Locked File will be terminated and this should allow you to delete the Locked File.
Shut Down the Computer > After 60 seconds, restart the computer and see if you can delete the File.
2. Start Computer in Safe Mode
If you are unable to Shut Down the computer or if the first method did not help, restart the computer in Safe Mode and try to delete the File.
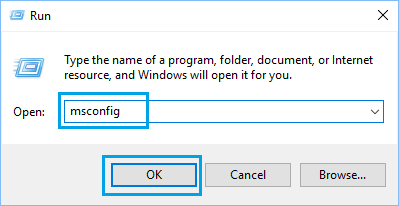
1. Right click on the Start button and click on Run.
2. In the Run Command Window, type msconfig and click on OK.
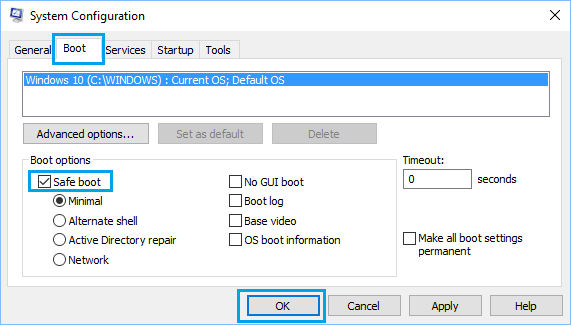
3. On the next screen, switch to Boot tab and select Safe Boot with Minimal option and click on OK.
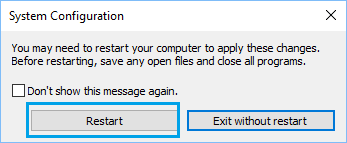
4. On the pop-up, click on Restart to start the process of starting the computer in Safe Mode.
When your computer Restarts in Safe Mode, you should be able to delete the File.
After deleting the File, you can Exit Safe Mode by unchecking the Safe Boot option and restarting the computer.
3. Delete Locked File Using Command Prompt
You won’t be able to delete the Locked File, if it belongs to another user Account or if you do not have the permission to delete the File.
If this is the case, you need to find the location path of the File on your computer and delete the File using Command Prompt as Admin.
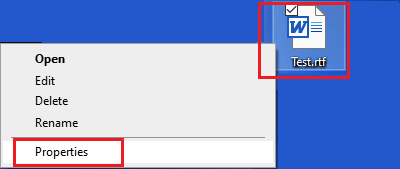
1. Right-click on the Locked File that you want to delete and select Properties option in the drop-down menu.
2. On Properties screen, switch to Details tab and note down the Folder Path.
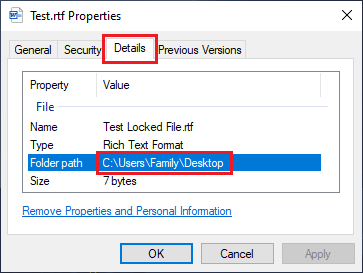
In this case, the Locked File Test.rtf is located at Folder Path C:\Users\Username\Desktop.
3. Next, type CMD in the Search bar > right-click on Command Prompt in the search results and select Run as Administrator option.

4. On the Command Prompt screen, type del FolderPath\FileName.extension and press the Enter key.
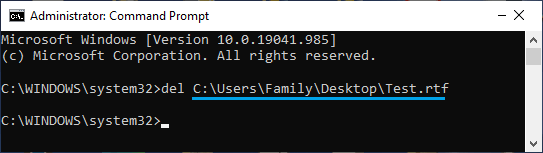
Once the Command is executed, the Locked File should be force deleted and removed from the computer.