While the easiest way to use WhatsApp on PC is by making use of WhatsApp Web application, this method still requires you to have a WhatsApp Account on a mobile device.
WhatsApp Web is basically designed to provide access to an existing WhatsApp Account on computer and it works only if you already have an active WhatsApp Account on an iPhone or Android phone.
The good news! – It is possible to use WhatsApp directly on a Windows computer, without the need to have WhatsApp account on a mobile device.
Use WhatsApp on Computer Without Phone
The most reliable way to use WhatsApp on computer without linking your mobile phone is by making use of an Android Emulator like BlueStacks, which allows you to run WhatsApp directly on the computer.
When BlueStacks is downloaded and installed on a Windows computer, it makes the computer capable of running mobile Android apps like WhatsApp.
This results in your computer becoming the main or primary device on which WhatsApp is installed, totally by-passing the need for a mobile device.
Steps to Use WhatsApp on PC Without Mobile Device
As mentioned above, the first step is to create an Android device like environment on the computer by downloading and installing an Android Emulator (BlueStacks in this case).
Once the computer becomes capable of running Android apps, the next step is to download and Install WhatsApp on the computer and create WhatsApp Account that is directly linked to the computer.
1. Download & Install BlueStacks
Follow the steps below to download & Install BlueStacks application on your computer.
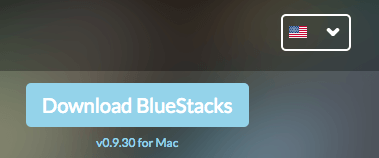
1. Open the Web browser on your computer and go to bluestacks.com.
2. Once you are on bluestacks.com, click on Download BlueStacks button to download BlueStacks on your computer.
3. After BlueStacks is downloaded, double-click on the Downloaded File to begin the process of installing BlueStacks on the computer.
4. Follow the Onscreen Instructions to complete the installation process.
Note: BlueStacks will prompt you to Sign-in to Google Account. Make sure that you Sign-in, as this step is necessary to access Google Play Store, from where you can download WhatsApp.
2. Download WhatsApp to Computer Using BlueStacks
The next step is download and install WhatsApp within the BlueStack created Android like environment on your computer.
1. Open BlueStacks by clicking on BlueStacks icon located on the Desktop.
![]()
2. After opening BlueStacks, search for WhatsApp by typing “whatsapp” in the BlueStacks Search bar.
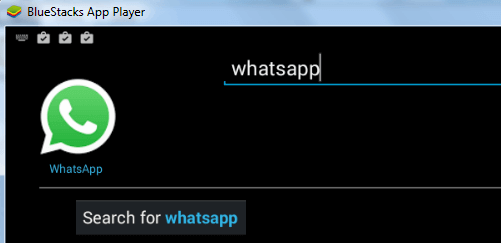
3. Once you are able to find WhatsApp, click on the Install button and follow the instructions to download and Install WhatsApp on your computer.
3. Create WhatsApp Account on Computer
The last step is to create a WhatsApp account that is directly linked to the computer and not linked to your mobile device.
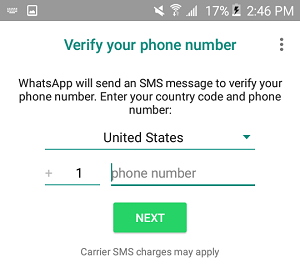
1. Open WhatsApp on your computer by clicking on WhatsApp icon located on the Desktop.
2. On the next screen, enter your Landline Number or use a virtual phone number and click on Next.
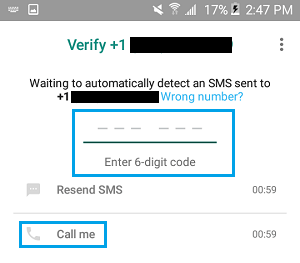
3. Wait for “SMS Verification Failed” message and click on the Call ME option.
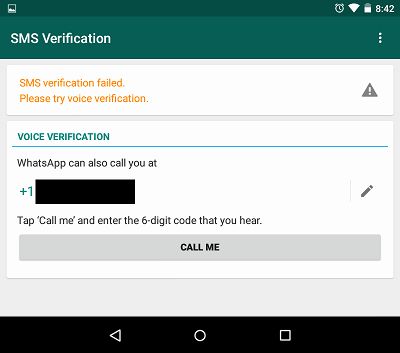
Once you click on Call Me button, you will receive an Automated Message from WhatsApp on your Landline or the virtual phone number. Listen to the Message and note down the Verification Code.
4. Enter the Verification Code in the pop-up that appears on the computer.
5. Once the phone number is verified, you will see your WhatsApp Account appearing on the screen of your computer.
You can now start a Chat with any of your Contacts and see if your standalone WhatsApp Account on PC is working properly.