While the problem of Settings App not working on a Windows computer is usually known to occur after Installing updates or installing a new app or program, it can also occur due to other reasons.
If the problem is not related to an update bug or faulty installation of an app, it could be occurring due to the Settings App being damaged, Corrupted System Files or the User Profile being corrupted.
Settings Not Opening in Windows 11/10
In general, most users open Settings by clicking on the Start button and then clicking on the Settings Icon. Since, you are not able to do this, you can try to open Settings using alternative methods.
If you are able to open Settings using an alternative method, it may result in the problem being fixed. If the issue still remains, you can try other troubleshooting steps as provided below.
1. Open Settings Using Alternative Methods
As mentioned above, launching the Settings App using any of these alternative methods might help in fixing the problem.
1. Open Settings Using Windows Search: Type Settings in Windows Search bar and click on Settings App in the search results.
2. Open Settings Using Keyboard Shortcut: Press Windows + I keys on the keyboard of your computer.
3. Open Settings Using Run Command: Press Windows + R keys > type ms-settings: in the Run Command window and click on OK.
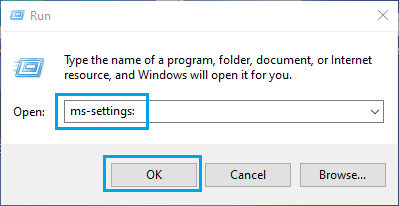
If you are unable to open the Settings App using any of these methods, you should be able to fix the problem using other troubleshooting methods as provided below in this guide.
2. Install Updates
It is not uncommon for Microsoft to release a patch or correction for an update bug or user reported problems following an update.
1. Press Windows + R Keys.
2. Type ms-settings:windowsupdate and click on OK.
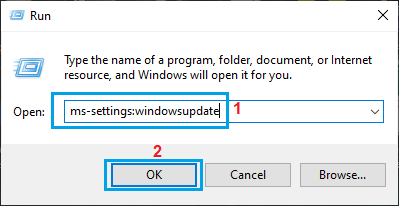
3. On Windows update screen, click on Check For Updates button.
Follow the instructions to install the update (If available).
3. Re-register the Settings App
1. Type PowerShell in the Search bar, right-click on Windows PowerShell and select Run As Administrator option.
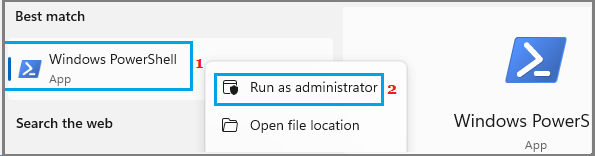
2. On the PowerShell screen, type Get-AppxPackage windows.immersivecontrolpanel | Reset-AppxPackage and press the Enter key.
3. After the command is executed, close the PowerShell screen and restart the computer.
4. Re-install the Settings App
1. Right-click on Start button and click on Command Prompt (Admin).
2. On the Command prompt screen, type the following command and press the Enter key.
Get-AppXPackage | Foreach {Add-AppxPackage -DisableDevelopmentMode -Register “$($_.InstallLocation)AppXManifest.xml”}
3. After the Command is executed, close the Command Prompt screen and Restart the computer
This will Re-install all native Windows Apps on your device, including the Settings App.
5. Run SFC Scan
As mentioned above, the problem with the Settings App can also be caused due to the system files being damaged or corrupted.
This issue can be fixed by using the SFC (System File Checker) and DISM (Digital Image System Management) tools that are available on your computer.
For the steps to check System Files for damage and fix them, you can refer to this guide: How to Repair Corrupted System Files In Windows 11/10.
6. Create New User Account
If the above methods did not help, you can create a new User Account with Admin privileges and transfer all your files from old to new user Account.
1. Open Command Prompt As Admin.
2. On the Command prompt screen, type net user newusername newpassword /add and press the Enter key.
Once the above command is executed, you will see a message reading “The Command completed successfully.”
3. After the New User Account is created, Open Control Panel and click on the User Accounts tab.
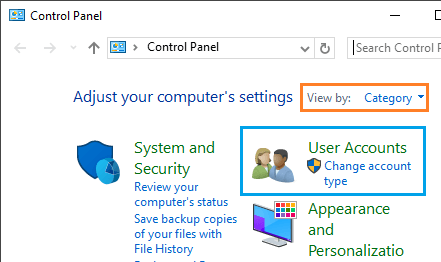
4. On the next screen, click on the New User Account that you just created and select the Administrator option.
In the New User Account, you should find the Settings App working properly. Hence, the next step is to Copy Files from Old User Account to New User Account.