While Microsoft keeps Windows computers up-to-date by pushing Major, Cumulative and Security updates, it also provides the option to Uninstall Updates.
In general, users find the need to uninstall updates; if they are not installed properly, if the update becomes incompatible with an App or Program running on the computer and other reasons.
Uninstall Updates in Windows 11/10
If your computer is underperforming or running into problems after installing an update, you can Uninstall the updates and see if this helps in fixing the problem.
You can find below the steps to Uninstall Cumulative updates and also the steps to Uninstall Major or Build updates on a Windows 11/10 computer.
1. Uninstall Cumulative Updates in Windows 11
Regular or Cumulative Updates are more frequently delivered by Microsoft and they can be easily removed at any time from the computer.
1. Open Settings > select Windows Update in the left-pane and click on Update History in the right-pane.
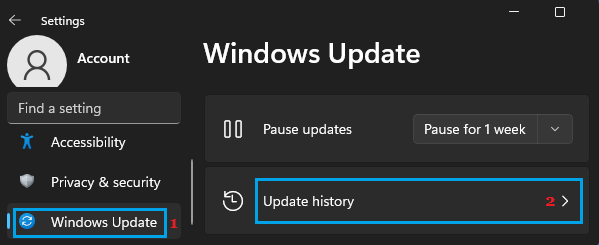
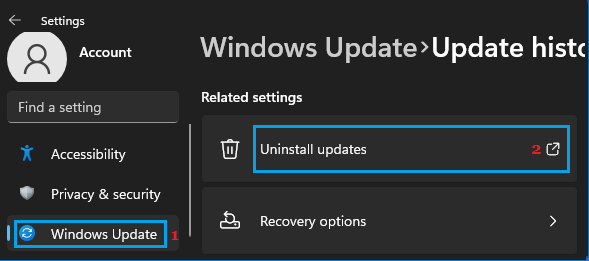
2. On Update History screen, scroll down to ‘Related Settings’ section and click on Uninstall Updates option.
3. On the next screen, you will see listing of installed updates on your computer. Select the Update that you want to remove and click on the Uninstall option.
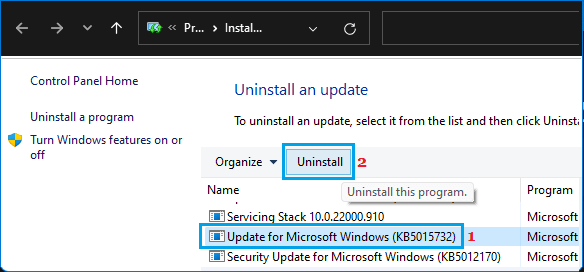
On the confirmation pop-up, click on Yes to confirm and wait for Windows 11 to uninstall and remove the selected update from your computer.
2. Uninstall Build Or Major Updates in Windows 11
You can also Uninstall Build or Major Updates from your Windows computer. However, this can only be done within the first 10 days of installing the Build.
After 10 days, the only way to remove a Major update from the computer is by reinstall Windows or by Restoring Windows from a Full system backup stored on the computer.
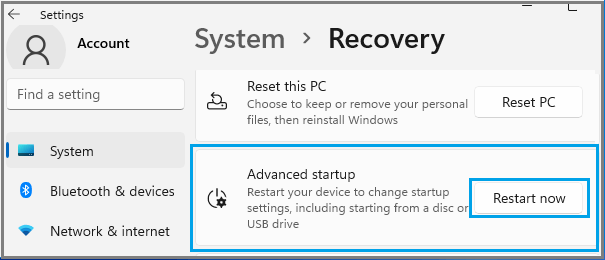
1. Open Settings > click on System in the left-pane. In the right-pane, scroll down and click on Recovery.

2. On the Recovery screen, scroll down in the right-pane and click on Restart Now button located next to Advanced Startup.
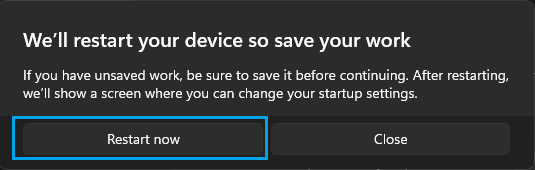
3. On “We’ll Restart Your Device So Save Your Work” prompt, click on Restart Now to restart the computer.
4. After the computer restarts, navigate to Troubleshoot > Advanced Options > Uninstall Updates > Uninstall Latest Feature Update.
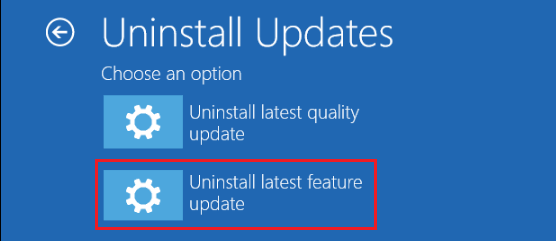
5. On the confirmation screen, click on Uninstall Feature Update option and wait for Windows 11 to Uninstall and remove the latest Build or Major Update from the computer.
Note: When you uninstall a build, your personal files are not deleted or removed from the computer. However, any changes made to Settings and Apps will be removed.
3. Uninstall Cumulative Update in Windows 10
If you are using Windows 10, you can follow the steps below to unistall cumulative or minor updates on your computer.
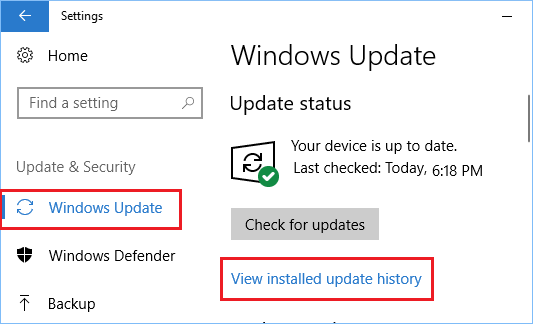
1. Go to Settings > Update & Security.
2. On the next screen, click on Windows update in the left pane. In the right-pane, scroll down and click on View update history link.
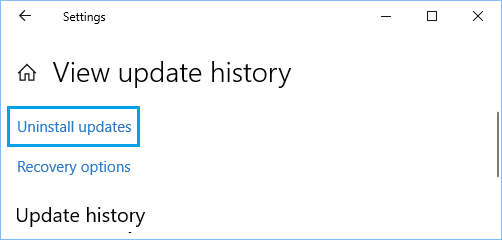
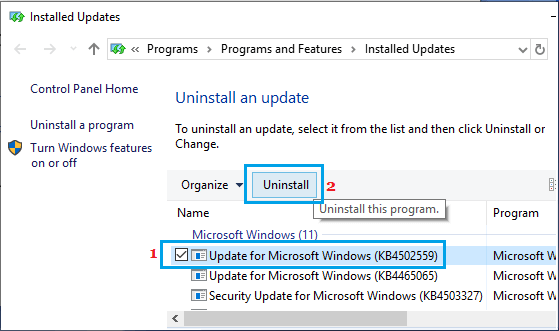
3. On the next screen, click on Uninstall updates link.
4. On the next screen, select the Windows Update that you want to delete and click on the Uninstall option.
5. On the confirmation pop-up, click on Yes to confirm.
Wait for Windows to Uninstall the Update from your computer.
2. Uninstall Feature Update in Windows 10
When a Feature update (major update) is installed on the computer, Windows 10 keeps the files required to revert back to the previous version for a period of 10 days.
If you are within 10 days of a Feature update, you can follow the steps below to Uninstall the Feature Update from your computer.
1. Go to Settings > Update & Security.
2. On the next screen, click on Recovery in the left pane. In the right-pane, click on Get Started button located under “Go back to previous version of Windows 10” section.

3. Follow the instructions to complete this process.
If Get Started option under “Go back to a previous version” section is greyed out or not working, your computer does not have the required files to roll back to the previous version of Windows.
The only option in this case is to use system restore or reinstall Windows 10 from a backup that you may have saved on your computer.