If you are looking for a way to create Apple ID without Credit Card, it is likely that you are currently not interested in making purchases at the App Store and just want to create an Apple ID for use on an iPhone or Mac.
It is also possible that you already have an Apple ID linked to a Credit Card and want to create a New Apple ID for temporary use in a foreign country.
Regardless of the reasons, it is possible to create an Apple ID without credit card by using two different methods as provided below in this guide.
Create Apple ID Without Credit Card or Payment Method
Before going ahead with the steps, make sure that you have access to an Email Address that has never been used to create an Apple ID.
If you do not have an Email Address, Apple also provides the option to create an iCloud based (you@icloud.com) email address and verifies your Account by sending a text message to your phone number.
1. Create Apple ID Without Credit Card Using App Store
Make sure that you are not logged-in to your device and follow the steps below to create an Apple ID without linking your Credit Card or any other form of payment method.
1. Open the App Store on your iPhone and tap on the Account icon.
![]()
2. On the Account screen, tap on Create New Apple ID link.
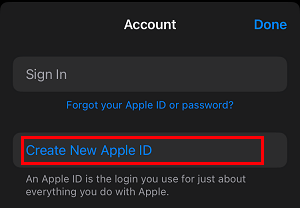
3. On the next screen, enter your Email Address, Password, Verify Password, select Country, Agree to Terms and conditions and tap on Next.
Note: Password needs to be 8-character long with at-least one lower case and one upper case letter.
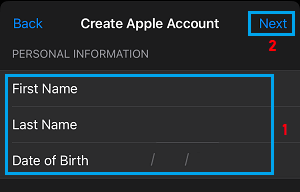
4. On the next screen, enter First Name, Last Name, Date of Birth and tap on Next.
5. On the next screen, select None as the payment method. On the same screen, add your Billing Name, Billing Address and tap on Next.
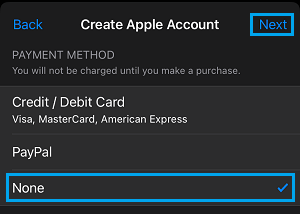
Note: If the “None” payment option is not available; you can refer to this guide: How to Enable Missing None Option On Apple ID Payment Information Screen.
5. On the next screen, type your Phone Number, select the Verification method (Text Message or Phone Call) and tap on Continue.
6. On the next screen, enter the Verification code that you received on your phone number and tap on Verify.
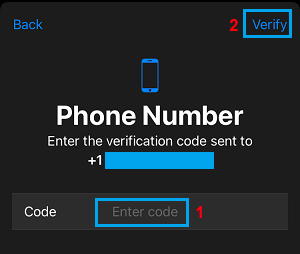
Once your phone number is verified, your Apple ID will become active and you will be use it to setup iMessage, iCloud backups and download free apps from the App Store.
2. Create Apple ID Without Credit Card Using Settings
You can also create Apple ID without Credit Card or any other form of payment method by using the Settings App on your iPhone.
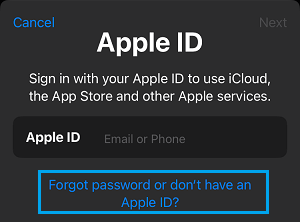
1. Go to Settings > tap on Sign in to your iPhone link.

2. On the next screen, click on Forgot password or don’t have an Apple ID link.
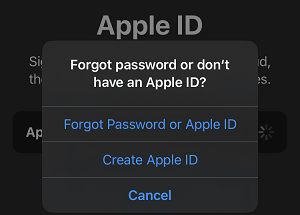
3. On the pop-up, select Create Apple ID option.
4. Enter your First Name, Last Name, Date of birth and tap on Continue.
5. Enter the Email Address that you want to associate with your Apple ID and tap on Continue.
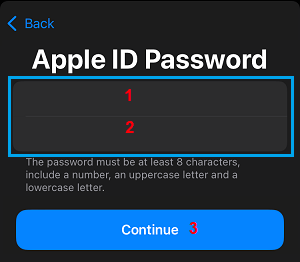
6. Enter the Password that you want to use for your Apple ID, Verify the Password and tap on Continue.
7. Tap on Agree to indicate your acceptance for Apple’s Terms and Conditions.
8. On the next screen, type your Phone Number, select the Verification method (Text Message or Phone Call) and tap on Next.
9. Enter the Verification code that you received on your phone number and tap on Verify.
10. Wait for your phone number to verified.
Once your phone number is verified, the Email Address and Password that you provided in the above steps will become your Apple ID and the Password.