In general, “Err Network Changed” error in Google Chrome appears with a message reading “Unable to access the network”.
While it becomes clear that Google Chrome is unable to the network from your computer, the error code “Err_Network-Changed” or the error message “unable to access network” do not provide any reason or clue for occurrence of this problem.
Luckily, this error message in most cases can be fixed by running regular network troubleshooting steps as provided below in this guide.
Err Network Changed Error in Google Chrome
Before going ahead with the troubleshooting steps, it is recommended that you restart the computer and relaod the web page.
This can help in fixing the issue, if it was being caused due to a stuck process preventing the browser from accessing the web page.
1. Restart Modem/Router
Another key troubleshooting step that has the potential to fix most network connectivity issues is to power flush the Modem/Router unit.
This step requires you to unplug the Modem/Router from its power supply source > Wait for 60 seconds and connect it back to the power supply source.
After the Modem/Router restarts, try to access the webpage again and see if Google Chrome is still coming up with Err Network Changed Error message.
2. Clear Chrome Browser Cache
A clogged up browser cache can often lead to problems while browsing the internet.
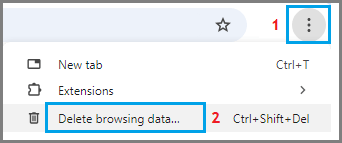
1. Launch the Google Chrome browser on your computer > click on 3-dots menu icon (top-right) and select Delete Browsing Data… option in the menu that appears.
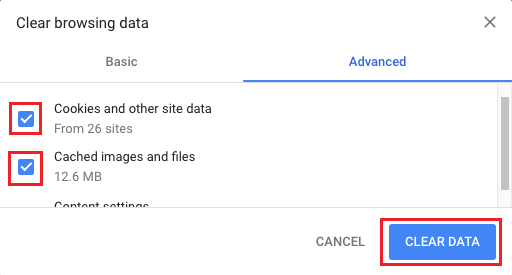
2. On Clear Browsing Data screen, click on Advanced tab, select All Time as the “Time Range” and click on Clear Data button.
3. After this, try to open the same webpage and see if it is still coming coming up with the same error message.
3. Update Network Driver
In certain cases, the problem is due to the Driver for the Network Adapter not being automatically updated by the operating system.
1. Right Click on the Start button and click on Device Manager.
2. On Device Manger Screen, expand Network Adapters entry > right-click on Wi-Fi Adapter and click on Update Driver Software option.
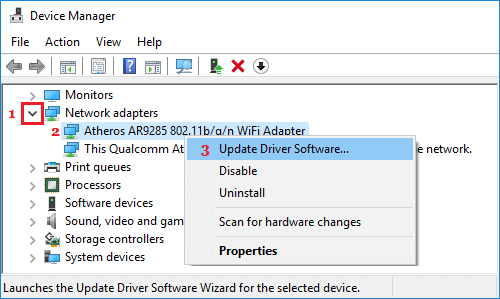
Tip: If you see multiple entries, look for something that reads Network, 802.11b or has Wi-Fi in it.
3. On the next screen, select Search Automatically for Updated Driver Software option.
4. Disable Proxy Servers
The problem could be due to your computer being set to use proxy servers.
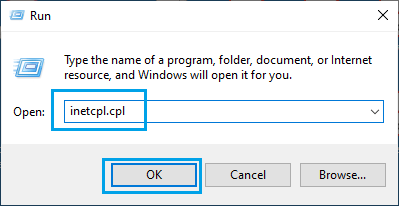
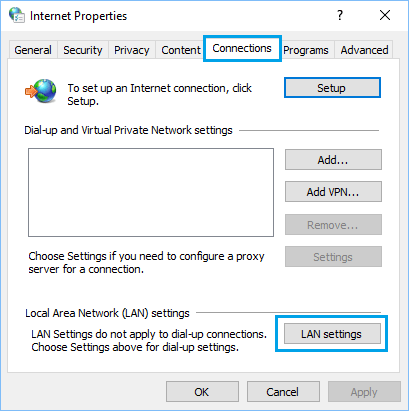
1. Open Run Command > Type inetcpl.cpl and click on OK.
2. On the next screen, switch to Connections tab and click on LAN Settings button.
3. On LAN Settings screen, scroll down to “Proxy Server” section and uncheck Use a Proxy server for your LAN option.
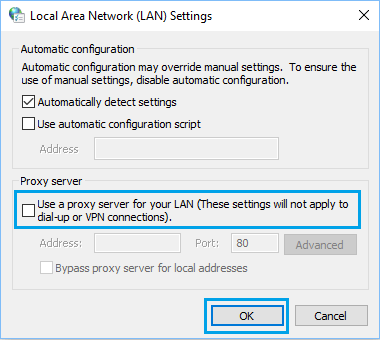
Note: Make sure Automatically detect settings option is selected.
5. Click on OK to save the settings on your computer.
6. Run Network Troubleshooter
You can trust the built-in Network Troubleshooter in Windows to fix network connectivity issues on your computer.
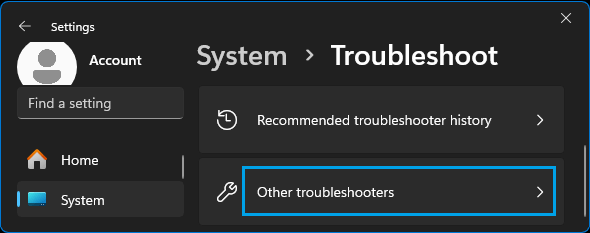
1. Go to Settings > System > scroll down in the right-pane and click on Troubleshoot.
2. On the next screen, scroll down and click on Other troubleshooters.
3. On the next screen, click on the Run button located in “Network & Internet” tab.
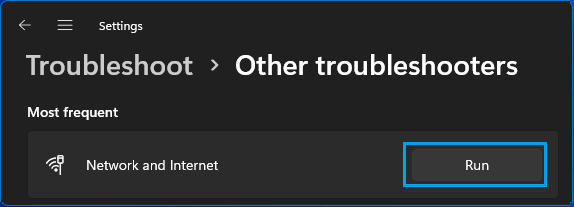
4. Follow onscreen instructions as the troubleshooter tries to find and fix Wi-Fi connectivity problems on your computer.
7. Run Network Troubleshooting Commands
Follow the steps below to Reset TCP/IP Stack, Release/Renew IP address and Flush/Reset the DNS client resolver cache on your computer.
1. Type Command Prompt in Search bar > right-click on Command Prompt in the search results and select Run as administrator option.

2. In the Command prompt screen, type netsh winsock reset and press the Enter key.

Next, type netsh int ip reset and press the Enter Key and also run the following commands one-by-one.
- Type ipconfig /release and press Enter.
- Type ipconfig /renew and press Enter.
- Type ipconfig /flushdns and press Enter.
3. Close the command prompt window and Restart the computer.
8. Forget Network & Rejoin
Before following these steps, make sure that you note down the Wi-Fi Network Password and follow the steps below to forget Wi-Fi network and rejoin.
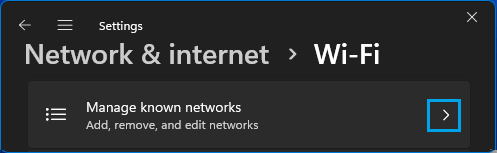
1. Go to Settings > Network & internet > Wi-Fi > scroll down in the right-pane and click on Manage known networks.
2. On the next screen, click on the Forget button, located next to your Wi-Fi Network name.
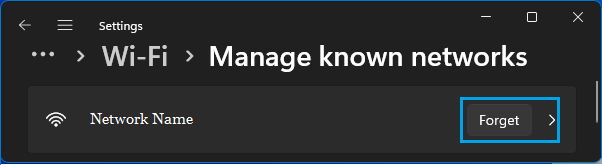
After forgetting the Network, rejoin Wi-Fi Network and see if Google Chrome is still coming up with any type of error message on your computer.