There could be various reasons for Microphone not working on a Windows computer, ranging from microphone being switched-off, Access to microphone being blocked in Windows privacy settings to the Audio Drivers becoming outdated and other reasons.
- Privacy Settings: While microphone access is enabled by default in Windows, individual app permissions are restricted to protect your privacy.
- Input Device Selection: If there are multiple audio devices (built-in mic, webcam, headset), the problem could be due to a wrong input device being selected.
In addition to above, the problem of microphone not working on a Windows computer could also be due to built-in or third-party audio enhancements being in conflict with the audio drivers; leading to muffled sound or no sound.
Microphone Not Working in Windows 11
Before going ahead with the troubleshooting steps, make sure that the microphone has not been switched-off by the physical mute button; especially if you are using a headset.
In the case of built-in microphone on a Laptop computer, microphone can become muted due to accidental pressing of the Mute or Microphone Icon button; located on the keyboard.
1. Check Privacy & Security Settings
Make sure that the “Privacy Settings” on your computer are set to provide access to microphone.
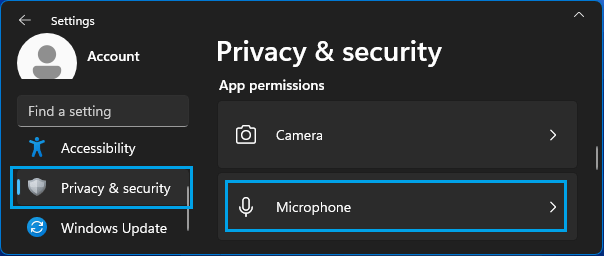
1. Go to Settings > Privacy & Security (left-pane) > scroll down and click on Microphone tab, located under “App Permissions” section in the right-pane.
2. On the next-screen, enable Microphone Access by moving the slider to ON position.
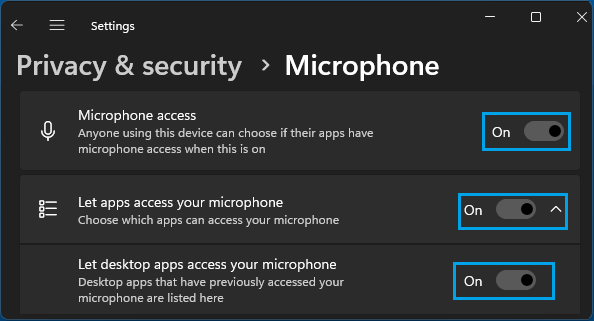
Also make sure, Let Apps to access your Microphone and Let desktop Apps access your Microphone are enabled.
Note: You may need to be logged in to your Admin Account to enable certain options on this screen.
2. Select the Right Input Device
The problem might be due to the wrong input device being selected by Windows. This is likely to be the case; if you are trying to use a headset and also if an external microphone was previously connected to the computer and you are now trying to use the built-in microphone.
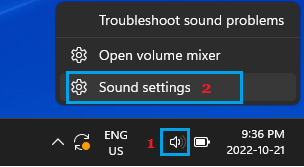
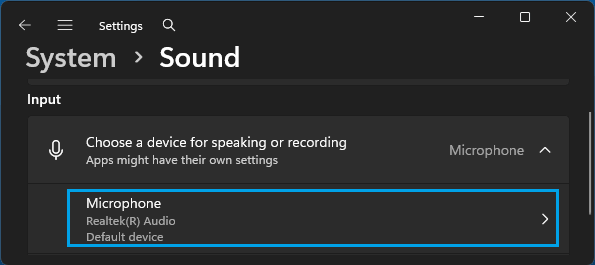
1. Right-click on the Speaker Icon located in the Taskbar and click on Sound Settings.
2. On the “Sound” screen, scroll down to Input section > Expand Choose a device for speaking or recording tab and make sure the correct Microphone is listed.
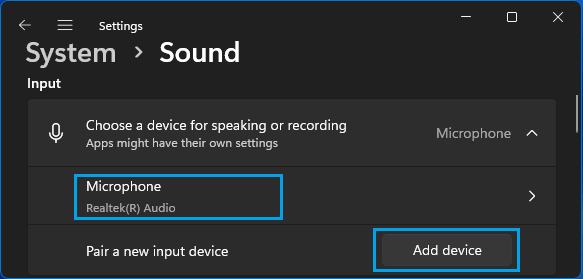
If you are using an external Microphone or Headset, click on the Add device button and follow the instructions to Add the Microphone to your computer.
3. Allow Apps & Windows to Use Microphone
Make sure that the active microphone; which is currently being used on the computer is set to provide access to Windows and Apps.
1. Go to Settings > Systems > Sound > scroll down to Input section and click on the listed Microphone.
2. On the “Properties” screen, make sure Allow Apps and Windows to use this device for Audio is set to Allow position.
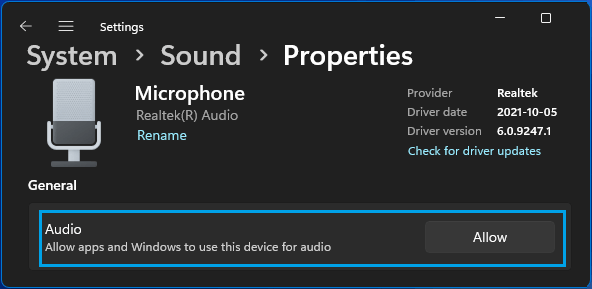
Note: If the Audio is disabled (set to Don’t Allow), click on Don’t Allow and the setting will change to Allow.
4. Enable Microphone Using Device Manager
The problem could be due to use of microphone being disabled via Device Manager.
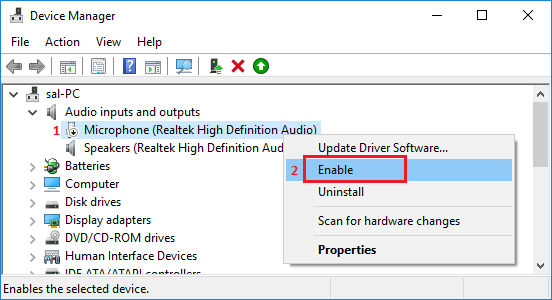
1. Right-click on the Start button and click on Device Manager.
2. On Device Manager screen, expand Audio Inputs and outputs entry, right-click on Microphone and select Enable Device option.
5. Restart Windows Audio Service
Restarting “Windows Audio Service” can help in clearing temporary glitches; which can sometimes lead to the system losing connection with Input devices (Microphone in this case).
1. Right-click on the Start button and click on Run.
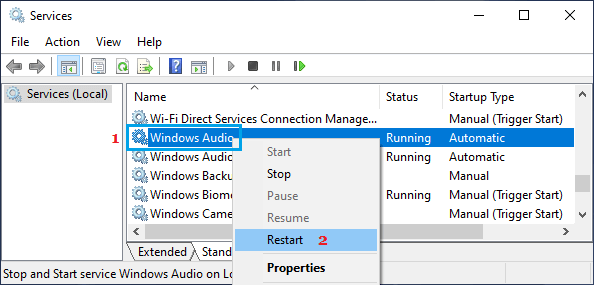
2. In Run Command window, type services.msc and click on OK.

3. On the Services screen, right-click on Windows Audio and click on Restart.
4. Close the Services screen and see if the Microphone is now working.
6. Update/Reinstall Microphone Drivers
As mentioned above, the problem could be due to the Audio drivers on the computer not being updated.
1. Right-click on the Start button and click on Device Manager.
2. On Device Manager screen, expand Audio Inputs and outputs entry, right-click on Microphone and select Update Driver option.

3. On the next screen, select Search Automatically for Drivers option and Wait for Windows to search for and install the latest drivers.
If this does not help, right-click on the Microphone and select the Uninstall option. After the device is uninstalled, restart the computer and Windows will automatically reinstall the right driver.
7. Disable Audio Enhancements
If you are experiencing muffled or interrupted audio, disable the use of Audio Enhancements and see if this helps in fixing the problem.
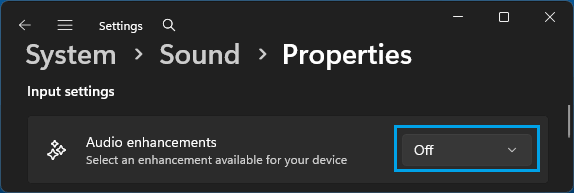
1. Go to Settings > Systems > Sound > scroll down to Input section and click on the listed Microphone.
2. On the “Properties” screen, scroll down to Audio Enhancements section and switch off Audio Enhancements.
If this did not help, switch back the Audio Enhancement setting to Device Default Effects; which is not known to cause problems when the built-in microphone is being used.