It is not uncommon for new iPhone Users and those that have just switched from Android to iPhone to be looking for a proper way to Send Emails from iPhone.
Hence, we are providing below the steps to add your Email Account from Gmail, Oultook and other email service providers to iPhone and send Emails from iPhone.
Send Emails from iPhone or iPad
Sending an email from iPhone or iPad for the first time may involve all or most of the following tasks.
- Adding your Email Account to iPhone
- Opening Mail App and Composing New Email Message
- Attaching Files to Email Message
- Reviewing CC, BCC and Sending Email
Step 1. Add Your Email Account to iPhone
While iPhone can send iMessages and SMS Text Messages using its native Messages App, it cannot send Email Messages, unless an Email Account is added to the Mail App.
Hence, the first step is Add your Email Account to the Mail App on iPhone by following the steps below.
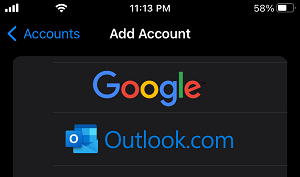
1. Go to Settings > Mail > Add Account.
2. On the next screen, select your Email Service provider.
2. Enter your Email Address and Password to Sign-in to your Email Account.
3. On the next screen, enable the Mail option and tap on Save.
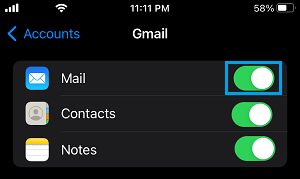
Note: If you want to, you can also Enable Contacts & Calendars.
If your Email Service provider is not listed, select the Other option and follow the steps to Manually Add Email Account to iPhone.
Step 2. Compose New Email Message on iPhone
Once an Email Account is added to iPhone, you will be able to compose and send Email Message from iPhone, without the need to login to your Email Account.
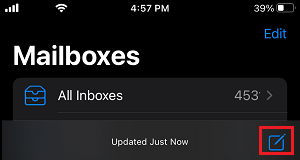
1. Open the Mail App on your iPhone.
2. Tap on New Message Icon, located in the bottom menu.
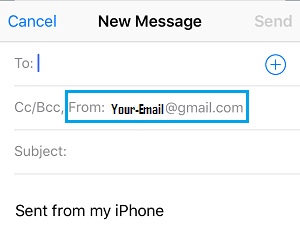
3. On the New Message screen, enter your Recipient’s email address, complete the Subject field and start typing your Email Message.
Step 3. Attach Files to Email Message (If Required)
Once the Email is composed, you can Attach Photos, Documents, Spreadsheets or PDF File to Email Message by using steps as provided in this guide: How to attach Files and Pictures to Emails on iPhone.
Step 4. Check CC, BCC Fields and Send Email Message
Before tapping on the Send button, it is a good practice to review your email message and add Contacts to CC and BCC fields as required.
If you make any mistake, you can simply drag Email ID Addresses from CC (Carbon Copy) to BCC (Blind Carbon Copy) fields.
When everything appears in order, just hit the Send button, located at the top-right corner to send your first Email Message from iPhone.