As you continue taking photos on iPhone, it will eventually reach its upper storage limit, after which you won’t be able to take any more photos, unless you free up the storage space on your iPhone by transferring photos to computer, external storage drive or a cloud storage service.
Another reason for transferring photos from iPhone to an external storage drive would be to create a local backup of your photos in addition to an iCloud backup of photos (if your using it).
Related: How to Transfer Photos from iCloud to External Hard Drive.
Transfer iPhone Photos to External Drive
The simplest way to transfer photos from iPhone to an external storage drive is by plugging your device to a Windows computer and making use of File Explorer to drag selected photos to the storage drive.
Another way of transferring photos from iPhone to an external storage drive is by using the native Photos App as available on a Windows computer.
1. Transfer Photos from iPhone to External Drive Using File Explorer
As mentioned above, the easiest way to transfer photos from iPhone to an External storage drive is by using File Explorer.
1. Connect iPhone to computer and unlock iPhone by entering its Lock Screen Passcode.
2. If prompted, tap on Allow to provide your computer with access to iPhone.
3. Open File Explorer and navigate to This PC > iPhone > Internal Storage and open the DCIM Folder.
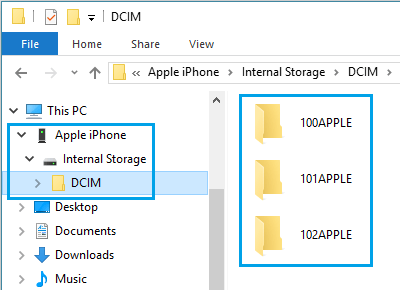
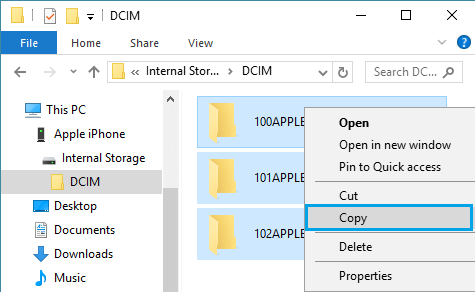
4. Once you are in DCIM folder, select Apple Folders > right-click on the Select Folders and click on Copy.
Note: Apple Folders contain Photos Stored on iPhone, while iCloud Folders contain iCloud Photos.
5. After copying Photo Folders, navigate to External Hard Drive and paste the copied Folders to the External Hard Drive.
Depending on the size of photos on your iPhone, it can take anywhere from 30 seconds to several minutes to copy All photos from iPhone to the External storage drive.
2. Transfer Photos from iPhone to External Drive Using Photos App
You can easily export all or selected iPhone Photos to External Hard Drive by using the Photos App as available on a Winodows computer.
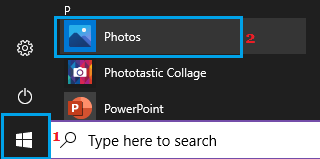
1. Connect iPhone to computer and open the Photos App.
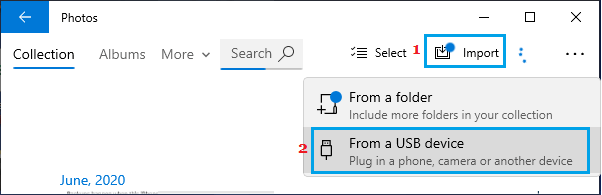
2. Once you are in Photos App, select the Import tab and click on From a USB device option in the drop-down.
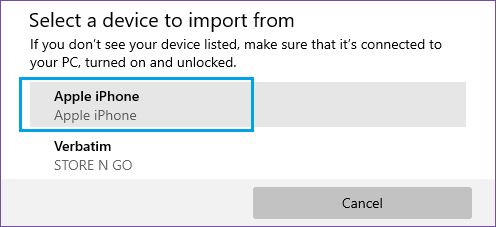
3. On the next screen, select your iPhone.
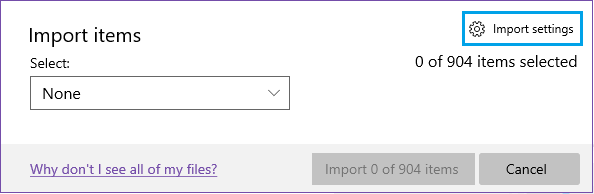
4. On the next screen, click on Import Settings option.
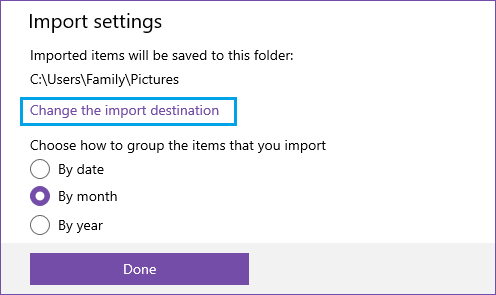
5. On the next screen, click on Change the import destination link.
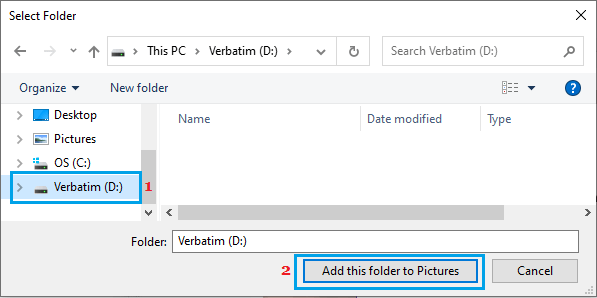
6. On the next screen, select the External Hard Drive attached to the computer and click on Add this folder to Pictures button.
7. On the next screen, use the Down Arrow to select All Items and click on Import Items button to transfer all the selected Photos from iPhone to External Hard Drive.
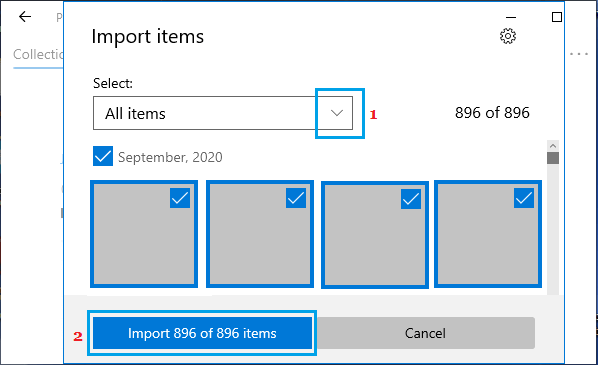
Note: At this point, you can uncheck Photos that you do not want to import (if required).