While Microsoft keeps Windows computers up-to-date by pushing software, security and driver updates, it also provides the option to roll back Major updates (Yearly OS upgrades) and uninstall other types of frequently delivered updates.
In general, users find the need to uninstall updates; if they are not installed properly and also if an update becomes incompatible with an app, program or driver and starts causing problems on the computer.
Uninstall Updates in Windows 11/10
While the easiest way to uninstall Windows updates is by using the Settings App, you may find the need to uninstall updates using WinRE (Windows Recovery Environment); if you are unable to access or uninstall an update using the Settings App.
In addition to this, you can uninstall updates using elevated Command prompt and remove certain updates by using Control panel.
Note: You should be able to uninstall most updates without facing any problems. However, it is still a good idea to Backup your files.
1. Uninstall Updates Using Settings
The Settings App in the most recent version of Windows provides a comprehensive list of updates installed on the computer and also provides the option to delete recently installed updates.
1. Press Win + I keys to open the Settings App on your computer.
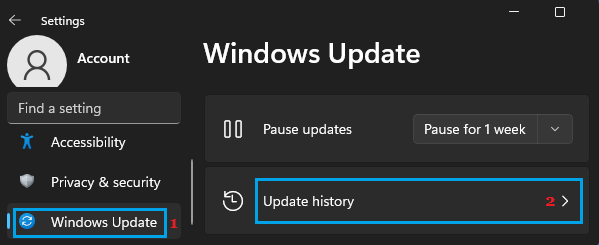
2. On the Settings screen, select Windows Update in the left-pane and click on Update History in the right-pane.
Windows 10: Go to Settings > Update & Security > Windows update > View update history.
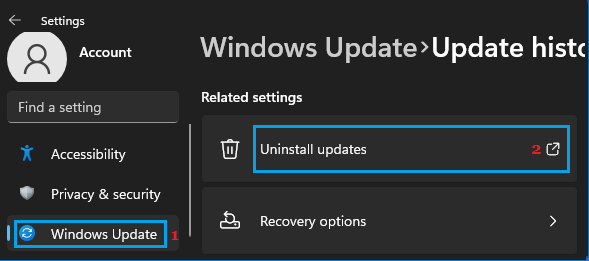
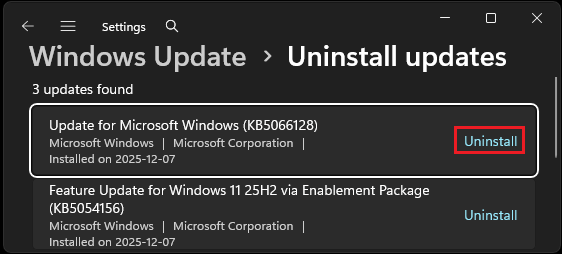
3. On Update History screen, scroll down to Related Settings and click on Uninstall Updates tab.
4. On the next screen, locate the Update that you want to remove and click on Uninstall.
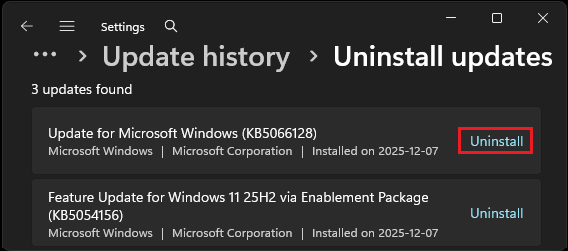
On the confirmation pop-up, click on Yes to confirm and wait for Windows to uninstall and remove the selected update from your computer.
Note: You may be prompted to restart the computer, in order to complete the uninstall process.
2. Uninstall Updates Using Control Panel
You might be able to remove the most recently installed updates on your computer by using Control panel.
1. Type Control Panel in the Search box and click on Control Panel in the search results.
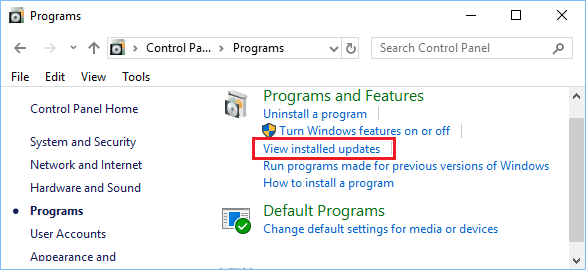
2. From the Control Panel screen, go to Programs > Programs and Features and click on View Installed Updates.
3. On the next screen, see if the update that you want to remove is available. If it is available, click on the Uninstall option, located next to the update.
4. Wait for the uninstall process to be completed.
3. Uninstall Updates Using Command Prompt
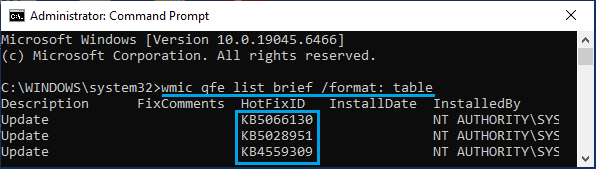
The first step in this method is to get HotFixID or KB Number of the particular update that you want to uninstall.
Once the KB Number is available, you can uninstall that particular update by referencing its KB Number in wusa /uninstall command.
1. Right-click on Start button and click on Command Prompt (Admin).
2. On the Command prompt screen, type wmic qfe list brief /format: table and press the Enter key to note the KB Number of the update that you to uninstall using the next command.
3. Next, type wusa /uninstall /kb:Your-KB-Number and press the Enter key.
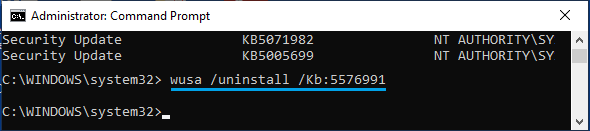
Note: Replace Your-KB-Number by the actual KB Number of the update that you want to Uninstall.
4. Follow the next prompts to uninstall the update.
4. Uninstall Updates Using WinRE
If you are unable to uninstall an update using Settings and other methods, you can try to uninstall the update by using Windows Recovery Environment (WinRE).
1. If you are able to use the Settings App, you can access WinRE by going to Settings > System > Recovery.

Windows 10: Go to Settings > Update & Security > Recovery > Click on Get Started button under “Go back to previous version of Windows” section.
2. On the Recovery screen, scroll down in the right-pane and click on Restart Now button located next to Advanced Startup.
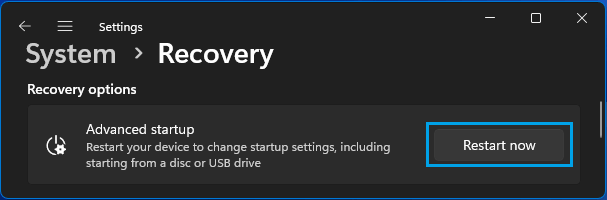
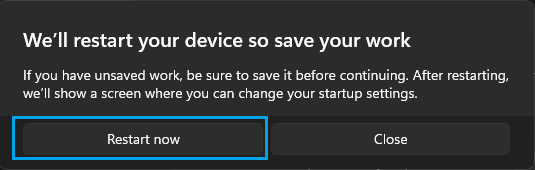
3. On “We’ll Restart Your Device So Save Your Work” prompt, click on Restart Now to restart the computer.
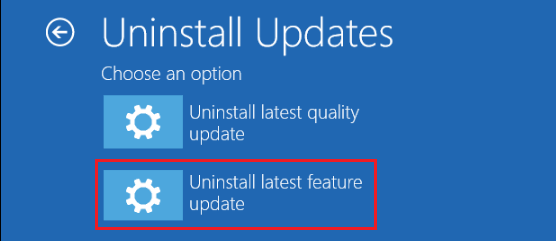
4. After the computer restarts, navigate to Troubleshoot > Advanced Options > Uninstall Updates > Uninstall Latest Feature/Quality Update.
5. On the confirmation screen, click on Uninstall Update option and wait for Windows to Uninstall and remove the update from your computer.